Console Replacement Instructions
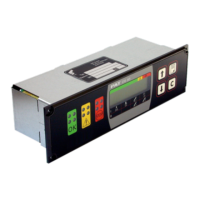
050-350-061-189 / 050-350-061-355 CONSOLE INSTALLATION OVERVIEW
1. Remove existing console, console wiring, and housing. Note: The existing wiring will be used to
wire the new console.
2. Install (2) console nut strips item 2 using (4) screws item 3 through the existing countersunk holes in
dash per Detail “B”.
3. Install new console with housing in tact. Secure to nut strips item 2 with (8) screws item 4 per
Detail “B”.
4. secure existing cable with clamp (part of console) per View C-C. Be sure the cable’s outer shield is
in contact with the clamp.
5. wire the 8-pole connector on the rear of the console per the wiring diagram. Ref. View C-C.
ITEM PART NUMBER QTY DESCRIPTION
1 050-350-061-355 1 CONSOLE, DS350 IN-DASH GRAPHICREPLACEMENT FOR DS350/1319
2 031-300-050-746 2 MOUNTING PLATE, CONSOLE NUTSTRIP
3 031-300-050-515 4 SCREW, #6-32 X 1/2, FH, PH
4 031-300-050-547 8 SCREW, #6-32 X 3/4 ALLEN HEADBLACK MACHINE SCREW
5 024-350-300-147 1 BOARD, SERIAL INTERFACE DS350/0147/VAR.
6 031-300-060-610 1 CABLE ASSY, 4 COND LT
SkyAzúl, Equipment Solutions