Console Replacement Instructions
050-350-061-351 / 050-350-061-354 CONSOLE INSTALLATION OVERVIEW
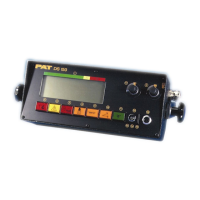
1. Remove existing console at the adjustment knobs. (Fig. 1)
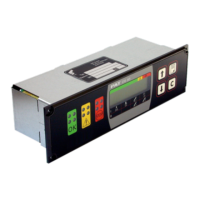
2. Install new console on the dash using the existing mounting bracket.
3. Connect and fix the connector on console cable assy 031-300-060-598 to the console. (Fig. 2)
4. Route console cable assy to the central unit following the same path as the existing console cable
assy.
5. Refer to appropriate Central Unit section for further installation instructions.
6. Cable Assembly 031-300-060-520 will be required for installation of the lightbar option currently
installed on the DS350GW horizontal and vertical consoles.
050-350-061-351 / 050-350-061-354
Fig. 1 Fig. 2
WIRE COLOR CHART
BLU (BLUE)
BRN (BROWN)
GRA (GRAY)
GRN (GREEN)
PNK (PINK)
WHT (WHITE)
YEL (YELLOW)
Fig. 3
NOTE:
Cable Assembly 031-300-060-520 will be
required for installation of the lightbar option
currently installed on the DS350GW horizontal
and vertical consoles.
Adjustment knobs
SkyAzúl, Equipment Solutions