8 • FLECK Model ProFloSXT Downflow Service Manual
MASTER PROGRAMMING MODE
Before entering Master Programming, please
contact your local professional water dealer.
When the Master Programming Mode is entered, all available
option setting displays may be viewed and set as needed.
Depending on current option settings, some parameters
cannot be viewed or set.
Entering Master Programming Mode
Set the Time Of Day display to 12:01 P.M. Press the Extra Cycle
button (to exit Setting Time of Day mode). Then press and hold
the Up and Down buttons together until the programming icon
replaces the service icon and the Display Format screen appears.
Exiting Master Programming Mode
Press the Extra Cycle button to accept the displayed settings
and cycle to the next parameter. Press the Extra Cycle button
at the last parameter to save all settings and return to normal
operation. The control will automatically disregard any
programming changes and return to normal operation if it is
left in Master Programming mode for 5 minutes without any
keypad input.
Resets
Soft Reset: Press and hold the Extra Cycle and Down buttons
for 25 seconds while in normal Service mode. This resets all
parameters to the system default values, except the volume
remaining in meter immediate or meter delayed systems and
days since regeneration in the time clock system.
Master Reset: Hold the Extra Cycle button while powering up
the unit. This resets all of the parameters in the unit. Check
and verify the choices selected in Master Programming Mode.
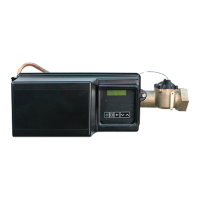
1. Display Format (Display Code DF)
This is the first screen that appears when entering Master
Programming Mode. The Display Format setting specifies
the unit of measure that will be used for volume and how
the control will display the Time of Day. This option setting is
identified by “DF” in the upper left hand corner of the screen.
There are three possible settings:
Display Format Setting Unit of Volume Time Display
GAL U.S. Gallons 12-Hour AM/PM
Ltr Liters 24-Hour
Cu Cubic Meters 24-Hour
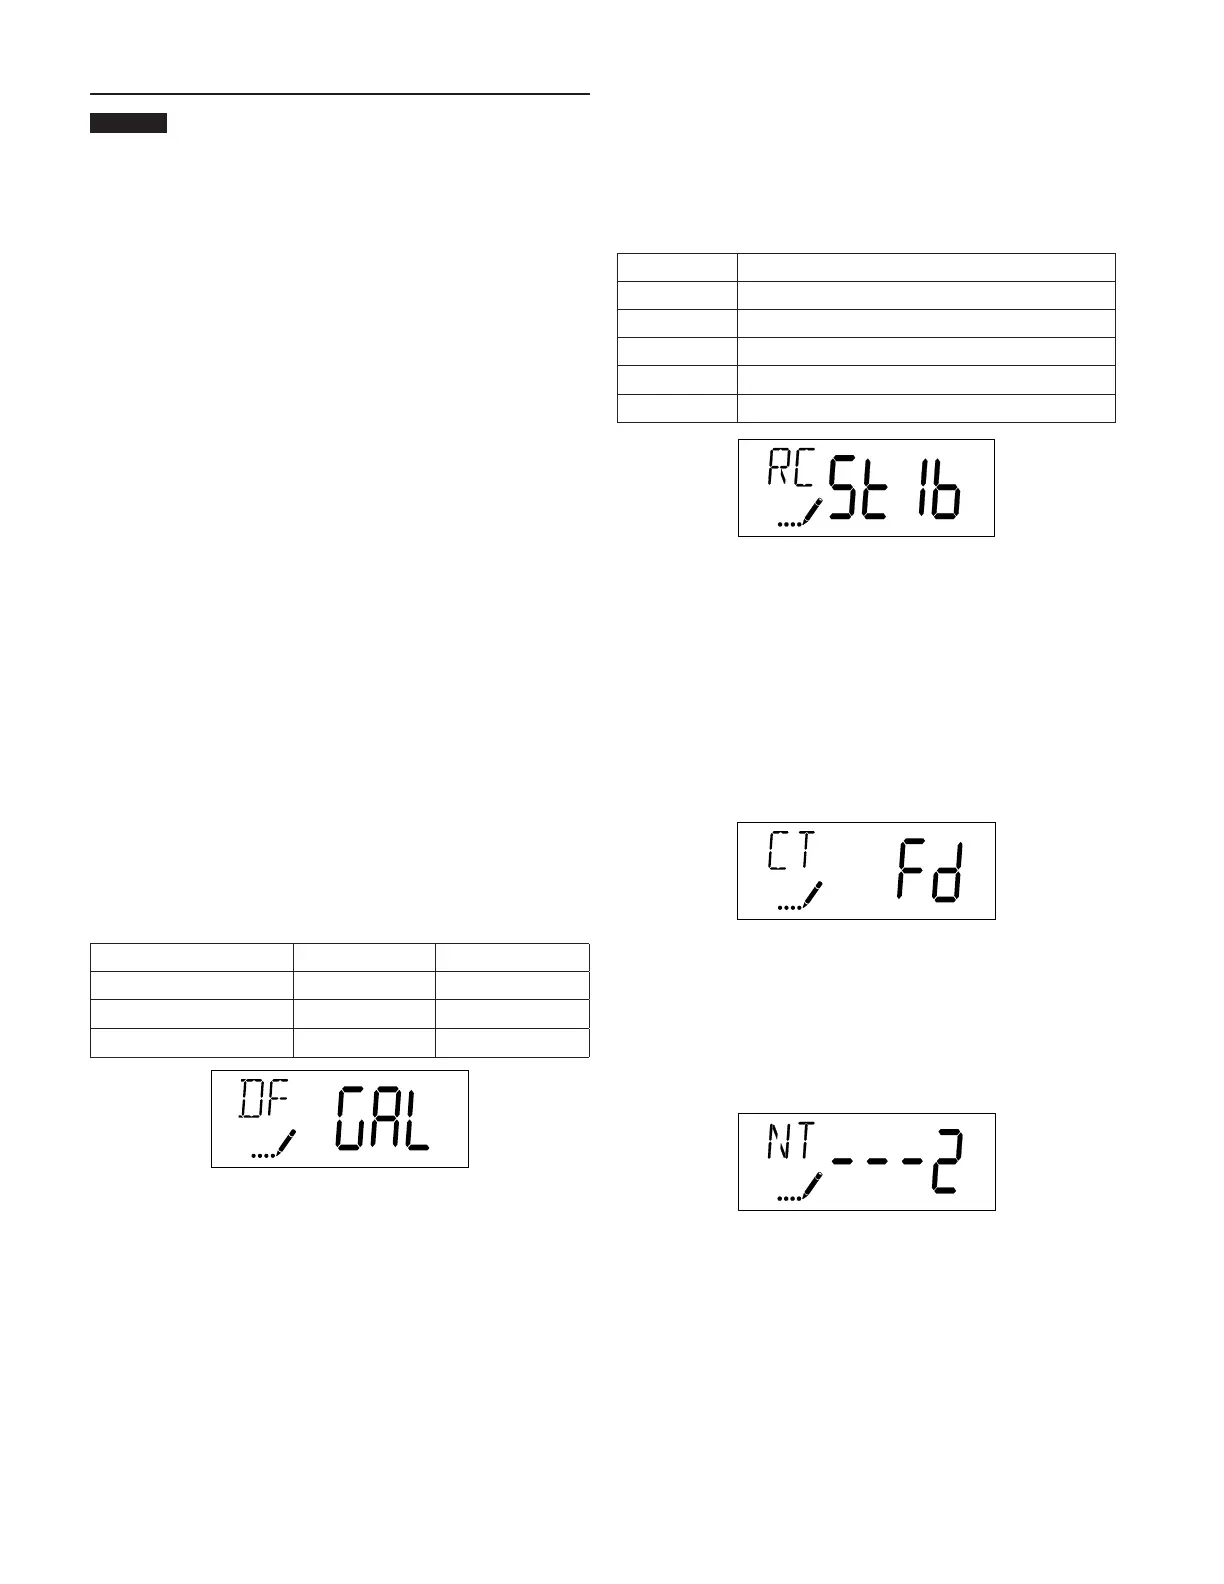
2. Valve Type (Display Code VT)
Press the Extra Cycle button. Use this display to set the Valve
Type. The Valve Type setting specifies the type of cycle that the
valve follows during regeneration. Note that some valve types
require that the valve be built with specific subcomponents.
Ensure the valve is configured properly before changing the Valve
Type setting. This option setting is identified by “VT” in the upper
left hand corner of the screen. There are five possible settings:
Abbreviation Parameter
St1b Standard Downflow/Upflow, Single Backwash
St2b Standard Downflow/Upflow, Double Backwash
Fltr Filter
UFbF Upflow Brine First
Othr Other
3. Control Type (Display Code CT)
Press the Extra Cycle button. Use this display to set the Control
Type. This specifies how the control determines when to trigger
a regeneration. For details on how the various options function,
refer to the “Timer Operation” section of this service manual.
This option setting is identified by “CT” in the upper left hand
corner of the screen. There are four possible settings:
Meter Delayed: Fd
Meter Immediate: FI
Time Clock: tc
Day of Week: dAY
4. Number of Tanks (Display Code NT)
Press the Extra Cycle button. Use this display to set the
Number of Tanks in your system. This option setting is
identified by “NT” in the upper left hand corner of the screen.
There are two possible settings:
Single Tank System: 1
Two-Tank System: 2