Diaphragm Valve Face Piping Kit Installation Manual Pg. 16 of 52
5/31/12 Rev. F
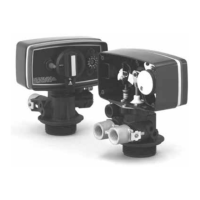
Owner’s/Operator’s Manual for more information.
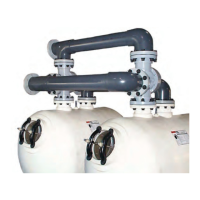
STEP 2: 6” 3-way Valve Installation
Place a flange gasket on the influent flange
of each tank. Align the holes in the gasket
with the holes in the flange on the tank.
Place valves on the influent flanges aligning
the holes on the valve flange with the tank
flange. Please note the orientation of the
valves. The arrows on the valve covers
should be pointing toward the tank. Install
isoplast bolts and nuts on the influent flanges
of each tank. Snug the nuts to “hand tight”,
but do not fully tighten. This will allow for
adjustments during the remainder of the
installation
STEP 3: Influent/Effluent Header Installation
Place flange gaskets on the top flanges of the
valves and on the effluent flanges of the tanks.
Align the holes in the gaskets with the holes in
the flanges. Install headers on to the valve/tank
flanges (see picture). The headers can be
installed with the terminating flange facing either
left or right depending on what is needed for the
application. Install isoplast bolts and nuts on the
flanges of the headers. Snug the nuts to “hand
tight”, but do not fully tighten.
 Loading...