Operation (continued)
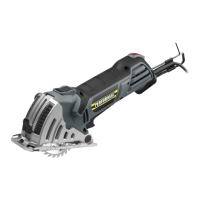
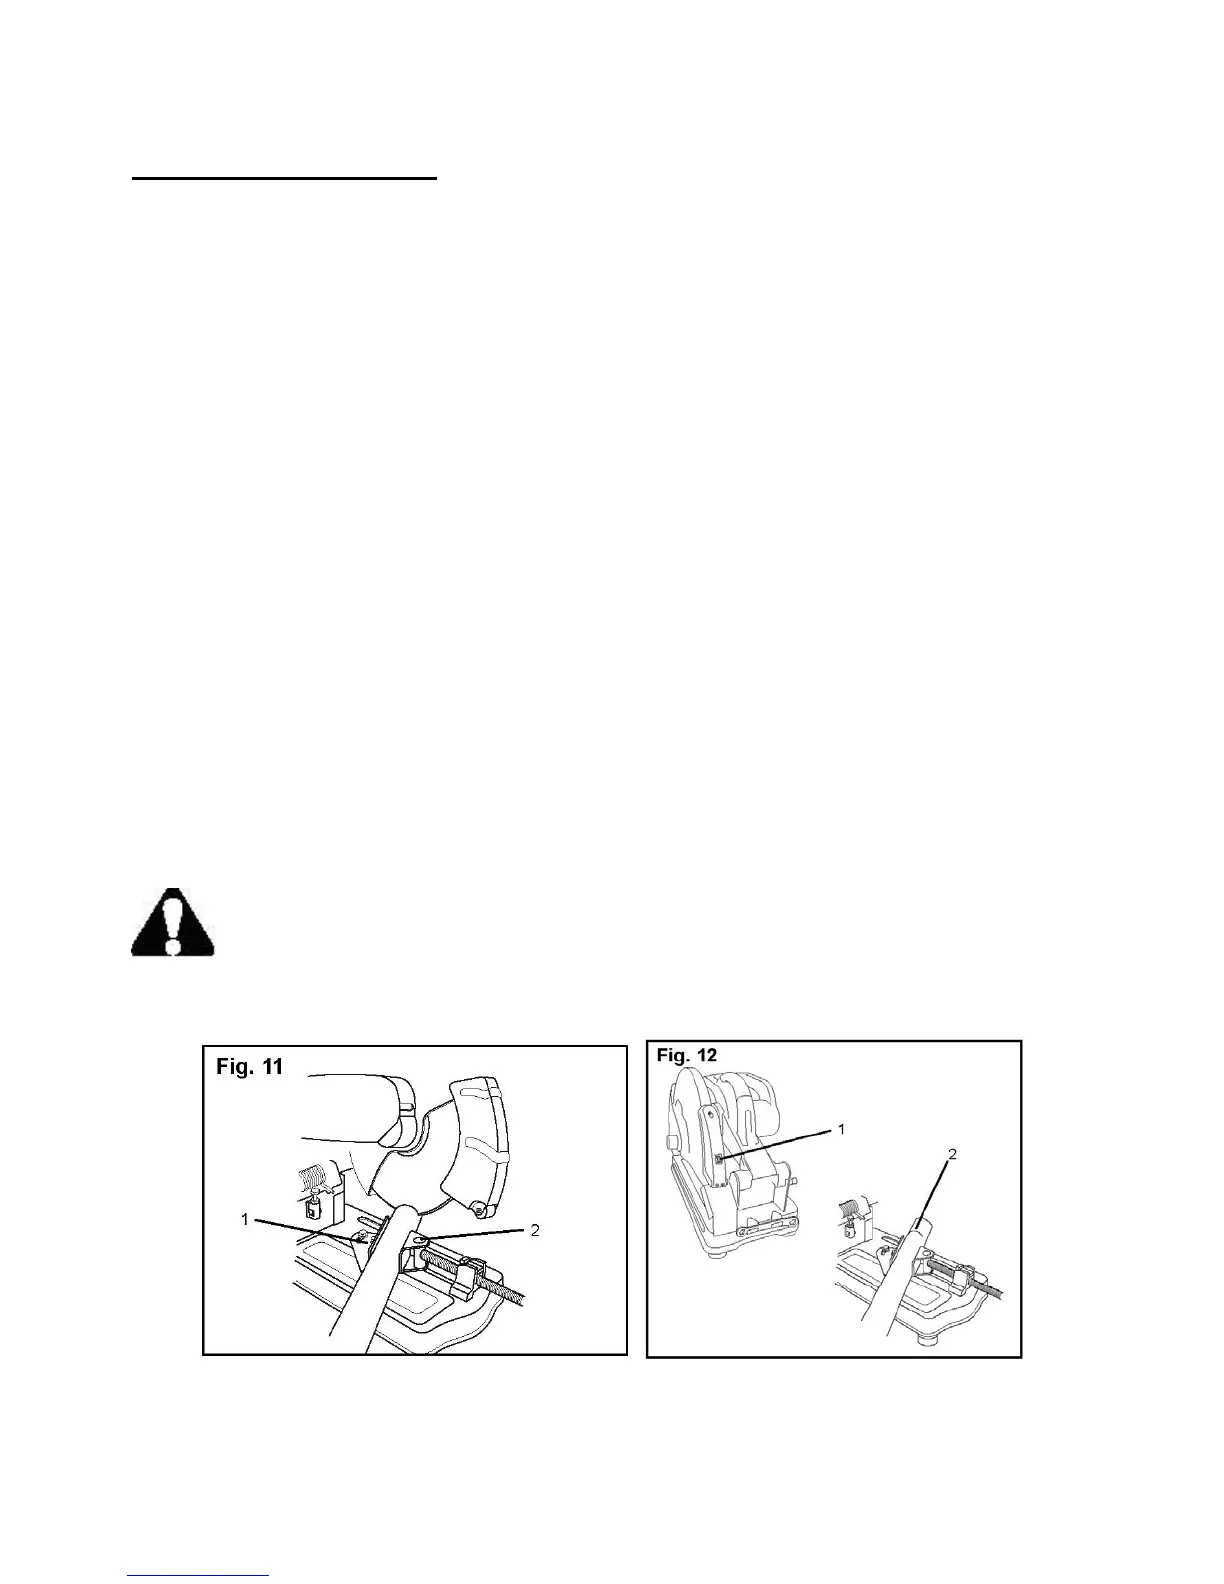
Cutting a workpiece (Fig. 11)
1. Set the angle plate (1) to the desired cutting angle.
2. Make sure the workpiece lies flat on the saw table.
3. Use the vise (2) to secure the workpiece to the table.
4. Squeeze the trigger switch.
5. After the motor reaches full speed, lower the disc into the center of the workpiece.
6. Using a smooth, firm, and gentle downward motion, make a clean cut through the workpiece. Do
not allow the disc to bump or jump when making contact with the workpiece; this may damage
both the workpiece and the disc.
7. Keep consistent pressure when coming to the bottom of the cut to avoid forming a heavy burr
and overheating the workpiece.
8. Raise the disc completely from the workpiece before releasing the trigger switch and allow the
motor to stop before removing the workpiece.
Note: Support a long workpiece on both ends with blocks of a non-flammable material so that the
workpiece is level with the cut-off saw table.
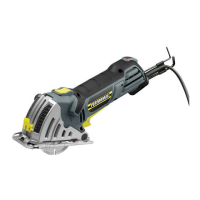
Using the laser line (Fig. 12)
1. Secure the workpiece in the vise clamp.
2. Turn the laser switch (1) to the ON position.
3. Check the location of the laser line on the workpiece. Move the workpiece (2), if needed.
WARNING: Do not stare directly at the laser beam! A hazard may exist if you
deliberately stare into the beam. Please observe all safety rules.
12