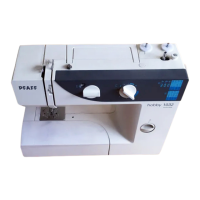
Cord binder
Printed circuit board A
Connector
Setscrew A
Setscrew A
Ornamental plate unit
Setscrew B
Snap ring CS-3
Printed circuit board UD
Tab
104 72 63-26 33
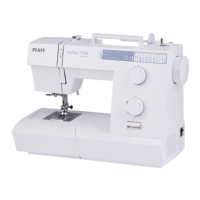
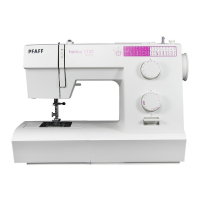
Replace the Printed Circuit Board - UD
To remove:
1 Remove the top cover, belt cover and base.
2 Remove the cord binder below the handwheel.
3 Disconnect the 3 connectors from the printed circuit board A.
4. Remove the set screws A (2 pieces) and remove the ornamental plate unit.
5. Remove the setscrews B (2 pieces) and snap ring CS-3.
6. Replace the printed circuit board UD.
To attach:
Follow the procedure above in reverse.
NOTE:
Route the wire under the tab of the ornamental plate.
Twist the wires from ornamental plate unit to prevent them
from contacting with the timing belt or any other pars.
 Loading...