QUIC K INS T A L L A TIO N G U I D E
1.
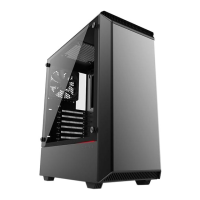
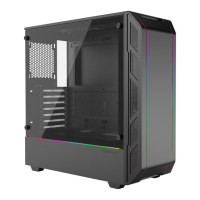
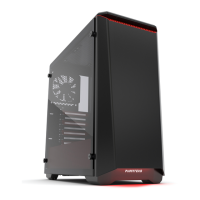
I / O P A N E L
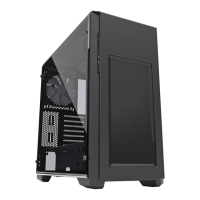
2.
P A N E L R E M O V A L
1. USB 3.0
2. Microphone
3. Headphone
4. LED
5. Power Button
6. HDD LED
Please take a moment to carefully go through the quick installation guide. Phanteks will not take responsibility for any damages incurred due to incorrect
installation and usage of this product.
This is a quick installation guide to help you get started with the . For the full (detailed) version of the
manual please visit www.phanteks.com.
5. Power Button
1. USB 3.0
3. Headphone
2. Microphone
4. LED
6. HDD LED
Long Press:
Short Press (<1sec): Choose LED Color (10 colors)
2 Sec Press: Choose Mode
Mode 1: Static Mode 2: Breathing Mode 3: Color Cycle
<1 sec
2 sec
HOLD
RGB LED Control (6) Instructions:
CAPTIVE THUMBSCREWS
1
2
1. USB 3.0
2. 마이크
3. 헤드폰
4. LED
5. 전원 버튼
6. HDD LED
1. USB 3.0
2. 麦克风
3. 耳机
4. LED
5. 电源按钮
6. HDD LED
1. USB 3.0
2. Микрофон
3. Наушники
4. LED
5. Кнопка питания
6. HDD LED
1. USB 3.0
2. マイクロホン
3. ヘッドホン
4. LED
5. 電源ボタン
6. HDD LED
Unscrew the 2 thumb screws to remove the side panels.
首先拆除 2颗手动螺丝便可移掉左右侧板
2つのつまみねじを抜き、横パネルを取り外します。
2개의 나비 나사를 풀어 측면 패널을 분리합니다
Для снятия боковых панелей отверните 2 винта с накатанной
головкой.
Unscrew the 4 thumb screws to remove the side panels.
首先拆除 4颗手动螺丝便可移掉左右侧板
4 つのつまみねじを抜き、横パネルを取り外します。
4개의 나비 나사를 풀어 측면 패널을 분리합니다
Для снятия боковых панелей отверните 4 винта с накатанной
головкой.
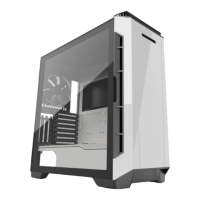
For the front panel, place your hands on the area shown and pull outward.
打开面板时,用手从指示位置向前拉出。
前面パネルの場合、図に示したエリアに両手を置き外側に引きます。
전면 패널을 분리하려면, 양손을 그림에 표시된 부분에 올려놓고 바깥쪽으
로 당깁니다.
Чтобы снять переднюю панель, возьмитесь за нее руками в указанных
местах и потяните наружу.