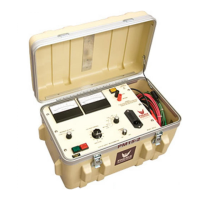
3-1
3. SETUP INSTRUCTIONS
INITIAL CHARGING
Before using the PM15-4A for the first time, perform an initial charging of the batteries as follows:
1. Make sure the main power switch is in the off position.
2. Plug in the supplied AC power cord and connect to the appropriate AC Power Source.
3. The unit will charge automatically once plugged in and will fully charge in 3 hours.
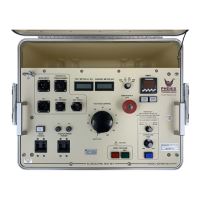
SETUP
Set up the unit as follows:
4. Turn the main Power switch to off.
5. Make necessary grounding connections.
6. Assure that test specimen is non-energized, discharged, and properly isolated before proceeding.
Connect the test leads to the specimen to be tested. See Test Lead Connections section for information
on connecting the test leads.
7. Connect the “AC Line” cord to the AC Input and to the appropriate “AC Power Source” (see unit
specification tag).
8. Connect the SX1 Security Circuit plug (included) to the front panel to complete the circuit for the unit to
enable energizing voltage. Be sure to align the plug with the two pins on the panel-mounted connector.
The plug can be disassembled and the contacts used to connect to an appropriate security circuit
application such as a security door to the high voltage testing area or similar setup. NOTE: If the security
circuit is not connected or loses its connection during a test, the unit will cease its output voltage and
display “INTERLOCK OPEN” to alert the operator to check the connection status of the security circuit.
TEST LEAD CONNECTIONS
An understanding of the function of the two current return terminals (“Return” and “Ground”) on the unit will
allow the operator to properly connect the test leads for a variety of configurations.
The following points should be kept in mind when determining the proper connections for a given test
requirement; (see Page 3-3 and 3-4 for further illustration at the end of the Set Up and Operation Section).
Assure that test specimen is non-energized, discharged, and properly isolated before connecting test
leads.
1. Always attach the “High Voltage Test Lead” to the “High Potential Side” of the test specimen.
2. Always connect the “Ground” terminal to facility ground for each test.