65BDL6005X
41
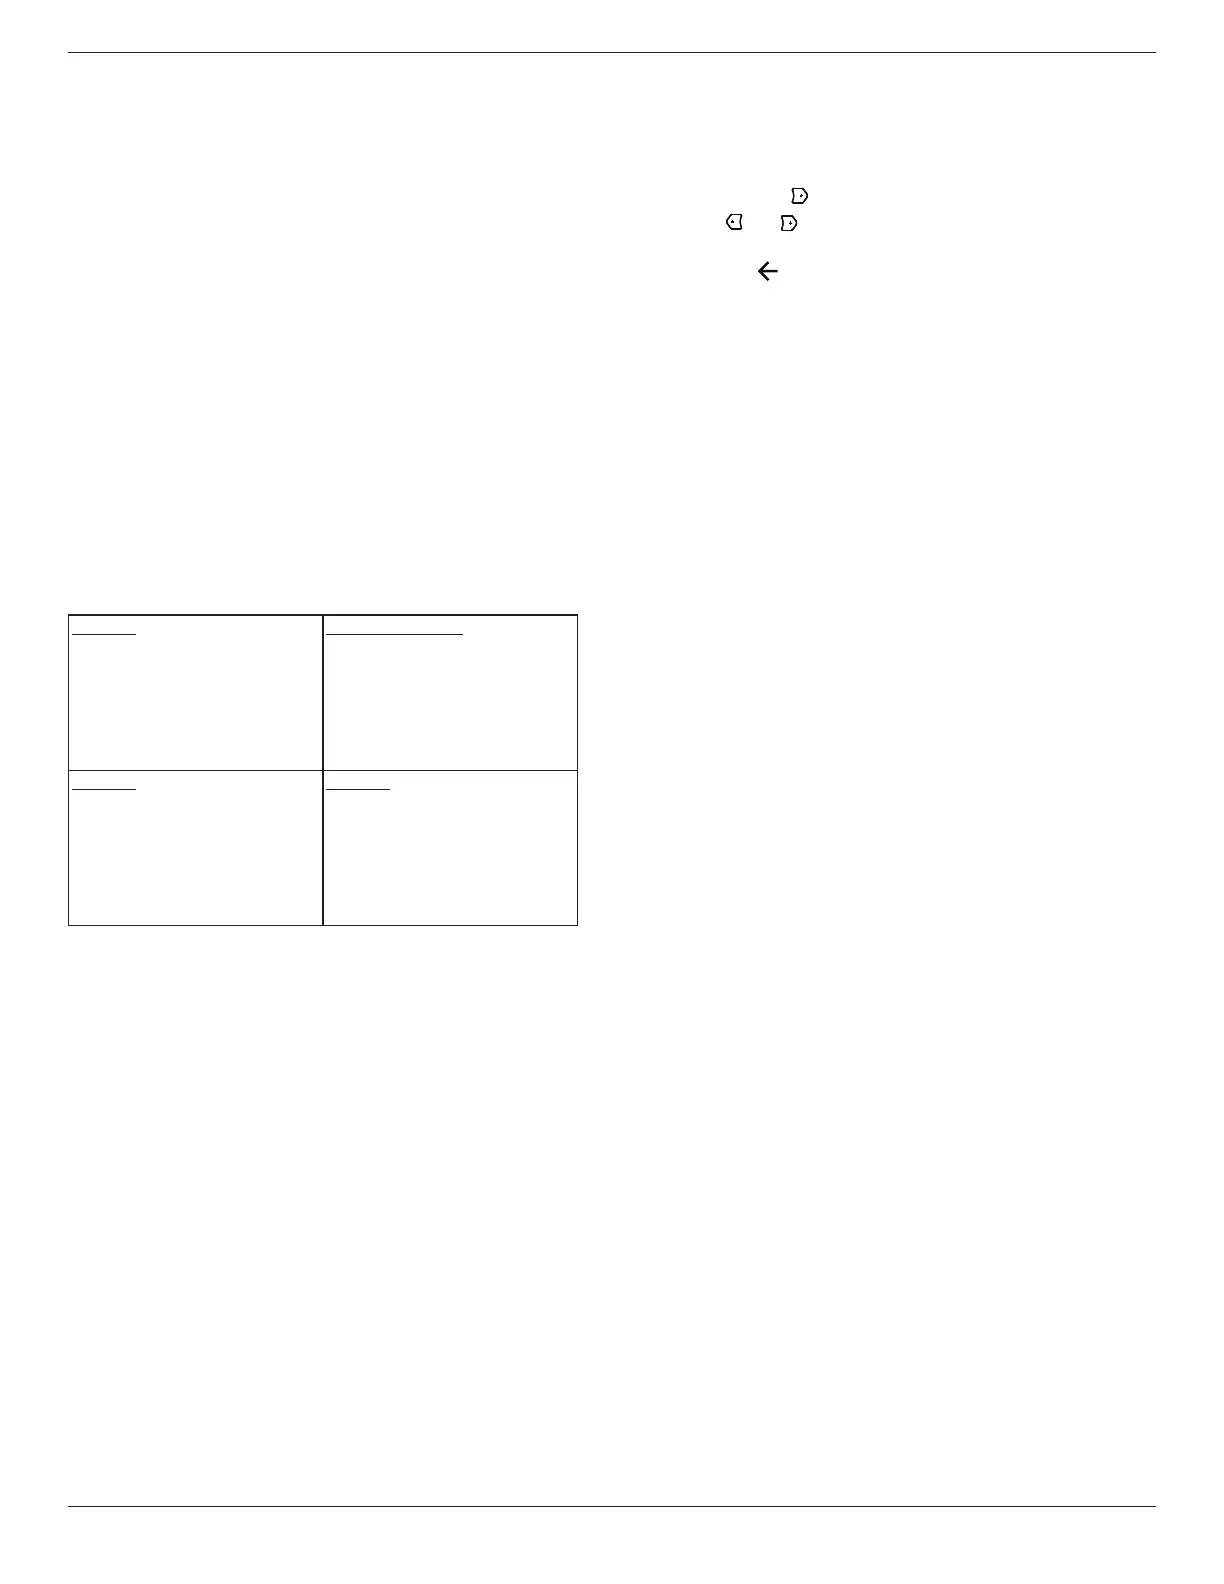
Power Save
Power save modes
Mode 1: [TCP o, WOL on, auto o]
DC o -> Power o. LED: Red.
Power Save -> Power o, LED: Red
Mode 2: [TCP o, WOL on, auto on/o]
DC o -> Power o, LED: Red.
Power Save -> Power Saving.
LED: Orange. Can be wake up.
Mode 3: [TCP on, WOL o, auto on/o]
DC o -> Back light o, LED: Red
Power Save -> Back light o, LED: Orange. Can be
wake up.
Mode 4: [TCP on, WOL o, no auto on/o]
DC o -> Back light o, LED: Red
Power Save -> Will not enter power save mode.
show “no signal” only.
Mode 3
DC OFF:
Backlight O only
Power Save:
Backlight O only
Mode 1(default)
DC OFF:
Power O
Power Save:
Power O
Mode 4
DC OFF:
Backlight O only
Power Save:
No signal(Backlight On)
Mode 2
DC OFF:
Power O
Power Save:
Power Saving
DC o/on: Press power button by RC
Scalar FW Update
Update scalar FW by USB.
Information OSD
Set the period of time the information OSD is displayed on
the upper right corner of the screen. The information OSD
will display when input signal is changed.
The information OSD will remain on the screen with {O}
selection.
The options are: {1 ~ 60} seconds.
OPS setting
Set OPS status
• {Auto} - After selecting {Card OPS} for video source
input, the OPS will be set to o when the display power
is set to o, or set to on when the display power is set to
on. When set to other video source inputs, the OPS will
always be set to on.
• {Always o} - The OPS will always be set to o.
• {Always on} - The OPS will always be set to on.
* OPS model only
Advanced option reset
Reset all settings except {Date and Time} in the Advanced
option menu to factory preset values.
1. Press [OK] or [ ] button to enter the submenu.
2. Press [ ] or [ ] button to select {Reset} and press the [OK]
button to restore settings to factory preset values.
3. Press the [ ] button or select {Cancel} and press the [OK]
button to cancel and then return to the previous menu.