65BDL6005X
40
selectable) then the real time clock should be adjusted at the
moment in time set in the daylight saving on and o date. At
daylight start date the clock should be put forward 1 hour at
2 o’clock. At daylight stop date the clock should be put back
1 hour at 2 o’clock.
The existing daylight on/o menu item should be replaced
with the following menu structure:
• Menu item <Daylight saving setup> opens submenu
containing the following items:
• Menu item <Daylight-saving start date> Selection item
<1st, 2nd, 3rd, 4th, last> Sunday of selection item <1-12
month>
• Menu item <Daylight-saving stop date> Selection item
<1st, 2nd, 3rd, 4th, last> Sunday of selection item <1-12
month>
• optional
• Menu item <Correction time> Selection item <0.5, 1.0, 1.5,
2.0> hour
• Menu item <Daylight saving correction> Selection item
<on, o>
when “daylight saving” is “on” the real time clock would
have been adjusted automatically for winter and summer
time when passing the critical moment in time (eg march 29,
2009, 02.00 o’clock: time will be set 1 hour later or October
25, 2009, 02.00 o’clock: time will be set 1 hour earlier)
Schedule
This function allows you to program up to 7 (seven) dierent
scheduled time intervals for the display to activate.
You can select:
• The time for the display to turn on and turn o.
• The days in a week for the display to activate.
• Which input source the display will use for each
scheduled activation period.
NOTE: We recommend you to set up current date and
time in the {Date and time} menu before using this
function.
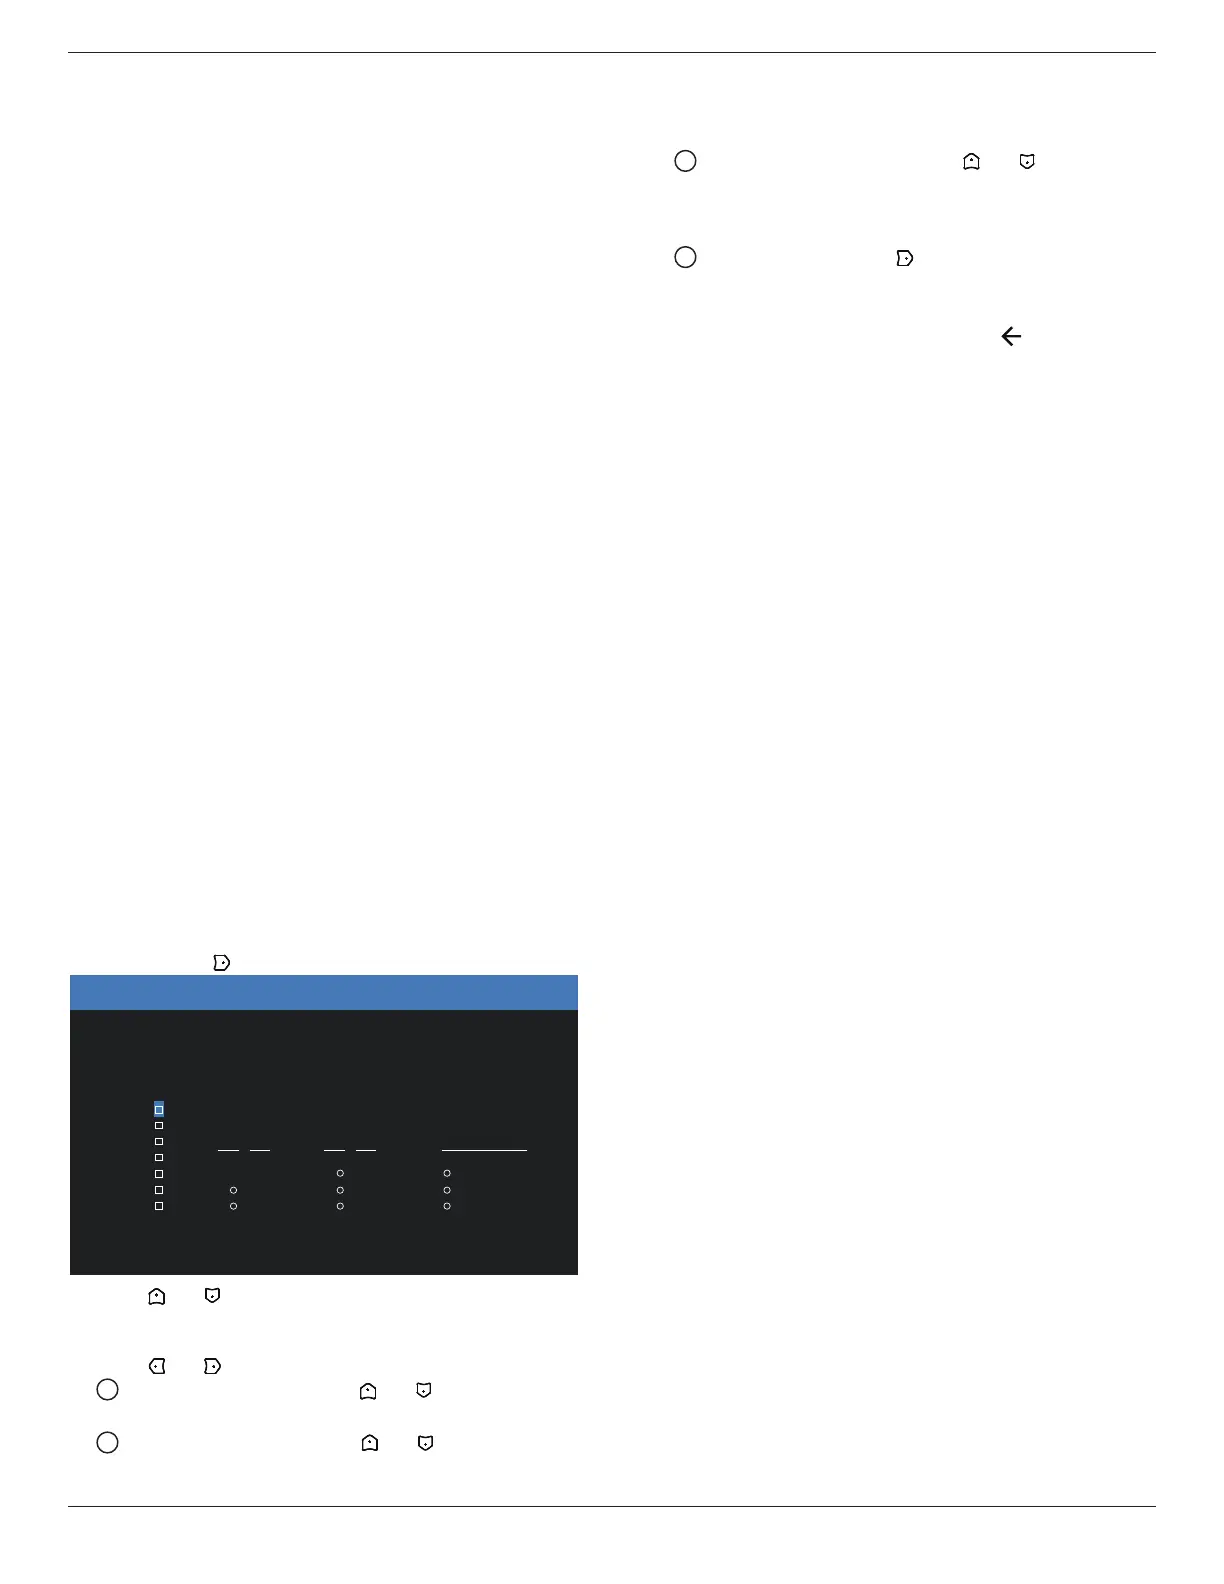
1. Press [OK] or [ ] button to enter the submenu.
Today 2022:02:22 THU 12:22:22
Clear All
1
2
3
4
5
6
7
On
WED
SAT
Off
Input
THU
SUN
FRI
Every week
MON TUE
: :
Schedule
2. Press [ ] or [ ] button to select a schedule item (item
number 1 ~ 7), and then press [OK] button to mark it the
item number.
3. Press [ ] or [ ] button to select the schedule:
1
Power-on schedule: Press [ ] or [ ] button to set
the hour and minute for the display to turn on.
2
Power-o schedule: Press [ ] or [ ] button to set
the hour and minute for the display to turn o.
Select or leave an empty “__” for both the hour and
minute slot if you do not want to use this power-on or
power-o schedule.
3
Input-source selection: Press [ ] or [ ] button to
select an input source. If no input source is selected,
the input source will remain the same as last
selected.
4
Date schedule: Press [ ] button to select which day
in a week this schedule item will be take eect, and
then press the [OK] button.
4.
For additional schedule settings, press [ ], then repeat
the steps above. A check mark in the box next to the
number of the schedule item indicates that the selected
schedule is in eect.
NOTES:
• If the schedules overlap, the scheduled power-on time
takes priority over scheduled power-o time.
• If there are two schedule items programmed for the same
time, the highest numbered schedule takes priority. For
example, if schedule items #1 and #2 both set the display
to power on at 7:00 AM and o at 5:00 PM, then only
schedule item # 2 will take eect.
HDMI with One Wire
CEC control.
• {O} - Disable CEC.(Default)
• {On} - Enable CEC.
Auto signal detection
Choose to let the display detect and display available signal
sources automatically.
• {O} - Once a signal is connected, it can only be selected
manually.
If the selected input is no signal, set the display to display the
image automatically according to the search order of each
option.
The options are: {All} / {Failover}
• {All}: DP -> DVI-D -> VGA -> HDMI1.
• {Failover}
-
Failover 1: User-dened setting. Default: HDMI 1.
-
Failover 2: User-dened setting. Default: HDMI 1.
-
Failover 3: User-dened setting. Default: HDMI 1.
-
Failover 4: User-dened setting. Default: HDMI 1.
-
Failover 5: User-dened setting. Default: HDMI 1.