SERVICE MANUAL
LBB 3310/00, 3330/00 and 3331/00 page: 9 Date of issue:
4822 861 11006 July 1998
8. Microphone stem adjustment
Microphone stem
When the microphone stem assembly has to be replaced, it is required that the input level of the microphone is adjusted
again by use of the preset potentiometer R72.. This due to the spread in sensitivity of the microphone capsule (approx.
±4dB).
Procedure
The adjustment is a practical procedure to compare factory adjusted units with units were the microphone stem is
replaced and to be tuned to the system level again.
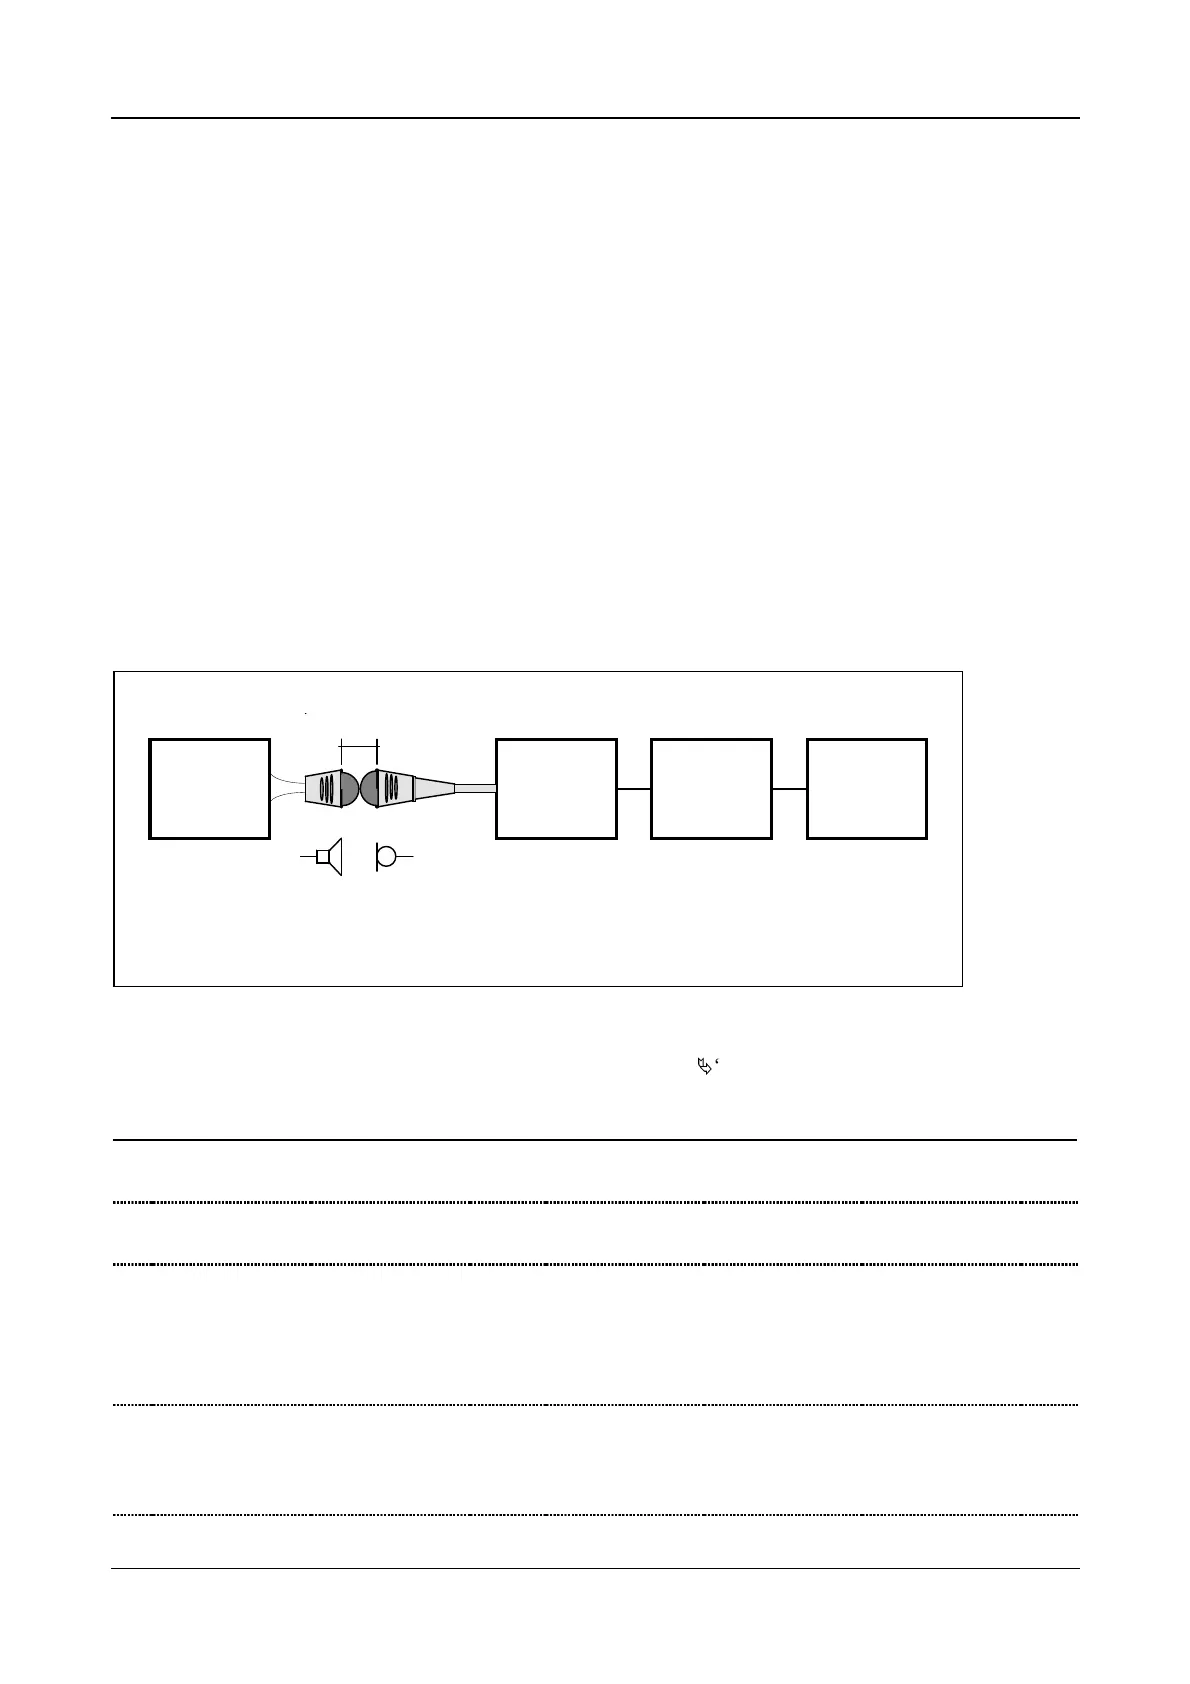
Test set-up
- Audio sine wave generator
- Home made loudspeaker reference source “A” (see figure below)
- CPSU
- AC mV meter
Fixed
A
Distance
B
Audio generator CCS800 CPSU AC mV meter
Unit
1 kHz LBB 333x
1 mic. active dBV
Unit to adjust
A = microphone cap with build in loudspeaker
B= Unit microphone to adjust
Measurements
Measurement data output and adjustments is represented by the symbol ‘
Ä
‘
Test procedure Comment
1
Connect the CCS800 unit with the CPSU. Select only one active mic. on the CPSU!
2
Connect to the ‘Line out’ of the CPSU the
AC mV meter
3
Adjust the audio source to approx. 1kHz. The audio level of the lsp. should be distortion free and at a
level of speaking distance.
Take care that no acoustic nuisance from outside influence the
measurements.
4
Place the mic. of a factory adjusted CCS800
unit close to the loudspeaker on a fixed
distance.
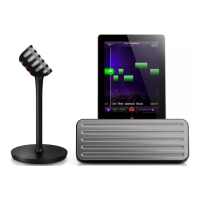
Make from an old DCN or CCS800 microphone head housing
an audio reference source.
Mount inside the (empty) head e.g. a paging bleeper as ref.
loudspeaker.
 Loading...