12
Tip
The pin arrangement for the ISO connectors
depends on the type of vehicle you drive.
Make sure to make the proper connections to
prevent damage to the unit.
Mount in the dashboard
1 If the car does not have an on-board
drive or navigation computer, disconnect
the negative terminal of the car battery.
If you disconnect the car battery in
a car that has an on-board drive or
navigation computer, the computer
may lose its memory.
If the car battery is not disconnected,
to avoid short-circuit, ensure that
bare wires do not touch each other.
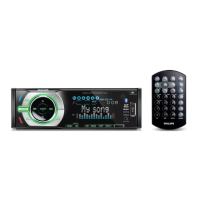
2 Remove the two screws on the top of the
unit.
3 Remove the mounting sleeve with the
supplied disassembly tools.
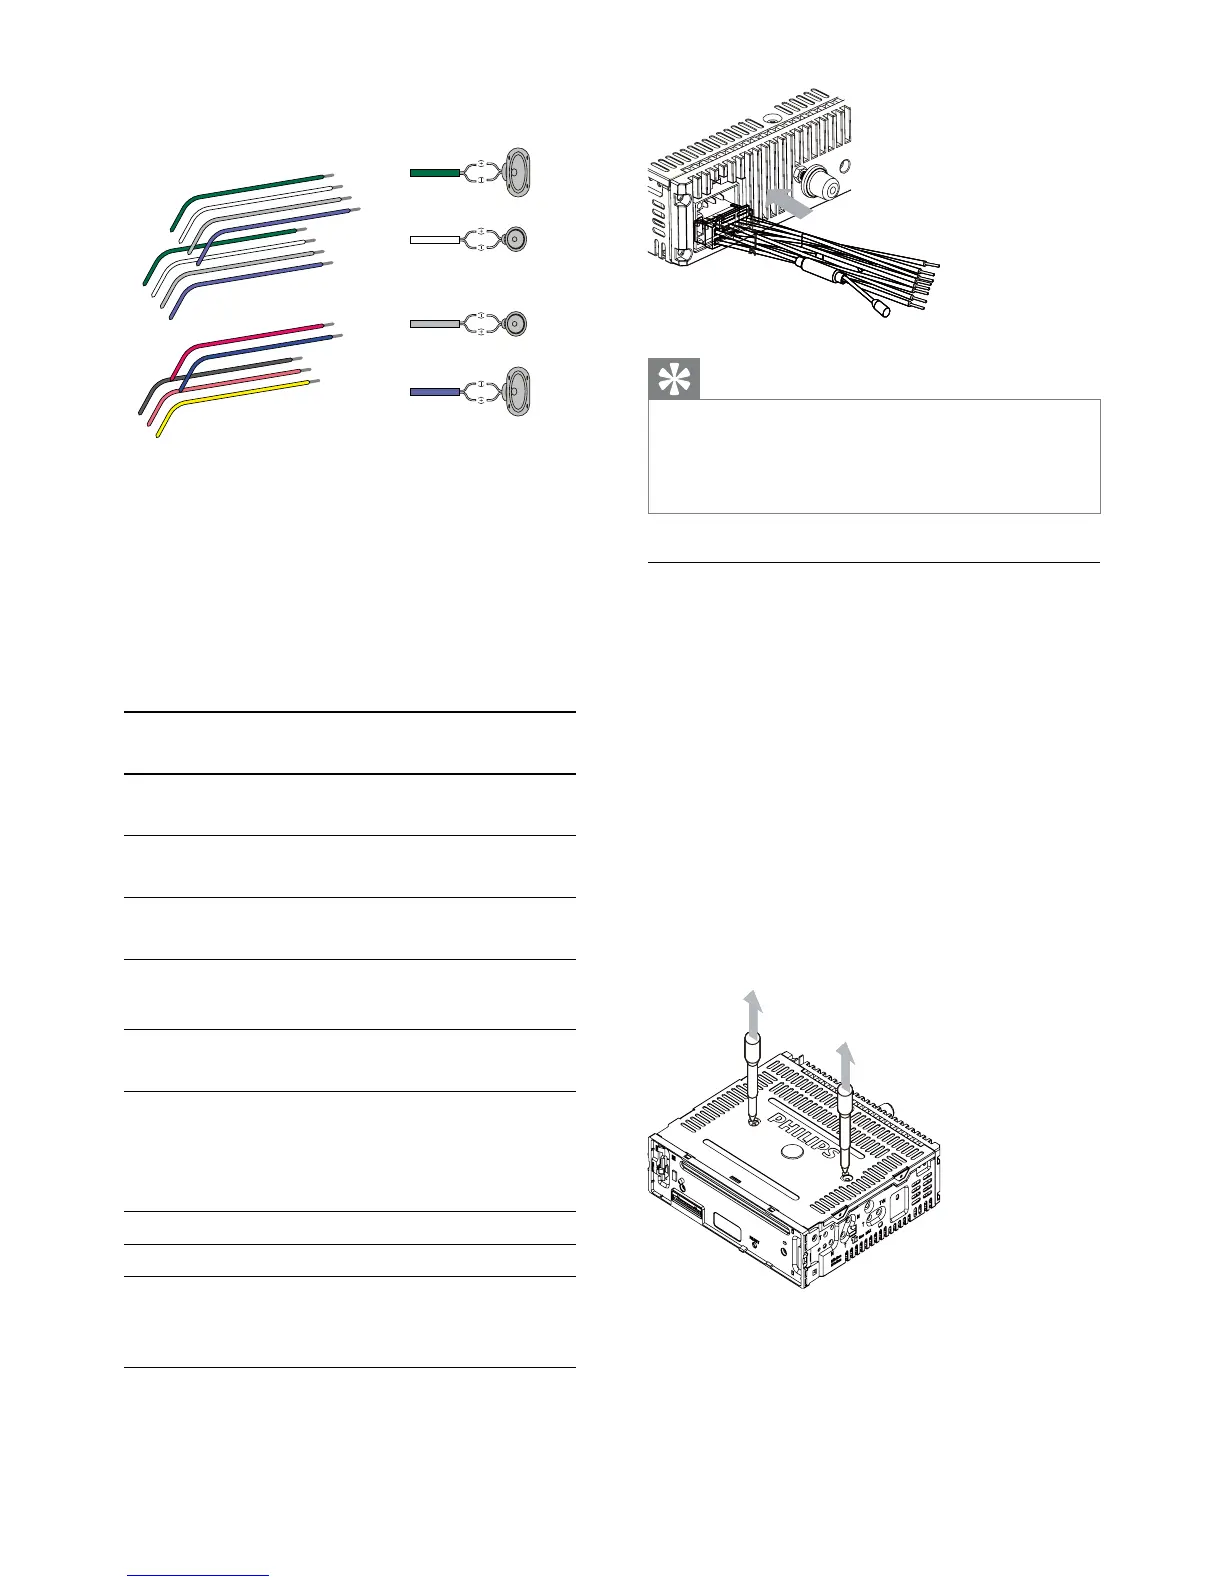
2 Cut off the bigger end of the supplied
standard connector.
3 Check the car’s wiring carefully and
connect them to the supplied standard
connector.
1 Green/black strip Left speaker
(Rear)
2 White/black strip Left speaker
(Front)
3 Gray/black strip Right speaker
(Front)
4 Purple/black strip Right speaker
(Rear)
eREDIgnition key +12V DC
when ON/ACC
fBLUEMotor/electric antenna
relay control lead/
$PSOLÀHUUHOD\FRQWURO
lead
gBLACKGround
h ORANGE Illumination switch
i YELLOW To the +12V car battery
which is energized at all
times
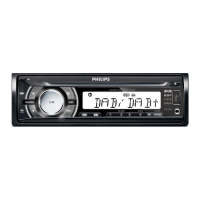
4 Connect the supplied standard connector
to the unit.
b
a
c
d
aa
b
c
d
a
b
e
f
c
d
g
h
i
b
c
d
EN