Do you have a question about the Philips DCC 300 and is the answer not in the manual?
Instructions for fitting a 13 Amp mains plug and changing its fuse.
Guide to connecting wires to the correct terminals in a plug.
Notes on copyright and consent for recording.
Details of the MAINS, VOLTAGE SELECTOR, ANALOG, and DIGITAL input/output sockets.
Advice on unit placement, ventilation, and acclimatization.
Instructions for connecting audio sources and outputs.
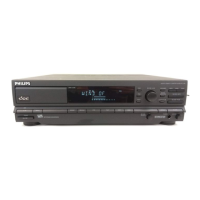
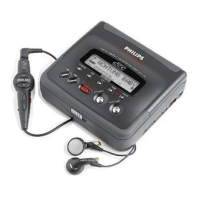
Controls for powering the unit and accessing the cassette tray.
Buttons for playback, search, stop, and track selection.
Controls for recording level, Dolby NR, input selection, and balance.
Proper procedure for inserting a DCC cassette, noting inscription and slider position.
Guidelines for inserting an ACC cassette, checking for dirt and damage.
How to activate record protection on a DCC cassette using the red button.
Instructions for switching the unit on/off and entering standby mode.
How the unit identifies inserted cassettes and displays information.
Steps to start playback and how to stop it using the STOP key.
Using PREVIOUS/NEXT keys to find specific music tracks on DCC and ACC.
How to repeat a single music track using the PREVIOUS or REPEAT keys.
Explains TRACK REPEAT and REPEAT CONT modes using the REPEAT key.
Details on using Dolby B/C NR with ACC cassettes.
Explanation of how the unit responds to markers during playback.
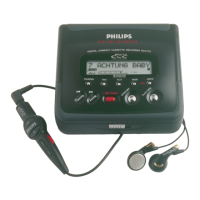
Connecting and adjusting headphones using the front jack.
Steps to prepare for recording, including inserting DCC and pressing APPEND.
Guide to starting recording using the RECORD PAUSE and RECORD keys.
Choosing between digital and analog input sources for recording.
Using RECORD MUTE to create 3-second pauses between tracks.
How markers are automatically written during recording.
Important notes on track info, copy protection, and digital input checks.
How to view track title, artist, album, and total tracks using the TEXT key.
Different ways to display time (TIME, TOTAL TIME, REM TIME, COUNTER).
How to reset the tape counter to '0000' using the RESET key.
Explanation of START, REVERSE, NEXT SIDE, and LEAD IN markers.
How to use the NEXT MARKER to switch sides during recording.
How to erase markers using the MARK ERASE key.
Updating track sequence after adding/erasing markers.
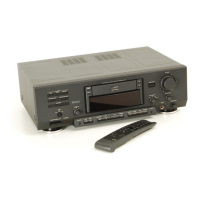
Mapping remote buttons to unit functions, noting exceptions.
Functions of digit keys and STANDBY on the remote.
How to install and remove batteries from the remote control.
Instructions for cleaning the unit and recommendations for cleaning cassettes.
Initial steps to take when the unit shows unexpected symptoms.
Details of digital and analog input formats, impedance, sensitivity, and voltage.
Specifications for analog output, headphone output, and playback formats.
Cause and solution for the 'PRESS STOP' error message.
Cause and solution for the 'TAPE BLOCKED' error message.
Cause and solution when no cassette is detected.
Cause and solution for when a selected track number does not exist.
Cause and solution for issues with digital input signals.
Cause and solution for copy protection preventing recording.
Cause and solution for 'NO AUDIO' when a data cartridge is inserted.
Cause and solution when there is no text information on the cassette.
Cause and solution when attempting to record with an ACC cassette.
Cause and solution for trying to record on a protected cassette.
Cause and solution for 'START CD' when the CD player sends no signal.
Cause and solution when RENUMBER is not possible due to recording method.
| Brand | Philips |
|---|---|
| Model | DCC 300 |
| Tape Type | Digital Compact Cassette (DCC) |
| Frequency Response | 20Hz - 20kHz |
| Digital Recording Format | PASC (Precision Adaptive Sub-band Coding) |
| Output | Line out, headphone out |
| Wow and Flutter | Below measurable limits |
| Analog Playback Compatibility | Compact Cassette (Type I, Type II, Type IV) |