6
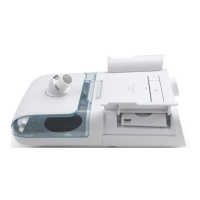
4. Carefully replace the water tank (1) into the humidier and close the humidier lid (2) until it snaps shut.
Warning: When installing the tank, do not allow any water to spill into the humidier or therapy device.
Caution: Do not move the humidier while the water tank has water in it.
5. Supply power to your therapy device. Refer to the manual included with your therapy device.
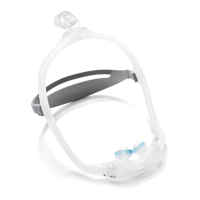
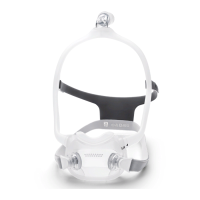
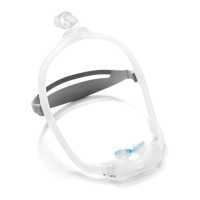
6. Put on your mask assembly. Refer to the instructions supplied with the mask.
7. Turn on the airow on your device and begin therapy. Refer to the manual included with your therapy device.
Note: If you are having trouble with your mask, refer to the instructions included with the mask.
8. Refer to your therapy device manual for complete instructions on how to adjust both the Heated Humidier and
the optional Heated Tubing settings to achieve the desired humidity.
Caution: Do not turn the humidier on without the water tank installed. The humidier setting must remain “off”
if there is no water in the water tank.
9. Refer to the manual included with your therapy device for instructions to turn off therapy.
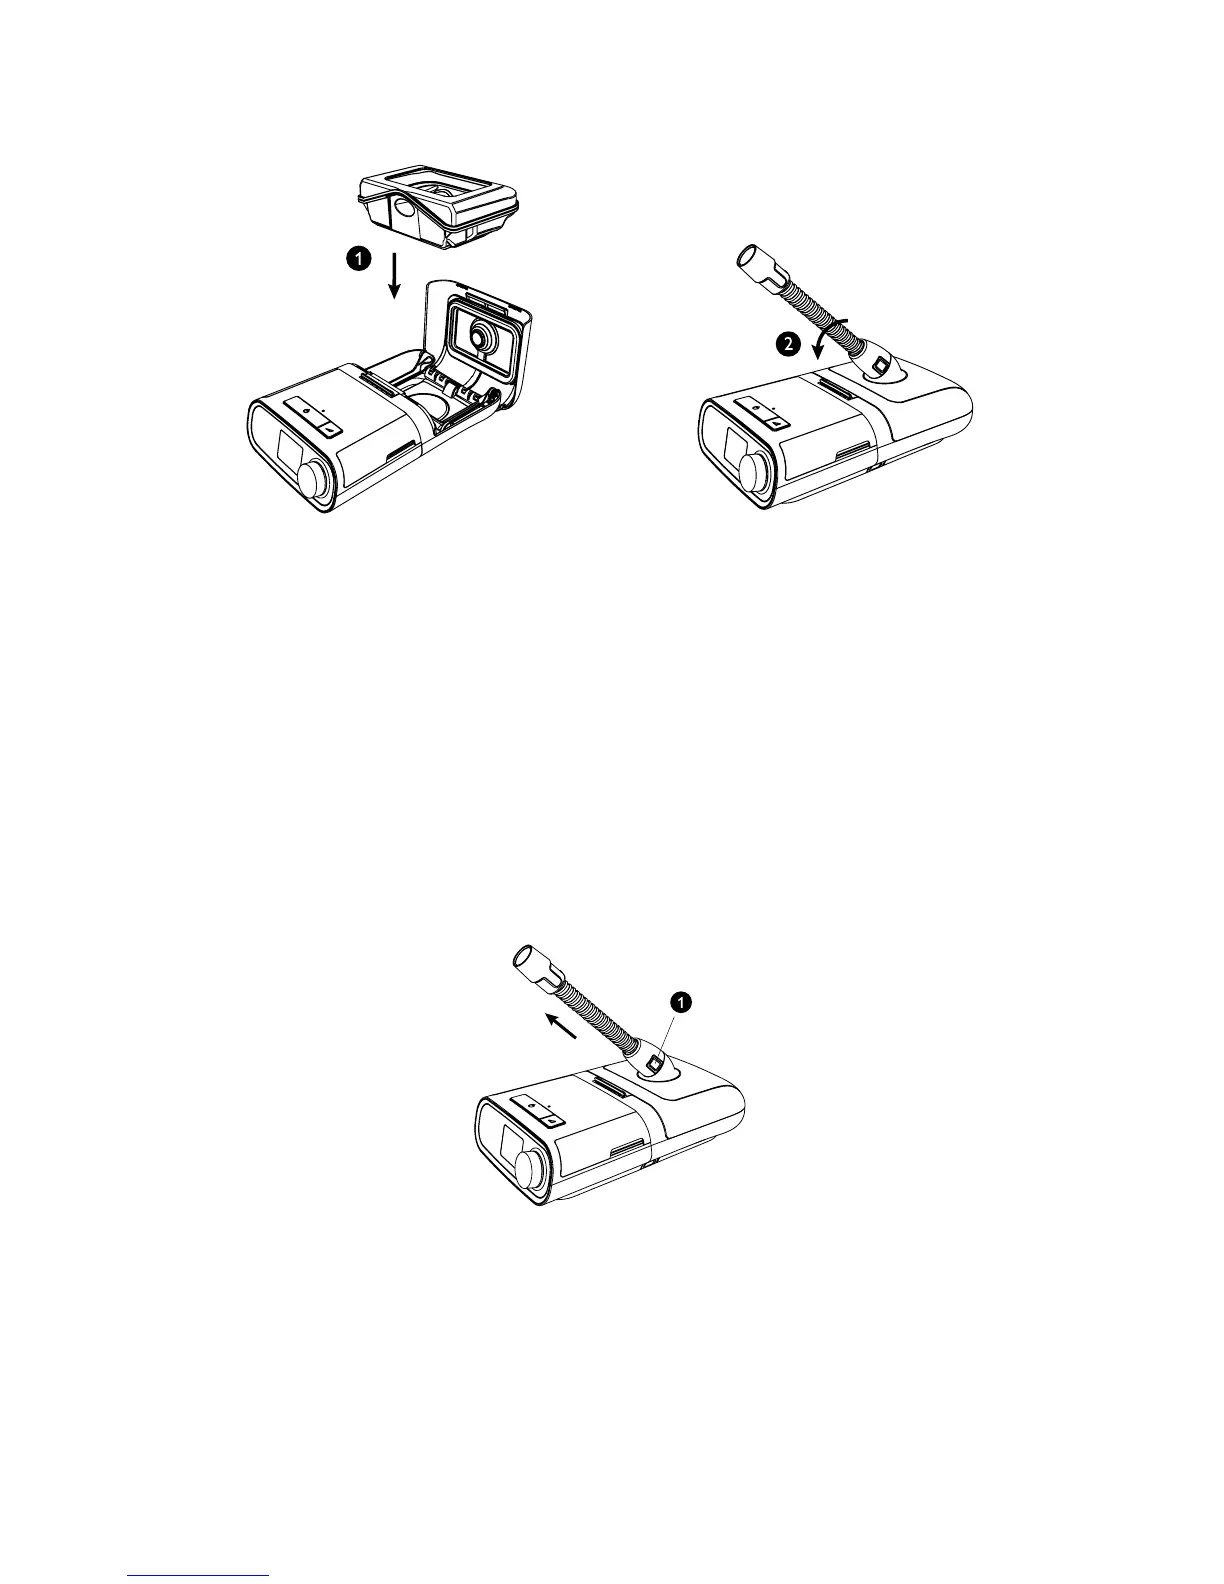
DisconnectingtheTubing
1. To remove the heated tubing, press in the tabs (1) on the side of the tubing connector and pull the tubing away
from the outlet port.
2. If you are using a standard tube (not shown) instead of a heated tube, simply pull the tubing away from the outlet
port.