8
5
6
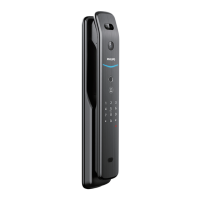
Make sure the mounting plate is
installed as shown in the picture and
fasten it with screw.
The bar can be cut to an optimal length
based on door thickness and then insert it
into the hole on the mortise.
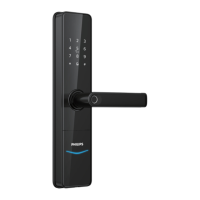
Put the compressed spring and
square shaft to the rear escutcheon.
Align the square shaft and bar with
the hole on the mortise. Connect
the connector of front escutcheon
and mortise to the connector port of
rear escutcheon and hide the extra
connector in the door hole. Then
fasten the rear escutcheon with
screws.
Attention
7
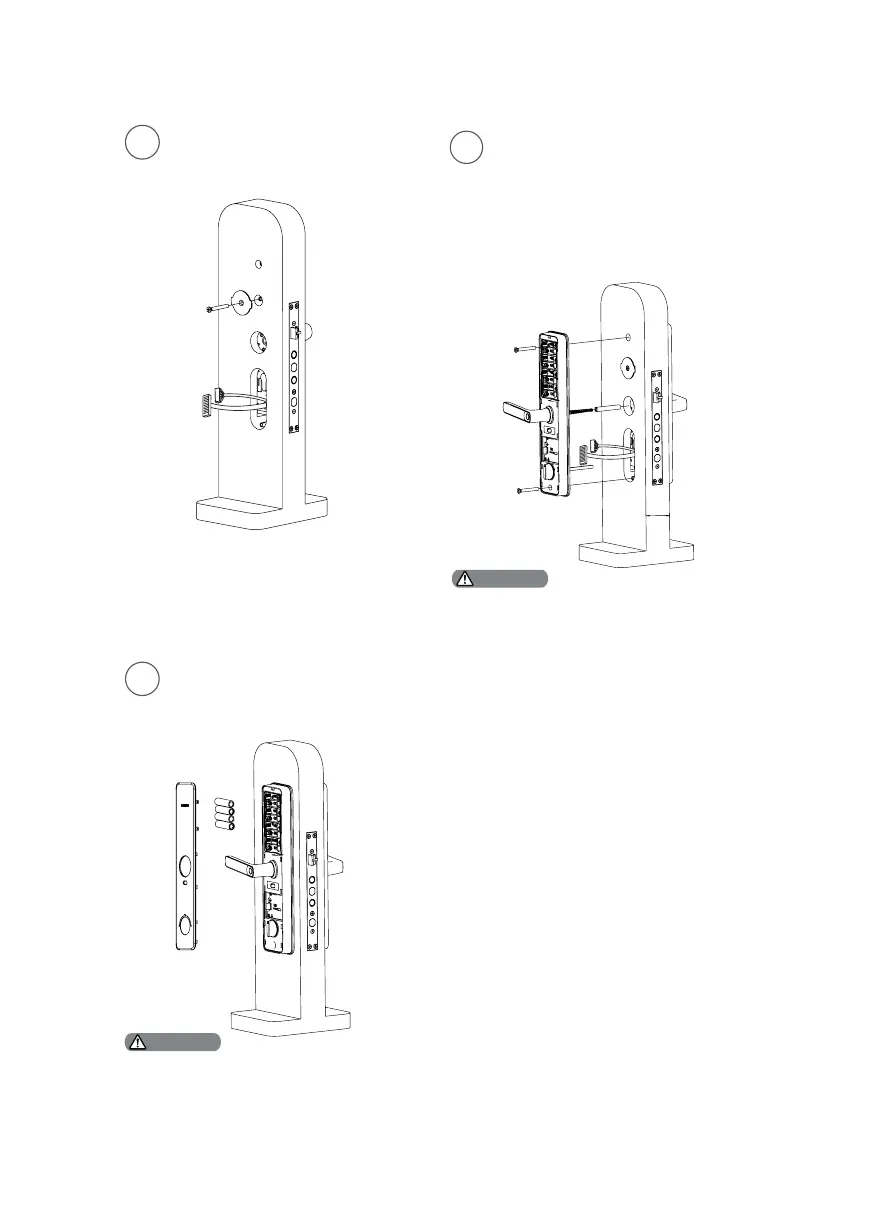
Install four AA batteries followed by
rear cover. Then, test the locking and
unlocking function and repeat these
steps if required.
49.4
Please make sure the rear cover is rmly fastened in the
installation process, preventing it from falling when
closing door.
Attention
 Loading...