13
English
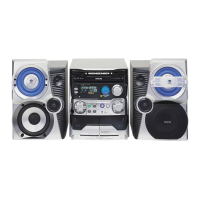
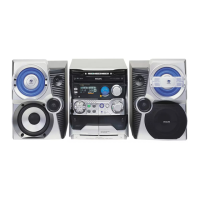
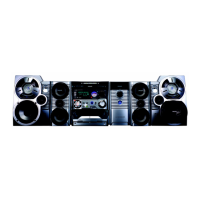
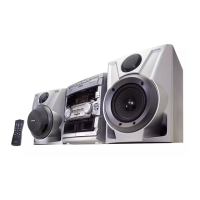
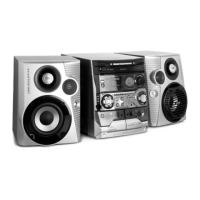
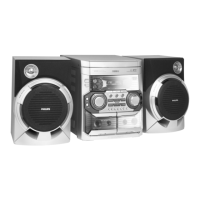
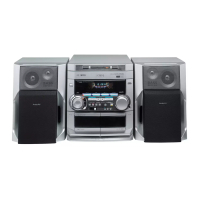
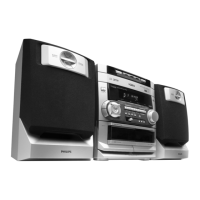
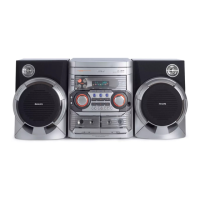
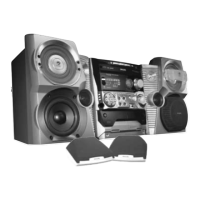
Basic Functions
IMPORTANT!
Before you operate the system, complete
the preparation procedures.
Plug and Play
Plug and Play allows you to store all available
radio stations automatically.
If Plug and Play has not been installed
1
When you turn on the system, "AUTO
INSTALL - PRESS PLAY" will be displayed.
2
Press PLAYÉÅ on the system to start
installation.
➜ "INSTALL" will be displayed and followed by
"TUNER" and then "AUTO".
➜
PROG
will start flashing.
➜ The system will search for all radio stations
on the FM band, then the MW band.
➜ All available radio stations with strong signal
strength will be stored automatically.
➜ The system will stop searching when all the
available radio stations are stored or when the
memory for 40 preset radio stations is used.
➜ The last preset radio station will play when
Plug and Play is completed.
To reinstall Plug and Play
1
In Standby or Demonstration mode, press and
hold PLAYÉÅ on the system until "AUTO
INSTALL - PRESS PLAY" is displayed.
2
Press PLAYÉÅ again to start installation.
➜ All previously stored radio stations will be
replaced.
To exit without storing the Plug and Play
● Press Çon the system.
Notes:
– When the power is turned on, the disc tray may
open and close to initialise the system.
– If you do not complete Plug and Play installation,
Plug and Play will be reinitiated the next time you
turn on the power.
– If no stereo frequency is detected during
Plug and Play, "
CHECK ANTENNA
" will be
displayed.
– During Plug and Play, if no button is pressed
within 15 seconds, the system will exit Plug and
Play mode automatically.
Demonstration mode
The system has a demonstration mode that
shows the various features offered by the system.
To activate the demonstration
● In Standby mode, press and hold DEMO
STOPÇon the system until "DEMO ON" is
displayed.
➜ The demonstration will begin.
To deactivate the demonstration
● Press and hold DEMO STOP Çon the system
until "DEMO OFF" is displayed.
➜ The system will switch to Standby mode.
Note:
– Even if you remove the AC power cord and
reconnect it to the wall socket, the demonstration
will remain off until you activate it again.
14
English
Switching the system on
In Standby/Demonstration mode
● Press STANDBY ON.
➜ The system will switch to the last selected
source.
● Press VCD, TUNER, TAPE, AUX (or
VCD 123/MP3 123, TUNER, TAPE 1/2 or
AUX on the remote control).
➜ The system will switch to the selected source.
● Press any one of the DISC DIRECT PLAY
buttons or OPEN•CLOSE.
➜ The system will switch to CD mode.
Switching the system to Standby
mode
In Demonstration mode
● Press and hold DEMO STOP Ç on the
system.
In any other source mode
● Press STANDBY ON (or B on the remote
control).
➜ The clock will appear on the display when the
system is in Standby mode.
Note:
– If you have not deactivated the demonstration, it
will resume five seconds after the system switches
to Standby mode.
Power Saving Automatic Standby
As a power-saving feature, the system will
automatically switch to Standby mode if you do
not press any buttons within 30 minutes after a
disc or tape has stopped playing.
Display mode
There are four different display modes for
selection.
● Press DISPLAY repeatedly to select NORMAL,
MODE 1, MODE 2, or MODE 3.
NORMAL ........ All available LEDs will light up
and the display screen will have
full brightness. The VU meter will
be in music mode.
MODE 1 ..........All available LEDs will light up
and the display screen will have
full brightness. The VU meter will
be in volume mode.
MODE 2 ..........All available LEDs will light up
and the display screen will be at
half brightness. The VU meter
will be in music mode.
MODE 3 ..........The display screen will be at half
brightness. The VU meter and all
LEDs will be off.
Volume Control
Adjust VOLUME to increase (turn knob
clockwise or press VOLUME +) or decrease
(turn knob anti-clockwise or press VOLUME -)
the sound level.
To listen through the headphones
● Connect the headphones plug to the n socket
at the front of the system.
➜ The speakers will be muted.
Basic Functions
 Loading...