Operation 7
4 Operation
Notice
You need to connect the projector to
an HDMI device, so that the projection
screen can show images (see Connect,
page 6).
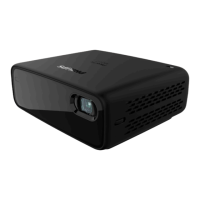
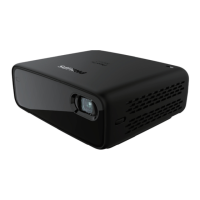
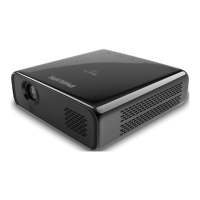
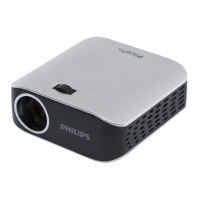
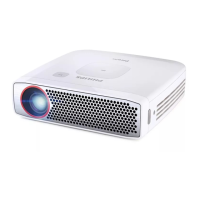
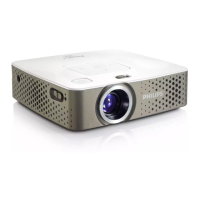
Place the projector
Place the projector on a flat surface in front of
the projection surface.
You can also install the projector in different
configurations (see Placement options, page
8).
Connecting power supply
The projector can be operated by either
external power or built-in battery.
CAUTION!
Always use the button to turn the
projector on and off.
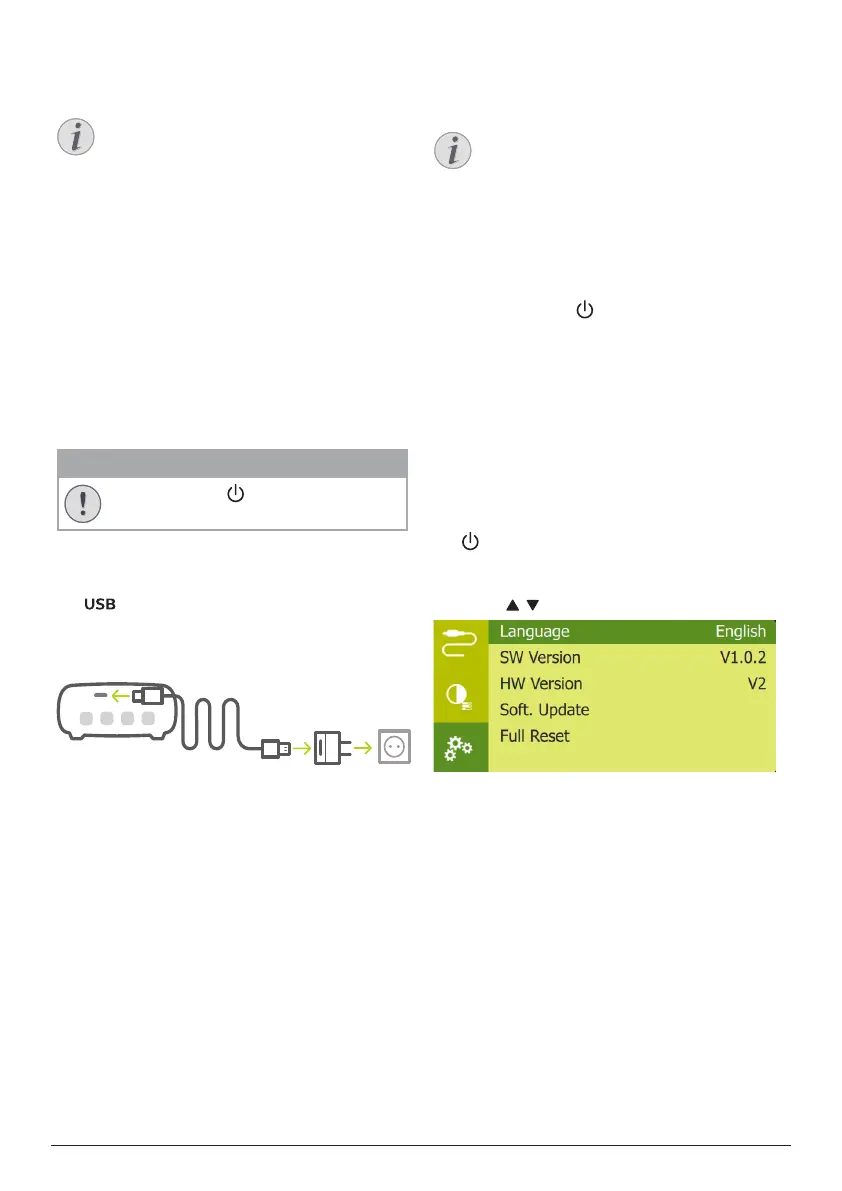
Operation by external power
1 Using the supplied USB cable, connect the
port on the projector to the USB port
on your computer or a power adapter (not
included).
Operation by built-in battery
The projector can be also operated on built-in
battery for portability.
Charging projector
Charge the projector for 1.5 hours before first
use.
Charge the projector when the low battery icon
appears in the center of the projection screen.
• To charge the projector, connect the
projector to an external power supply as
described in the section of “Operation by
external power”.
• When charging, the LED on the projector
turns red. When fully charged, the red LED
turns off.
Notice
The capacity of the built-in battery
diminishes with time. If the projector
functions only with external power
supply, the built-in battery is defective.
Contact an authorised service centre to
replace the built-in battery.
Power on and setup
1 Press and hold on the projector for
3 seconds to switch the projector on or off.
• When the projector is switched on, the
LED on the projector turns blue if the
projector is not being charged.
• When charging, the LED on the
projector turns red regardless of the
projector switching on and off.
Set up the language
1 When the projector is turned on, press
on the projector to access the settings
menu, then navigate to select Language,
and press OK.
2 Press / to select a language.