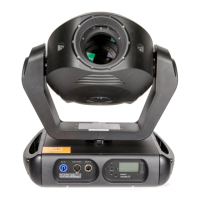
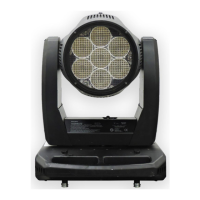
VARI❋LITE® - VLX™ WASH LUMINAIRE USER’S MANUAL
58 15 April 2010 02.9690.0001 A
Troubleshooting Guide
If a problem is suspected, first try recalibrating the luminaire to prompt an error message. The chart
below provides possible causes and remedies for various error messages and/or symptoms.
WARNING: All service and maintenance (including troubleshooting), other than described herein
should be performed by an Authorized VARI❋LITE® Dealer or Service Center.
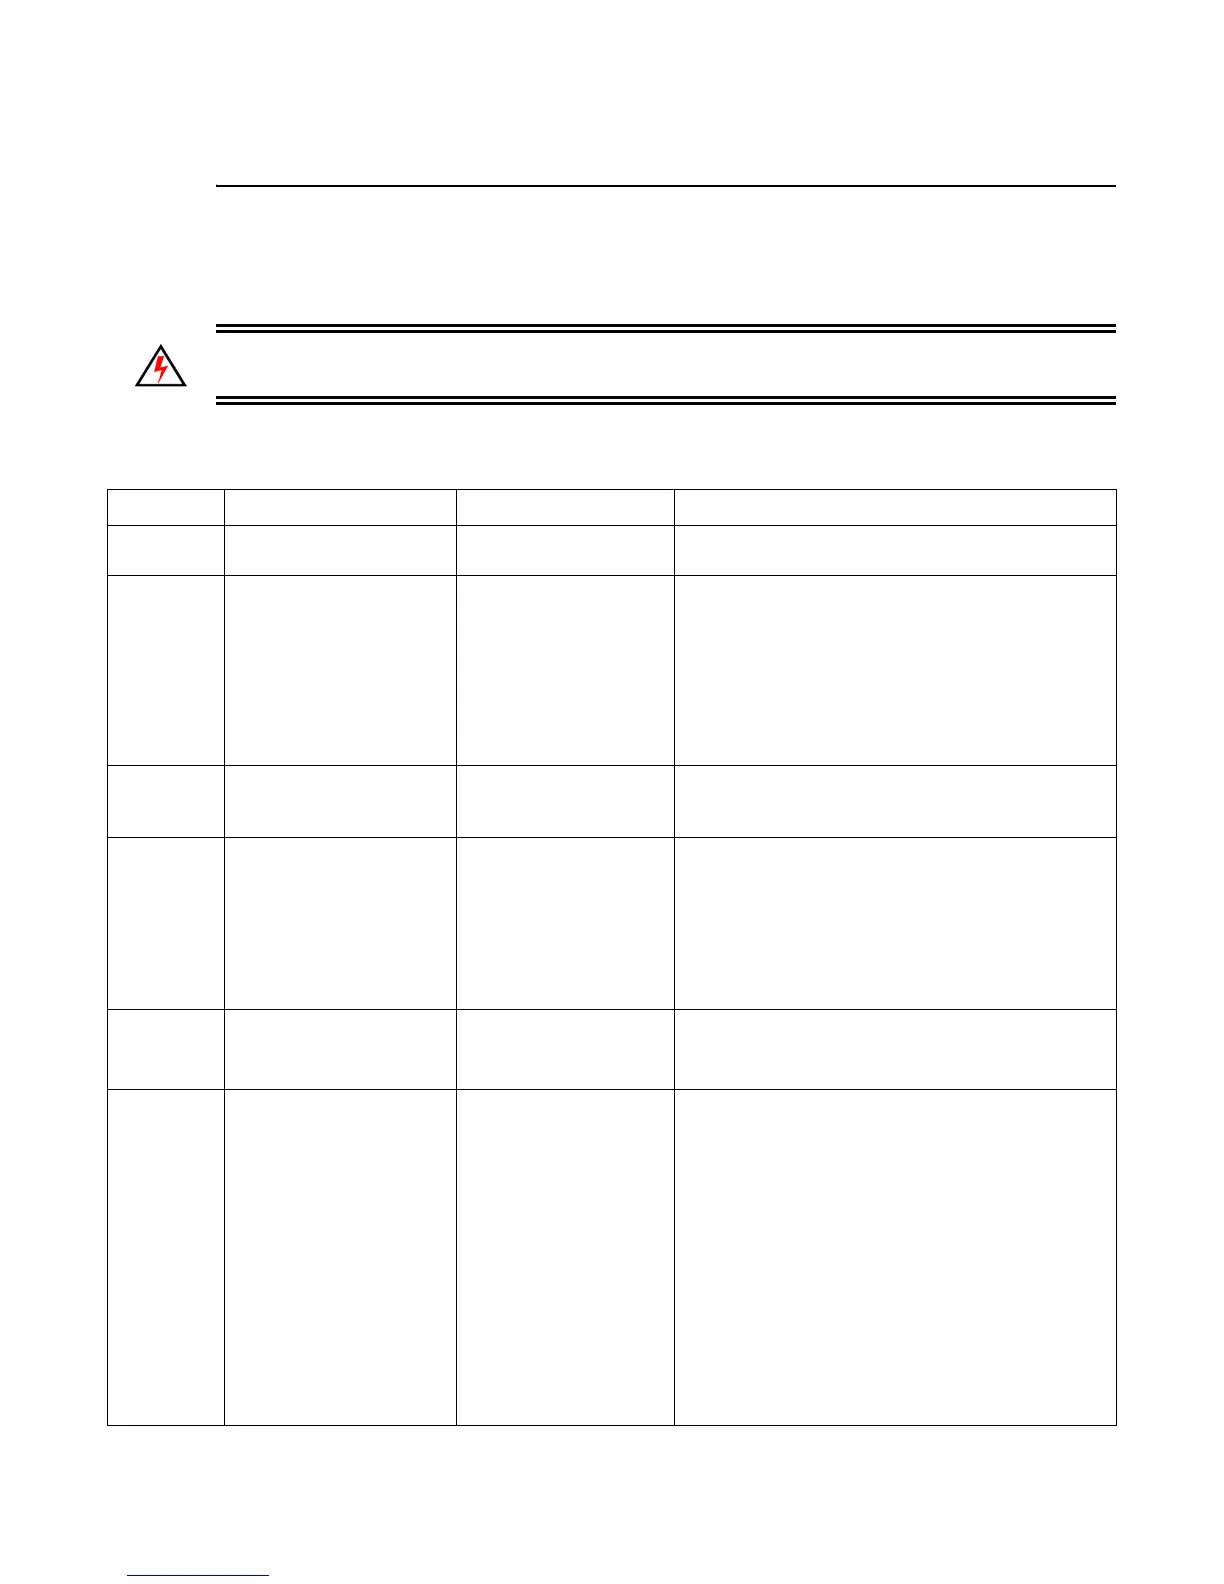
Table A-2: Troubleshooting Chart
Message Description Symptom Possible Cause/Remedy
n/a No light output Fixture will not produce
or output light
Component Failure...
- check fans for proper connection and operation.
n/a No power Luminaire does not
power up
Circuit not energized...
- verify circuit breaker is turned on.
Not plugged in...
- ensure A/C cable is connected to power source.
Power cable wired incorrectly...
- verify power cable and connector are wired
correctly. (
See “Power and Data Cabling
Requirements” on page 10.
).
n/a DMX Data Input Self tests will not run or
software download does
not work.
Detecting DMX data...
- disconnect DMX input cable.
n/a DMX Failure No response to DMX
data
MCB connector disconnected...
- check MCB DATA IN connection.
DMX data cable not wired correctly or has a broken
conductor...
- check DMX data cable for proper wiring. (
See
“Power and Data Cabling Requirements” on
page 10.
)
n/a DMX Termination Erratic control of
luminaire
No DMX termination or termination not correct...
- check for DMX terminator. (
See “Male
Termination Connector” on page 13.
)
n/a LED (light) is getting dim-
mer.
Fixture appears not to
be operating at full
brightness.
Luminaire has detected an over temperature
condition...
- The luminaire will reduce power to all 7 LEDs if it
senses that one LED is operating over the
specified temperature. LED temperature is read
and recorded through a thermistor imbedded in
each LED chip. The two yellow wires carry the
information (on temperature) to the LED’s
respective driver PCB.
- Check the thermistor temperatures of each LED
through the fixture’s LCD display.
If one LED is much hotter than the others...
- Check to see that the LED’s fan is running /
connected to the Driver PCB (Note, LED Driver
PCB number 5 does not have a fan) OR,