MAINTENANCE :
2
02.9663.0010 F 14-May-2009 53
DMX Input PCB Replacement
Parts:
PCB ASSEMBLY, DMX INPUT (24.9663.3895)
Tools:
#2 Phillips screwdriver
To remove and replace DMX input PCB:
Step 1. Disconnect luminaire AC input cable from power source.
Step 2. At pan tube cover, remove four 8-32x3/8" PFZ screws and remove cover
(Figure 2-28).
Step 3. Remove four #4x3/8" HiLo screws.
Step 4. Disconnect DMX input PCB wiring and remove PCB.
Step 5. Replace DMX input PCB by doing steps 2 through 4 in reverse.
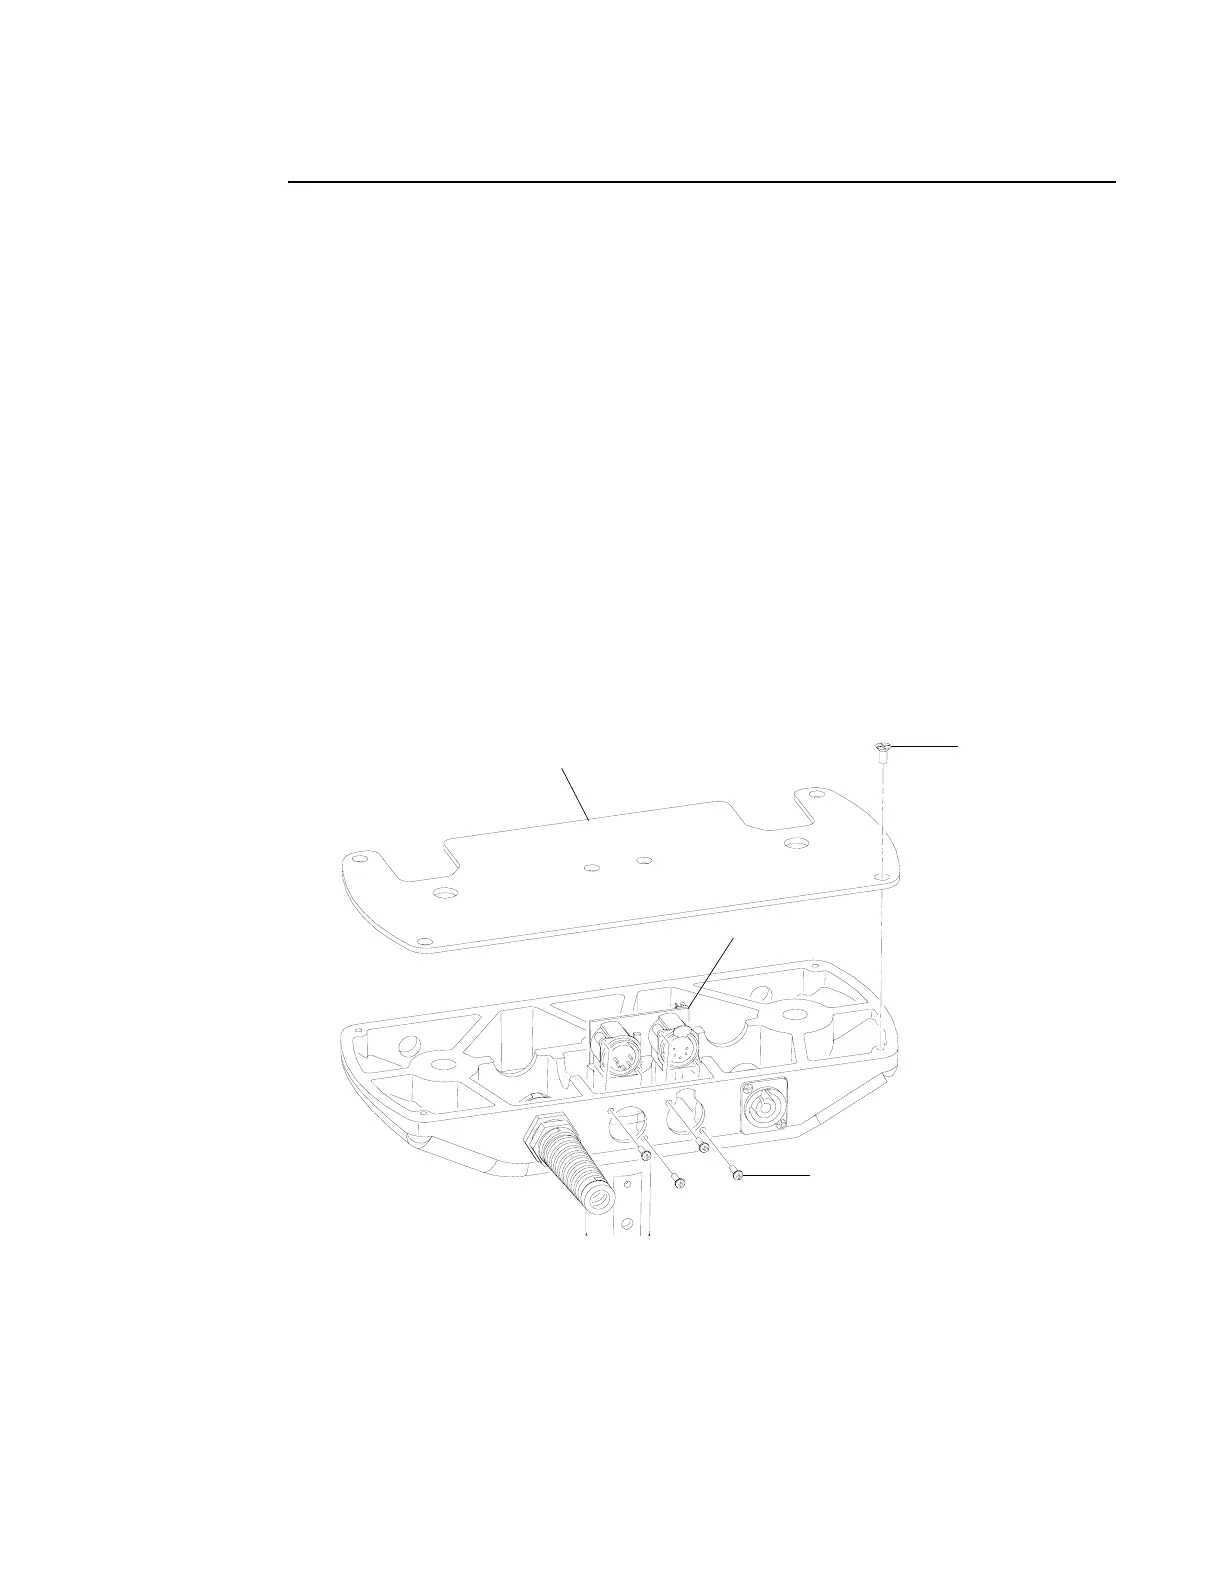
Figure 2-28: DMX Input PCB Replacement
#4x3/8" HiLo Screw
8-32x3/8"
PFZ Screw
Pan Tube Cover
DMX Input PCB