13
MOUNTING THE COWL
1. Remove the muffler and needle valve
assembly from the engine. Slide the fiberglass
cowl over the engine.
2. Measure and mark the locations to be cut out
for engine head clearance, needle valve,
muffler,. Remove the cowl and make these
cutouts using a rotary tool with a cutting disc
and a rotary sanding drum attachment.
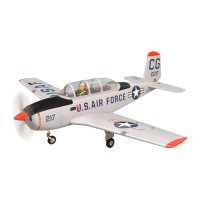
4. Manually push the carburator barrel fully closed.
Angle the arm back about 45 degree from
center and attach the servo arm onto the servo.
With the carburator barrel fully closed, tighte
the set screw in the adjustable metal connector.
5. Remove the excess throttle pushrod wire using
wire cutters and install the servo arm retaining
screw.
48
Throttle servo
49
!
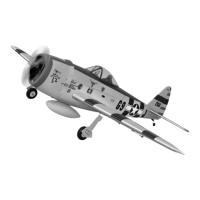
3. Slide the cowl back into place. Align the front of
the cowl with the crankshaft of the engine. The
front of the cowl should be positioned so the
crankshaft is in the middle of the precut
opening. Hold the cowl firmly in place using
several pieces of masking tape.
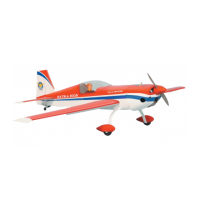
4. While holding the cowl firmly in position, drill
four 1,6mm pilot holes through both the cowl
and the side edges of the firewall.
5. Using a 3mm drill bit, enlarge the four holes in
the cowling
Enlarging the holes through the cowl will prevent
the fiberglass from splitting when the mounting
screws are installed.
6. Slide the cowl back over the engine and secure
it in place using four 3mm x 12mm wood
screws.
7. Install the muffler. Connect the fuel and pressure
lines to the carburator, muffler and fuel filler
valve. Tighten the screws completely.
50
51
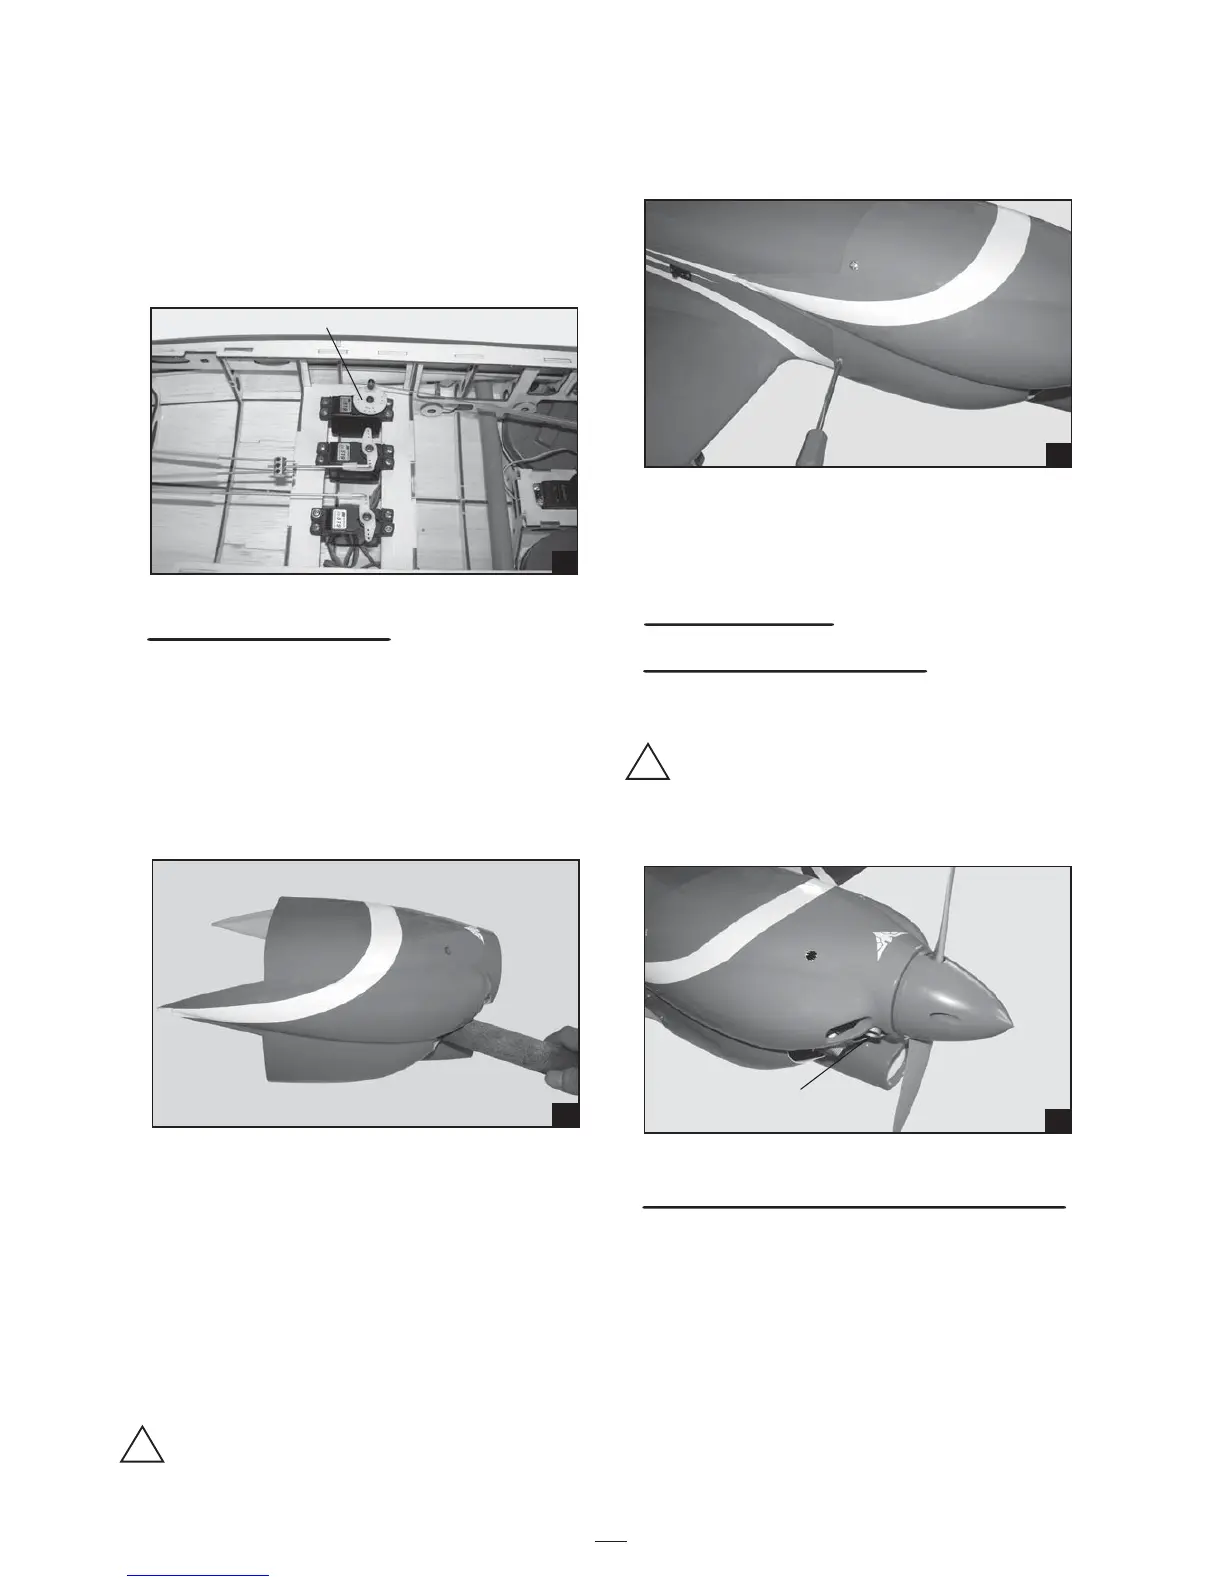
Cowl area cutout
for proper airflow
to carburetor.
INSTALLING THE RECEIVER AND BATTERY
1. Plug the servo leads and the switch lead into
the receiver. You may want to plug an aileron
extension into the receiver to make plugging in
the aileron servo lead easier when you are
installing the wing. Plug the battery pack lead
into the switch.
2. Wrap the receiver and battery pack in the
protective foam to protect them from vibration.
Use a rubber band or masking tape to hold the
foam in place.
FINAL ASSEMBLY
INSTALLING THE SPINNER
Install the spinner back-plate, propeller and
spinner cone. The spinner cone is held in place
using two 3mm x 15mm wood screws.
The propeller should not touch any part of the
spinner cone. If it dose, use a sharp modeling
knife and carefully trim away the spinner cone
where the propeller comes in contact with it.
!