25
Plastic screw
7
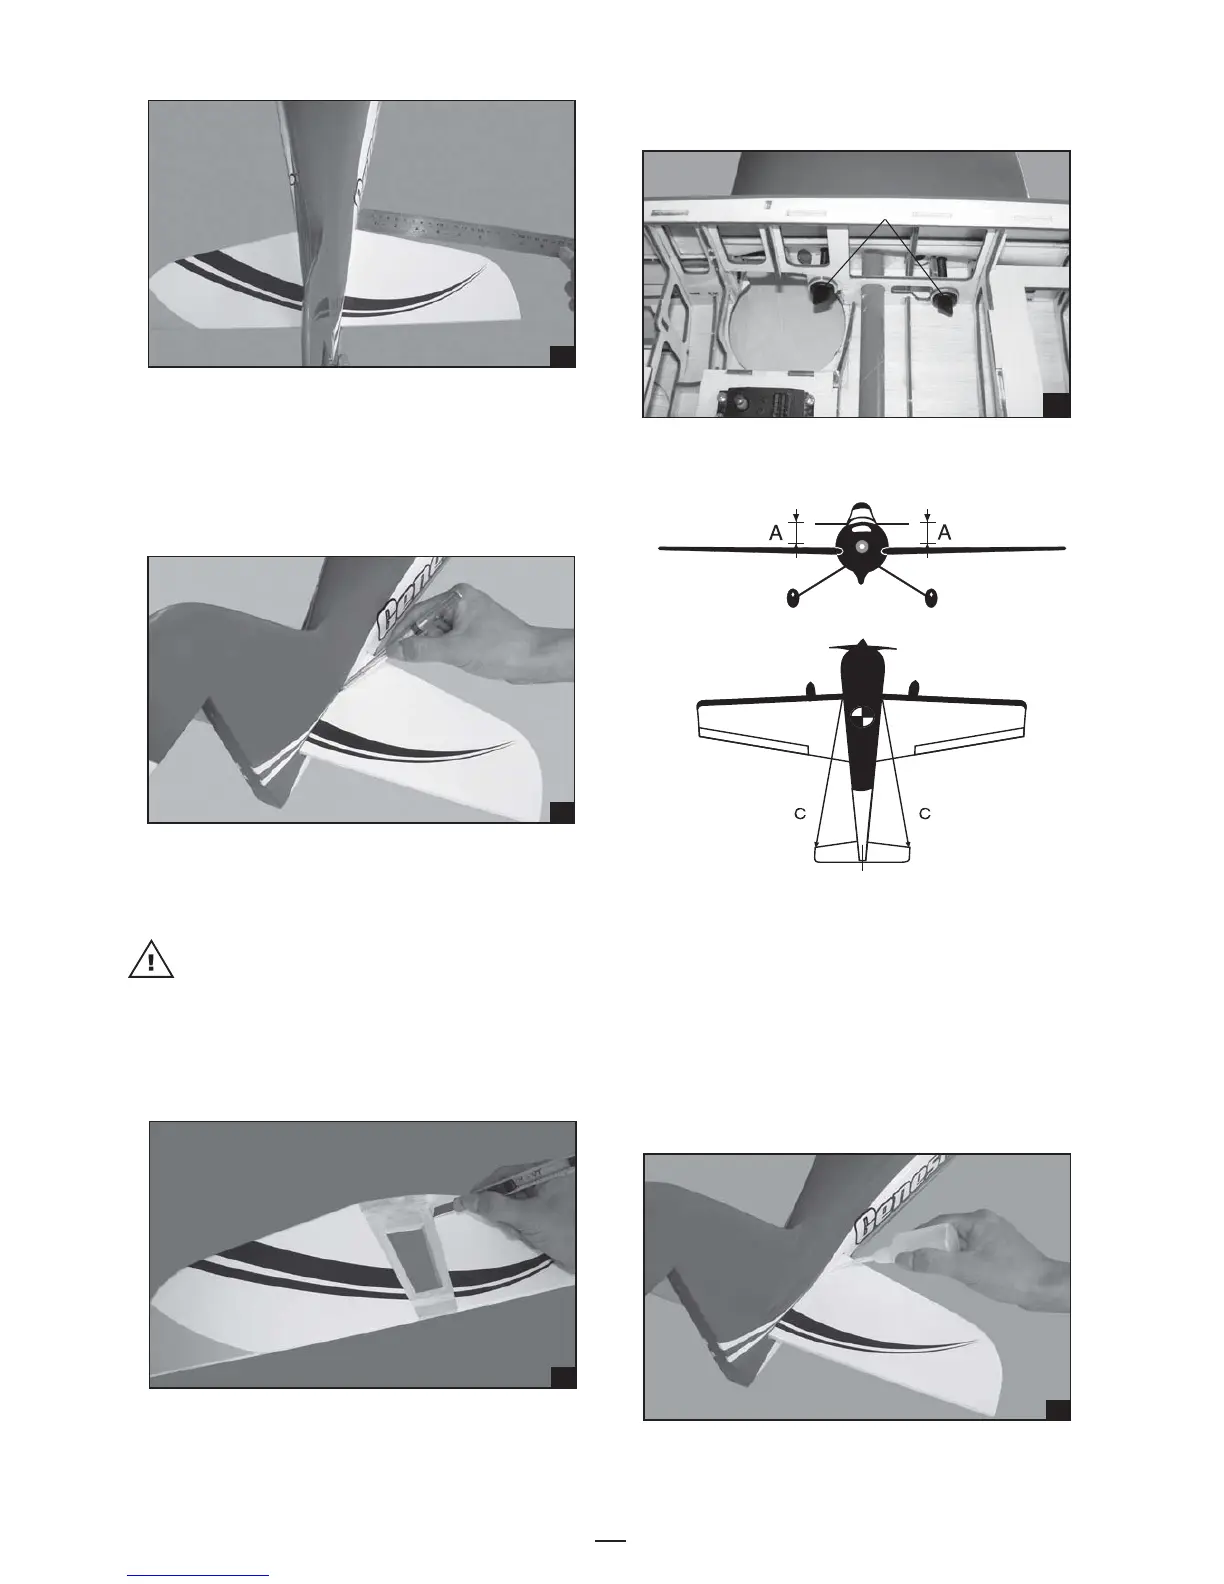
5. Remove the stabilizer. Using the lines you just
drew as a guide, carefully remove the covering
from between them using a modeling knife.
When cutting through the covering to remove it,
cut with only enough pressure to only cut
through the covering it's self. Cutting into the
balsa structure may weaken it. This could lead
to possible failure during flight.
23
24
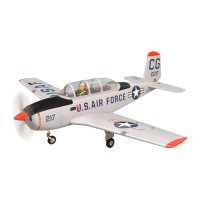
4. With the horizontal stabilizer correctly aligned,
mark the shape of the fuselage onto the bottom
and into the top of the horizontal stabilizer
using a water soluble/ non-permanent felt-tip
pen.
22
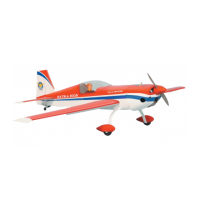
6. Attach the wing to the fuselage as picture.
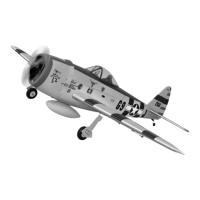
8. When you are sure that everything is aligned
correctly, mix up a generous amount of 30
minute epoxy. Apply a thin layer to the bottom
of the stabilizer mounting area and to the stabilizer
mounting platform sides in the fuselage. Insert
the stabilizer in place and re-align. Double
check all of your measurements one more time
before the epoxy cures. Remove any excess
epoxy using a paper towel and rubbing alcohol
and hold the stabilizer in place with T-pins or
masking tape.
7. Test the position of the elevator and adjust it as
shown.
26