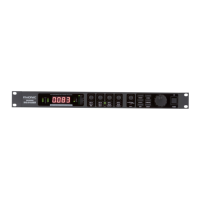
3DFX2000
English
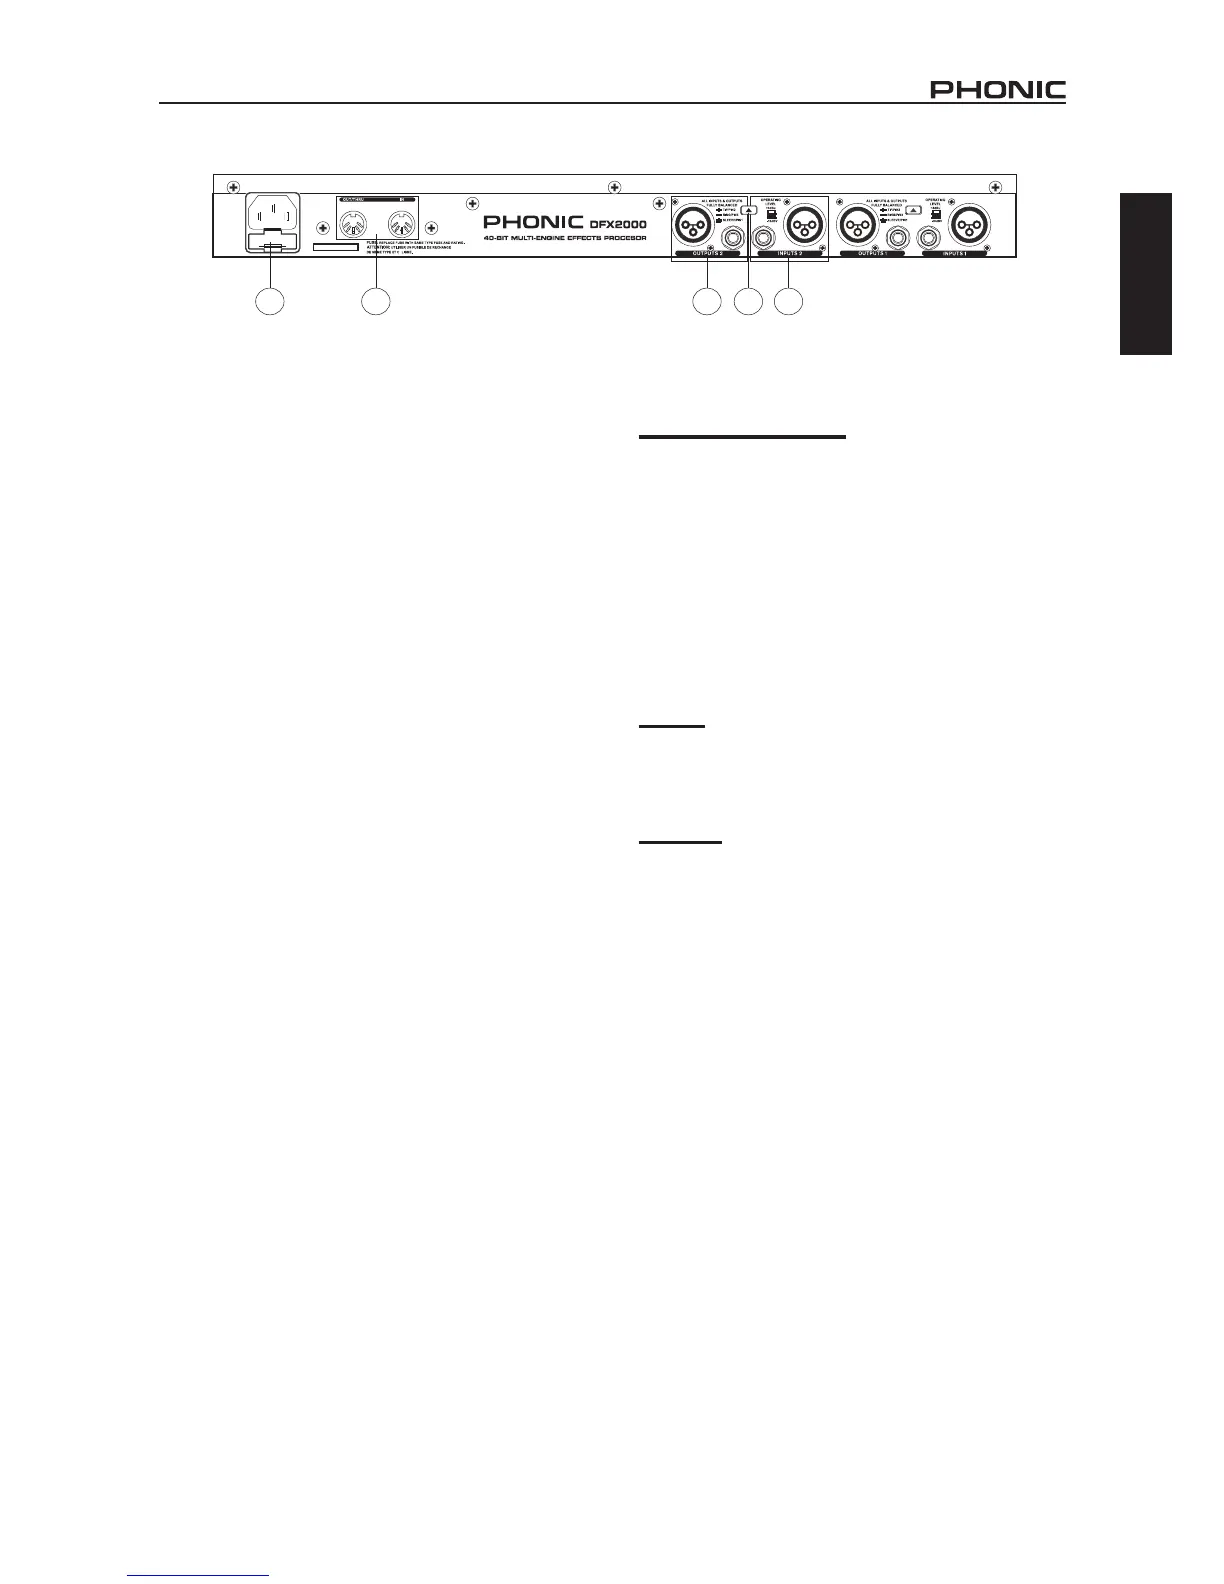
REAR PANEL DESCRIPTION
17. AC Power Socket and Fuse
Used for the addition of a power cable, allowing power to be
supplied to the DFX2000. Please use the power cable that is
included with this device only. The Fuse holder, located below
the AC Power connector, is for the DFX2000’s fuse. If the fuse
happens to blow, open the holder cover, and replace the fuse
with a suitable replacement.
18. Input Connectors
These balanced 1/4” TRS and XLR jacks are used for receiving
signals from external devices. Please note that only one of these
inputs should be used on each channel at any one time.
19. Output Connectors
These balanced output connectors, the same as featured on the
input, send their corresponding signals to external devices. All
outputs run in parallel to one another, meaning you can use the
1/4” and XLR outputs simultaneously if necessary.
20. Operating Level Button
This switch swaps the input and output levels of the correspond-
ing channel between -10 dBV (consumer level) and +4 dBu (pro-
fessional level).
21. MIDI Connectors
These MIDI in and MIDI out/thru connectors are available for us-
ers to utilize. This allows users to dump and receive data to and
from the computer, as well as adjust parameters in real time by
use of a computer or other MIDI device.
EDITING, STORING AND RECALLING
PRESETS
Editing and Comparing
To edit an effect, rst select an effect by pushing the effect button
and rotating the Jog Wheel. If the Jog Wheel is left stationary for
2 seconds, then the currently selected effect will be applied. You
can then change the different properties of the effect by push-
ing the Edit Button, and using the four Edit Controls to adjust
their corresponding parameters (check this manual’s Appendix
for more information on effect parameters).
When you make even the slightest modication to a preset, the
LED in the Store Button will ash to let you know that the effect/
preset has been changed and that you may want to save your
adjustments. By pushing the Compare Button, your edited effect
will be disabled and you will be able to hear the original effect.
Pushing the button again will return you to your edited effect.
Storing
To store an effect that you have edited, simply press the Store
Button. Turn the jog wheel to select one of the user denable
preset slots (from U.001 to U.100) and press the Store Button
once again to conrm.
Recalling
The DFX2000 has 100 factory pre-set effects, as well as 100
user-denable slots. Users can recall a preset at any time by
pushing the preset button and using the jog wheel to nd se-
lect one of the factory-set (I.001 – I.100) or user-dened (U.001
– U.100) presets. There will be a brief moment before the effect
is applied to your signal. Keep in mind that different effects may
be set at different levels.
MIDI SETUP
When you push the Setup Button, the rst Edit Control will allow
you to scroll through and adjust the various settings of the MIDI
interface. Turning the jog wheel will adjust these values and/or
conrm the settings.
CHAN:
This function allows users to select a particular MIDI channel on
which to accept signals. This is particularly helpful when using
a chain of MIDI devices, as channels carrying MIDI signals not
intended for the DFX2000 will be completely ignored.