INTRODUCTION
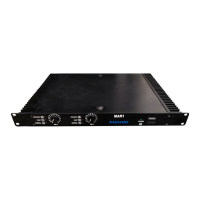
Thank you for purchasing a MAX Plus series power
amplier. Based on years of experience in designing
and manufacturing professional audio equipment,
we at Phonic designed this power amplier for those
who need an extremely powerful, reliable and sturdy
amplier with a small footprint. Taking advantage of
its huge heat sink as well as its variable speed fan that
auto-adjusts fan speed depending on the temperature
of the machine during operation, MAX Plus power
amps are always able to perform. Its professional
quality output and its sturdy case design make this
unit great for various locations like churches, concert
tours, stages, disco, pubs, or any place that requires
amplier installation.
This unit is designed with great care and great at-
tention to details, so please read this manual carefully.
Look after it and keep it in a safe place for future
reference.
FEATURES
●
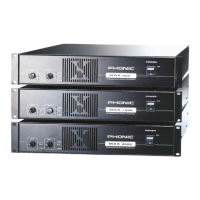
Up to 2200 Watts with only 2U footprint
●
Output: 300W for MAX 860 Plus, 450W for MAX
1500 Plus and 750W for MAX 2500 Plus, all at
4 ohms
●
High current toroidal transformer allowing high
power output with low noise and low distortion
●
Built in limiter with a button allowing user to dis-
able limiter
’
s function
●
Balanced 1/4” TRS and XLR inputs for maximum
exibility
●
Grounding / Floating switch to avoid grounding
loop
●
Binding post and speakon outputs
●
Front mounted gain controls for easy access
●
Signal and Peak LED indicators to monitor per-
formance
●
Protection: short circuit, thermal, subsonic, RF pro-
tection, output DC offset, power on/off muting
GETTING STARTED
●
Check the AC voltage before connecting the power
plug to the outlet. Make sure the AC power supply
shares the same voltage used in your country (For
example, while some countries use 100V, others
use 120V, 230V, or 240V). Please ensure your
device is properly grounded.
●
Before turning on the power, make sure the gain
controls are turned all the way down to prevent
other equipment from harm.
●
Check your cables regularly and label each end
clearly for easy identication.
●
Always turn the power off before connecting to
and disconnecting from the unit.
●
NEVER use solvents to clean the unit. Clean it
with a soft and damp or dry cloth.
INSTALLATION
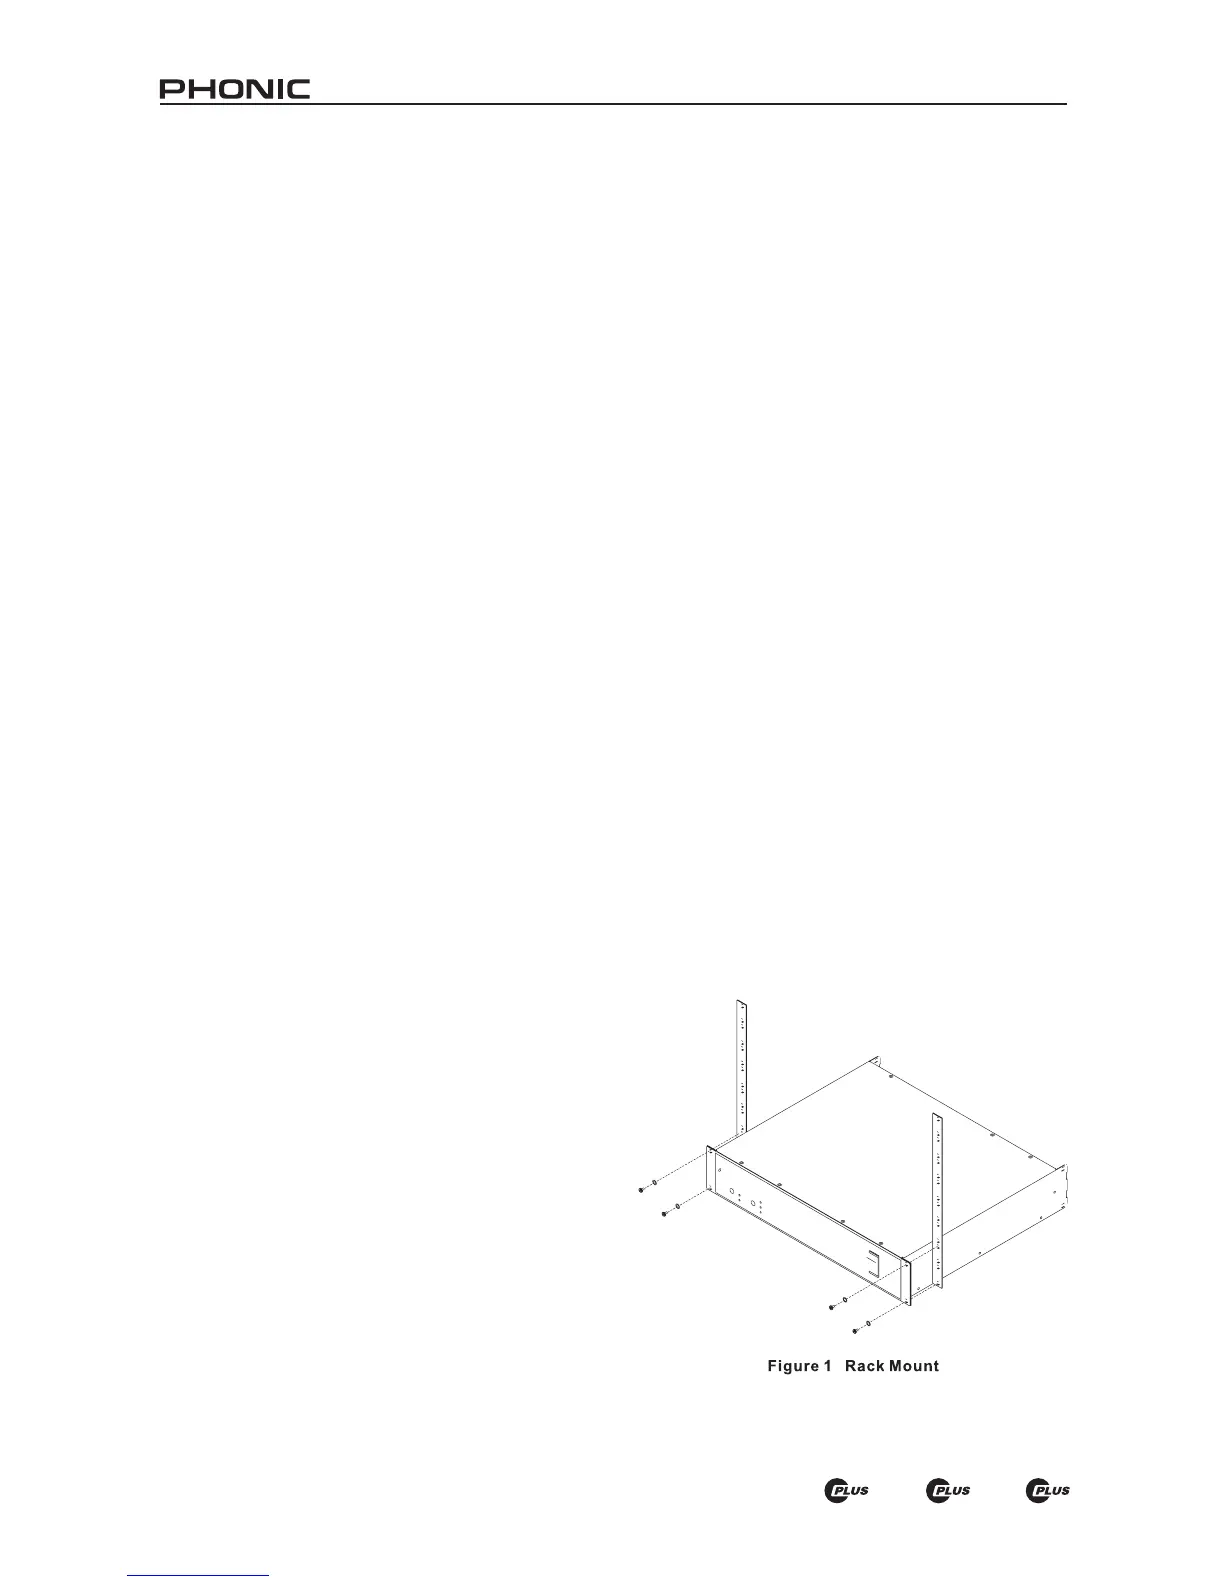
MOUNTING THE UNIT
Designed to t into a standard 19-inch rack, this unit
only takes up 2 units of rack space. Secure this unit
with 4 rack-mount screws and cup washers. In gen-
eral, power ampliers usually are heavier than any
other audio equipment, so when installing this unit
onto a rack, begin placing it from the bottom of the
rack. Leave 1-rack space between power ampliers
and other devices to guarantee better cooling (see
Figure 1).