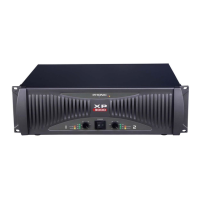
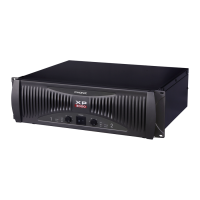
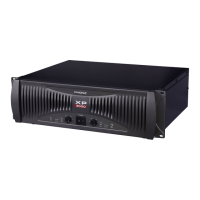
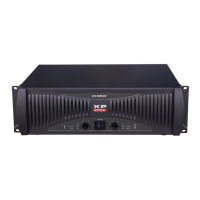
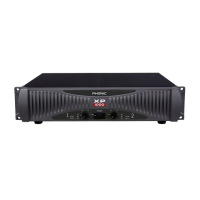
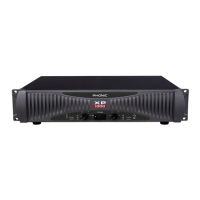
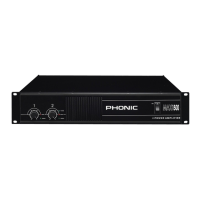
13 INPUT CONNECTORS
The
power amplifier offers XLR and TRS input con-
nectors for your connecting convenience.
14 GROUNDING - FLOATING SWITCH
This
switch allows the circuit and chassis grounding
to
be separated in case of a grounding conflict. In
normal
use, the switch should be in the grounding
on
position. Lifting the grounding (to what is called
the
floating position) may resolve the ground con-
flict,
but it means that circuit grounding depends on
other
connected equipment. Deficiencies in other
component
s’ grounding will affect the sound quality
and
cause a grounding loop hum. For the best com-
bination
of safety and performance, it is highly rec-
ommended
to set the switch at the “grounding on”
position
.
15 LIMITER ON/OFF
This
switch allows you to route the peak limiter cir-
cuit
to the input signal. This function will reduce dis-
tortion
and protect speakers.
16 HPF
This
switch can activate a 30Hz or 50Hz high pass
filter, which will roll off signals below either 30 Hz or
50
Hz. This improves sub bass performance by
limiting
sub bass cone motion. It will make more
power available for the speakers
’ rated frequency
range
.
17 PARALLEL / STEREO / BRIDGE MONO
SWITC
H
Turn
off the power before changing the operation mode.
In
stereo operation, each channel of the amplifier runs
independently
with its own signal and speakers. When
the
switch is set to the parallel mode, the input of
CH2
is paralleled with that of CH1. Then, CH1 and
CH2
can drive their own speakers independently, but
they
will have the same source, that of CH1. In bridge
mono
operation, both channels can be configured to
drive
a single load with a single signal at twice the
powe
r. Use the following procedure to ensure the sys-
tems
safety when switching from one mode to an-
other
:
1.Turn off the power of the amplifier
2.Put one speaker, of not less than 4 ohms impedance,
across the red (+) output terminals of the amplifier.
3.Ensure that there is only one input signal connected
to
CH1.
4.Switch the amplifier to bridge mono.
5.Turn the gain controls of CH1 and CH2 to the
extr
eme left and then turn on the amplifier.
6.Verify operation at low gain, and then turn up the
CH1
gain to increase power to a desired level.
9
XP 600/1000/2000/2100/3000/3100