9
Step 2
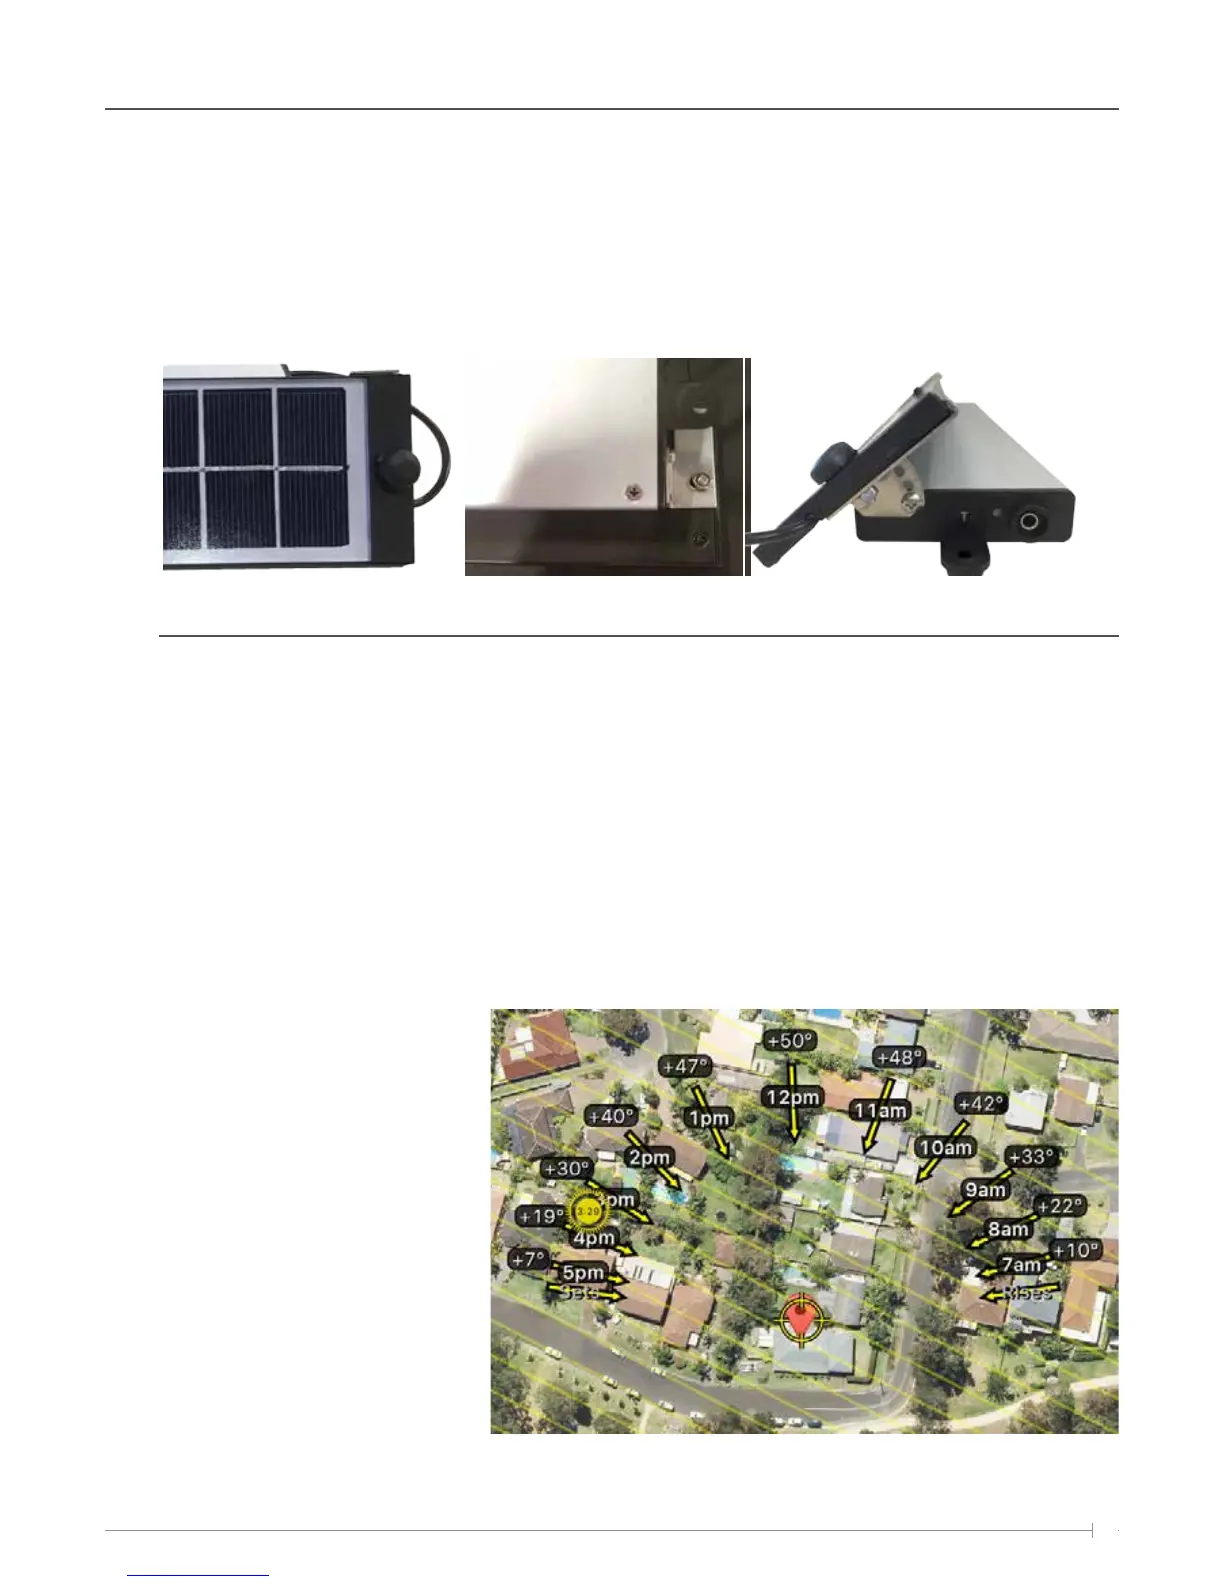
Attach the solar panel to the brackets with the nuts and set screws supplied, the cable coming from the solar panel
needs to be on the side of the ‘solar panel input’ port on the battery pack/receiver unit.
The head of the set screw sits on top of the solar panel and the nut is screwed on behind the solar panel, once attached
plug the cable from the solar panel into the ‘solar panel input’ port on the battery pack/receiver.
3.3 Optimum position for solar panel
The location of the solar panel should be in direct sunlight for the longest period of the day, this will ensure the battery
can be fully charged.
It is possible to mount the Solar unit on the front cover of the Awning headbox. This is generally the simplest installation
and does not require any extension cables.
If this is not possible due to the location of the awning, optional extension cables may be used to remote locate the
Solar unit. These are available in lengths of 3, 5 and 10 metres.
When looking for the best location for mounting the Solar unit, the panel should point due North to ensure year round
sun coverage.
If North is not possible from the
installation location, North East or North
West may also be used.
A southern facing solar panel or a solar
panel located underneath a roof or
ceiling will not be sufficient to charge
and enable use of the motor on a
regular basis.
The iphone App ‘Sun Seeker’ can
be used to find the best location for
installing the solar panel by showing the
travel path of the sun.
Installation / Setup