Hunter-Pro Series
23
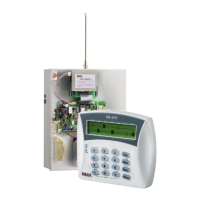
Diagram 20. LCD keypad PCB and wiring
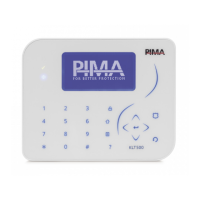
1.5.18. RXN-800
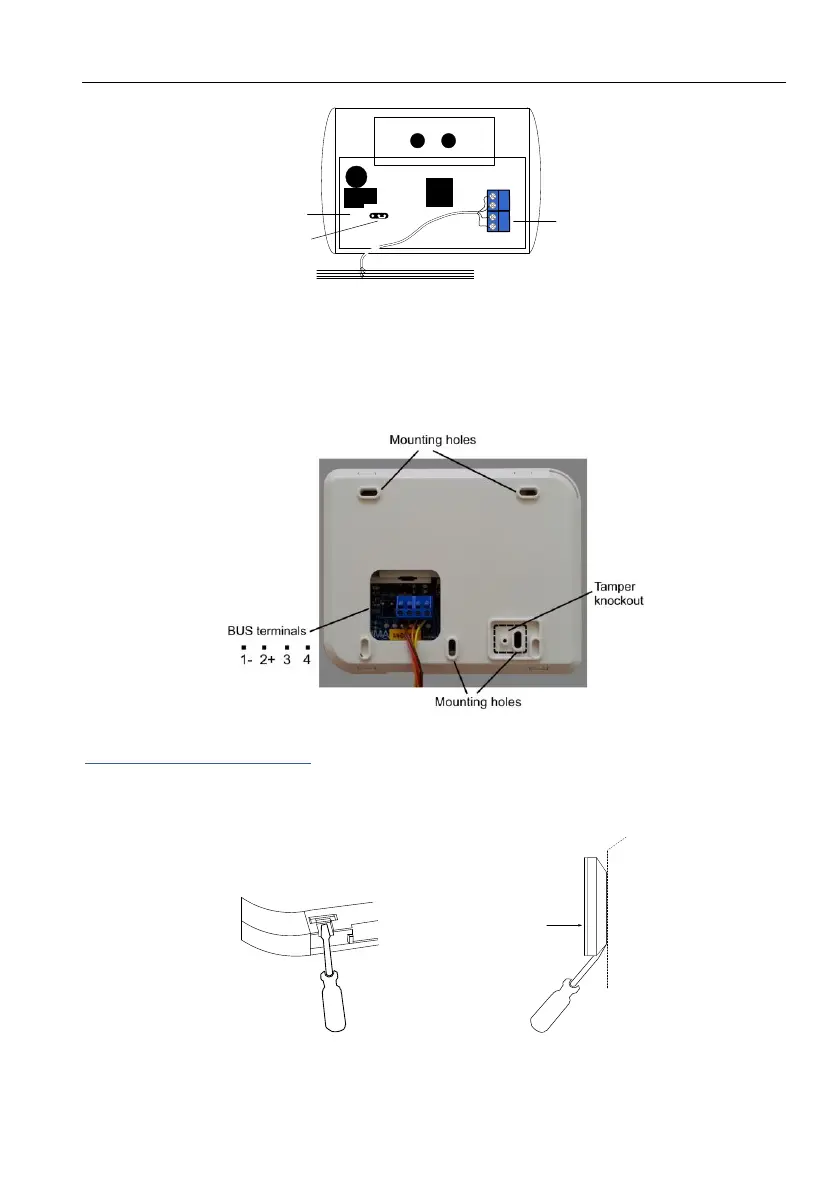
The RXN-800 is a touch keys, LCD screen keypad. To connect the keypad to the BUS, use the
following image and the diagram on page 23. To set the keypad’s ID number, see the table and
image below (there is no jumper as in the RXN-400/410).
Figure 1. RXN-800 back side
How to open the back cover
The RXN-800 back cover has 2 diagonal notches on its bottom side. To open the cover (even
when the keypad is mounted), attach a flat-head screwdriver diagonally (see the next figures) in
each notch and push the screwdriver firmly, while pulling out and removing the front side.
Diagram 21. RXN-800 back (left) and side view
4 (IN)
3 (OUT)
2 (+)
1 (-)
JP1
PROGRAMMING
BUS
1
Detachable
terminal block
RJ-11 socket
ID no. jumper
 Loading...