PB-SP100 Printer Installation via
Network Connection
This instruction will guide you through installing your PB-SP100 Printer on
a Windows computer using a Network connection.
1. Opening the box and unpacking
2. Signing into SendPro®
3. Connecting the Printer
4. Printer Ready
5. Aligning the Label Roll
6. Printing a System Report
7. Downloading and Installing the Printer Driver
8. Set up the Printer
9. Test Print
Right, let’s get your Printer up and running
quickly…
Let’s first get together the things you will need:
l The box containing your PB-SP100 Printer.
l A Welcome Email from Pitney Bowes containing your SendPro®
Log in details.
l A PC on which you have full admin rights to allow downloading and
installing software.
l 2 available USB ports on your PC.
If you have not received the email from Pitney Bowes, do not go any further
with this installation. Please visit pitneybowes.com for contact details.
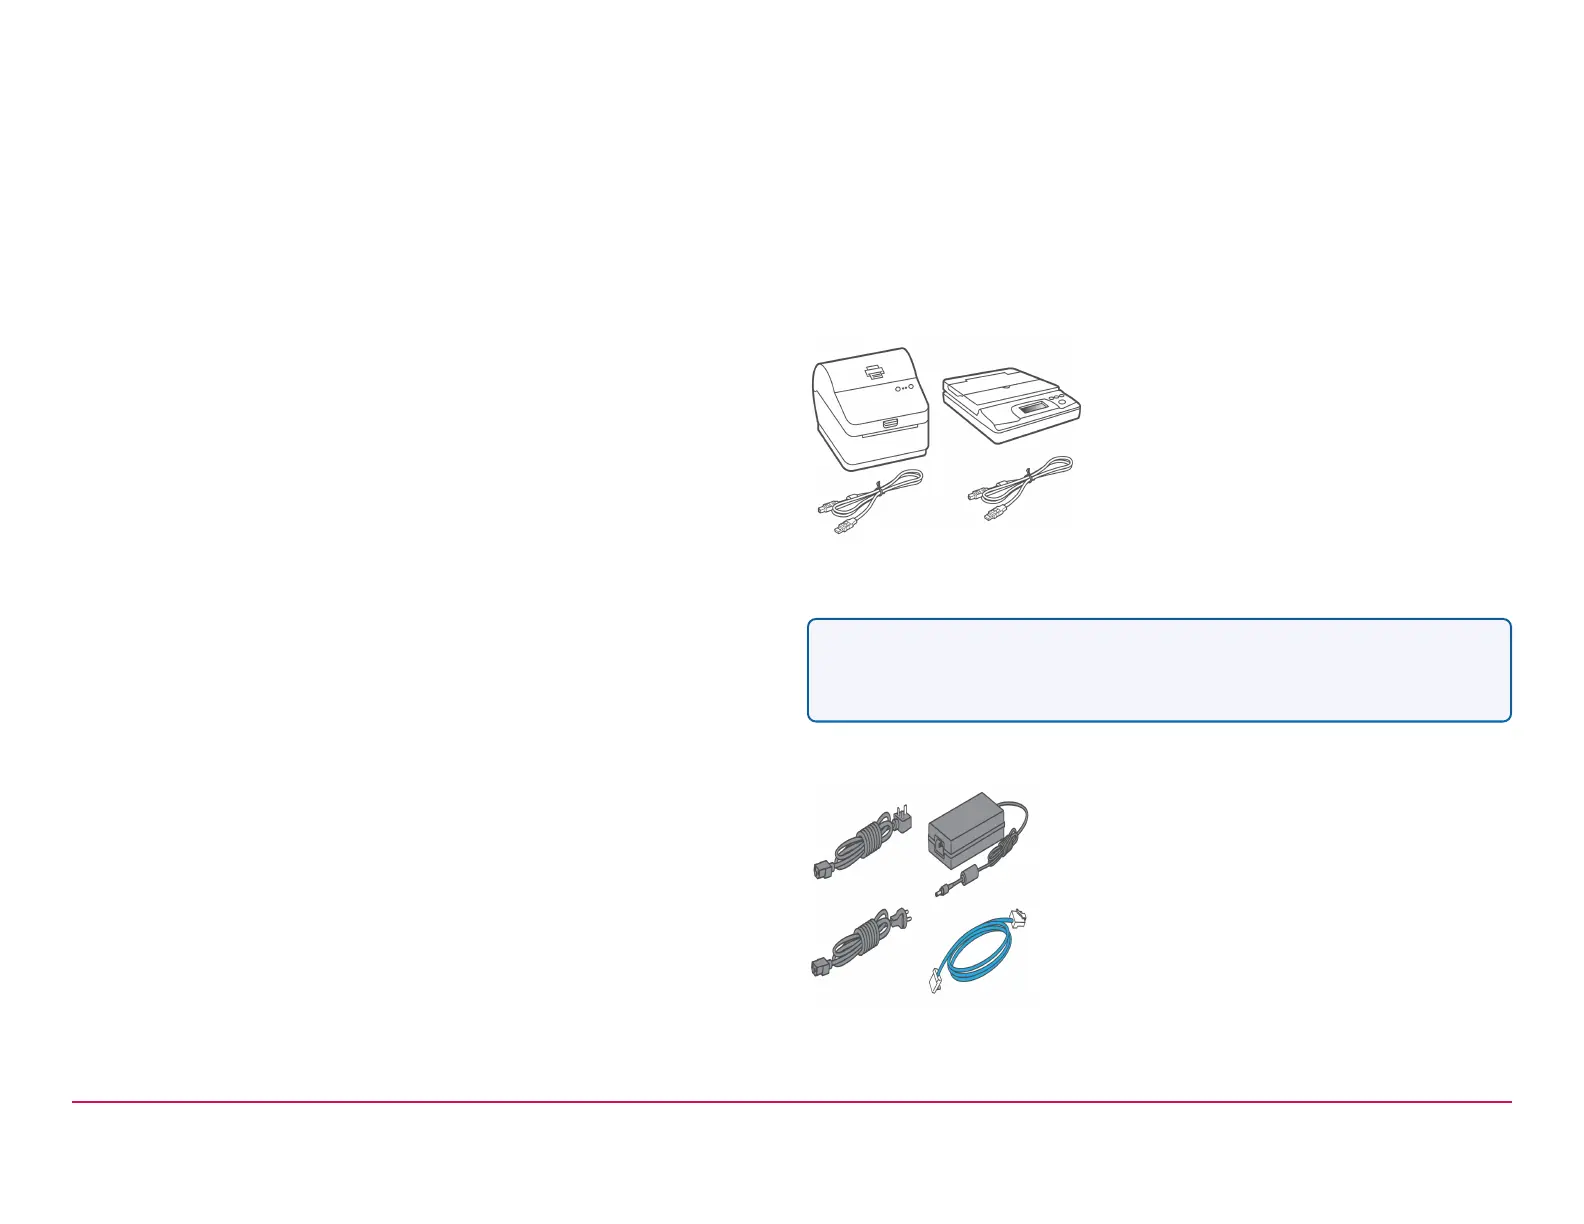
Opening the box and unpacking
Here are diagrams and explanations of the items you should find in your
box. Please select the correct power cable for your region.
SL-397-D Scale and PB-SP100 Printer
Note- If you have ordered a PB-SP100 Printer on it's own, you will not
receive the SendKit SL-397-D Scale in the box.
Power Cord and Network Cable
Pitney Bowes Installation Instruction November,2020 Page 7 of 17