9
You must use the screws supplied with the mounting brackets.
Damage caused to the parts by using incorrect screws would
invalidate your warranty.
Step 3: Secure the brackets tightly.
Step 4: Follow the same steps to attach the second bracket to the opposite
side.
Step 5: After the brackets are attached to the GSD-1022UP, use suitable
screws to securely attach the brackets to the rack, as shown in
Figure 3-3.
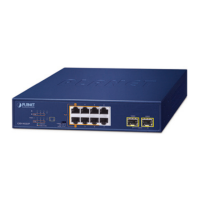
4 6 82
1
3 5 7
1
PWR
53 7
2 6
4 8
109
PoE
PoE
GSD-1022UP
PoE-in-Use
LNK/ACT
Legacy
BT
UPoE
9 10
Uplink
1000X1000X
PoE++
Figure 3-3: Mounting the GSD-1022UP in a Rack
Step 6: Proceed with Steps 4 and 5 of Desktop Installation to connect the
network cabling and supply power to the GSD-1022UP.