20
Step 5: Prepare the twisted-pair, straight through Category 3, 4, 5, 5e, 6 cables
for Ethernet connection.
Step 6: Insert one side of Category 3, 4, 5, 5e, 6 cables into the Industrial M12
Ethernet Switch Ethernet port (RJ-45 port) and another side of Category
3, 4, 5, 5e, 6 cables to the network devices' Ethernet port (RJ-45 port),
ex: switch, PC or Server. The UTP port (RJ-45) LED on the Industrial M12
Ethernet Switch will light up when the cable connected with the network
device. Please refer to the LED Indicators section for LED light meaning.
Step 7: When all connections are all set and LED lights all show in normal, the
installation is complete.
Be sure the connected network devices support MDI/MDI-X. If it
does not support then use the crossover Category 3, 4, 5, 5e, 6
cables.
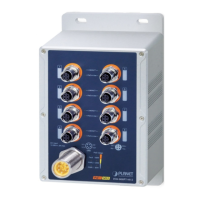
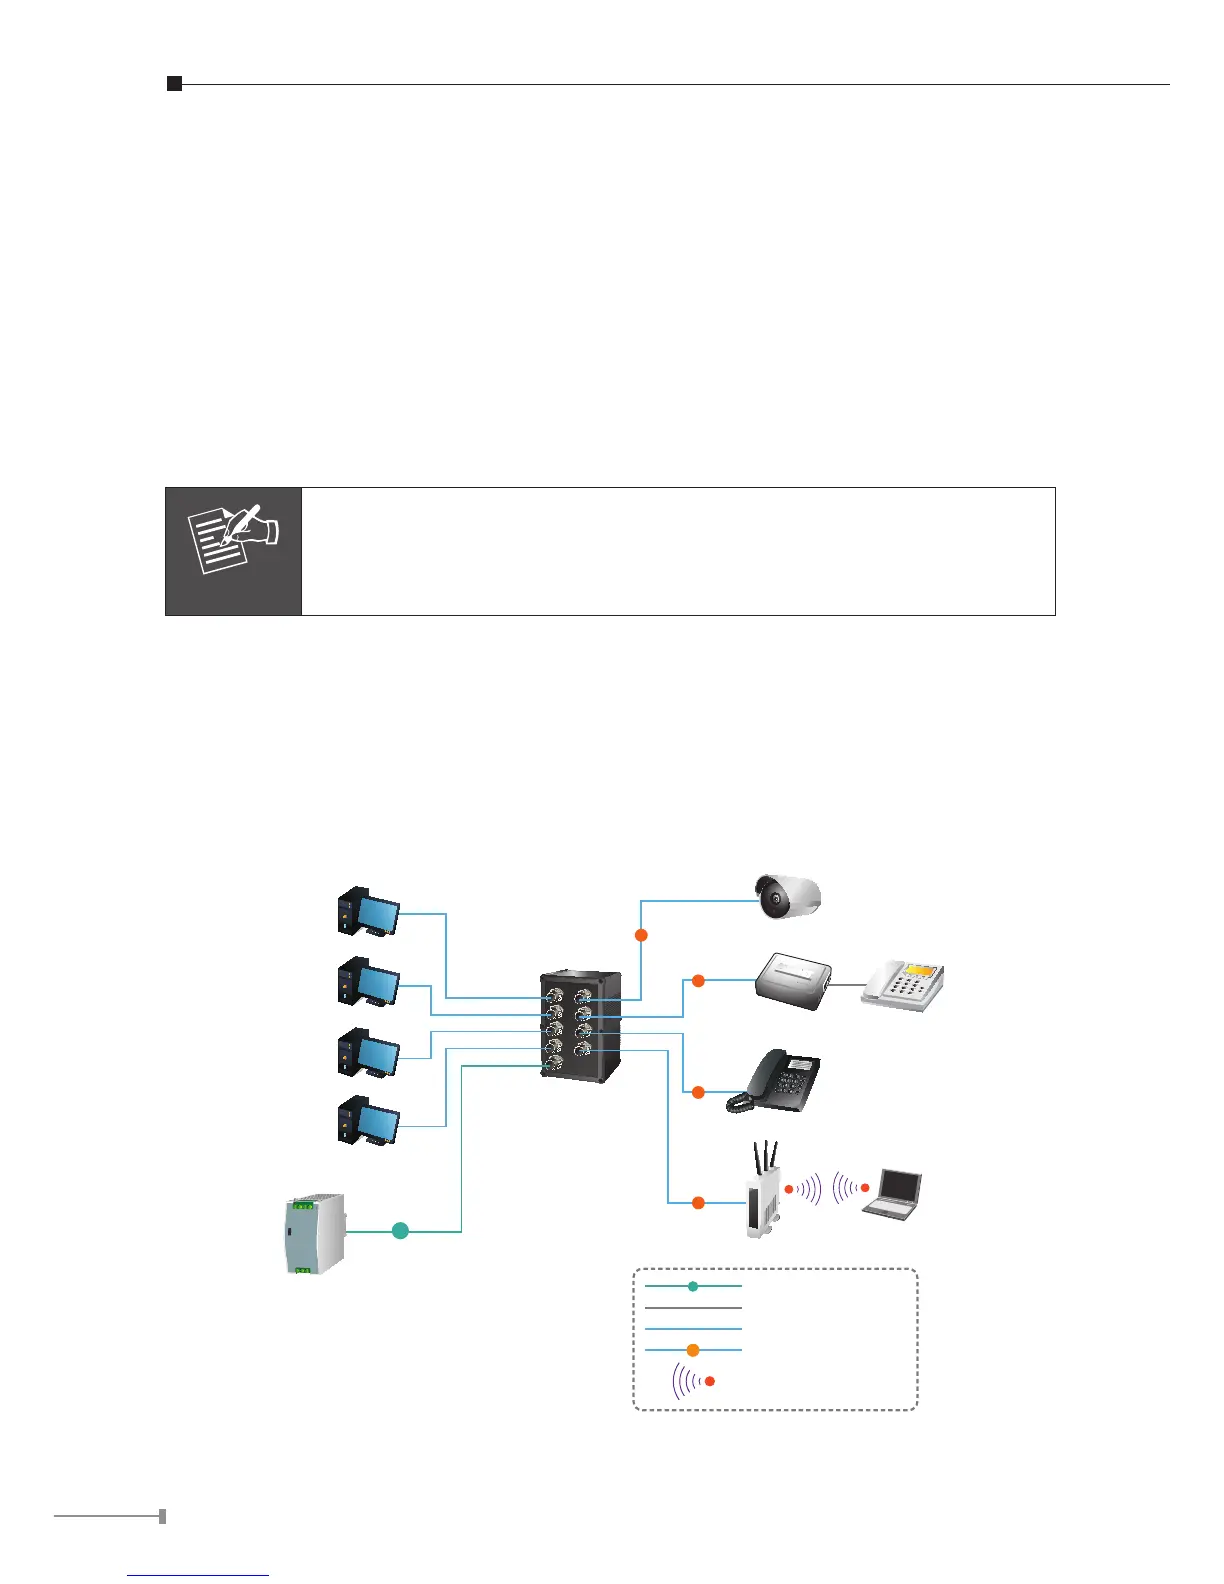
Department/ Workgroup PoE Switch (ISW-804PT-M12 only)
Providing 4-Port PoE in-line power interface, the ISW-804PT-M12 can easily build
a power centrally-controlled IP phone system, IP Camera system and Wireless AP
group for the enterprise. For instance, up to 4 cameras can be installed around the
corner in the company for surveillance demands or up to 4 Wireless AP to build a
wireless roaming environment in the ofce. Without the power-socket limitation, the
Switch makes the installation of cameras or Wireless AP more easily and efciently.
 Loading...