17
3.4 Stand-alone Installation
To install a VF-402-T / VF-402-R stand-alone, on a desktop or shelf, simply
complete the following steps:
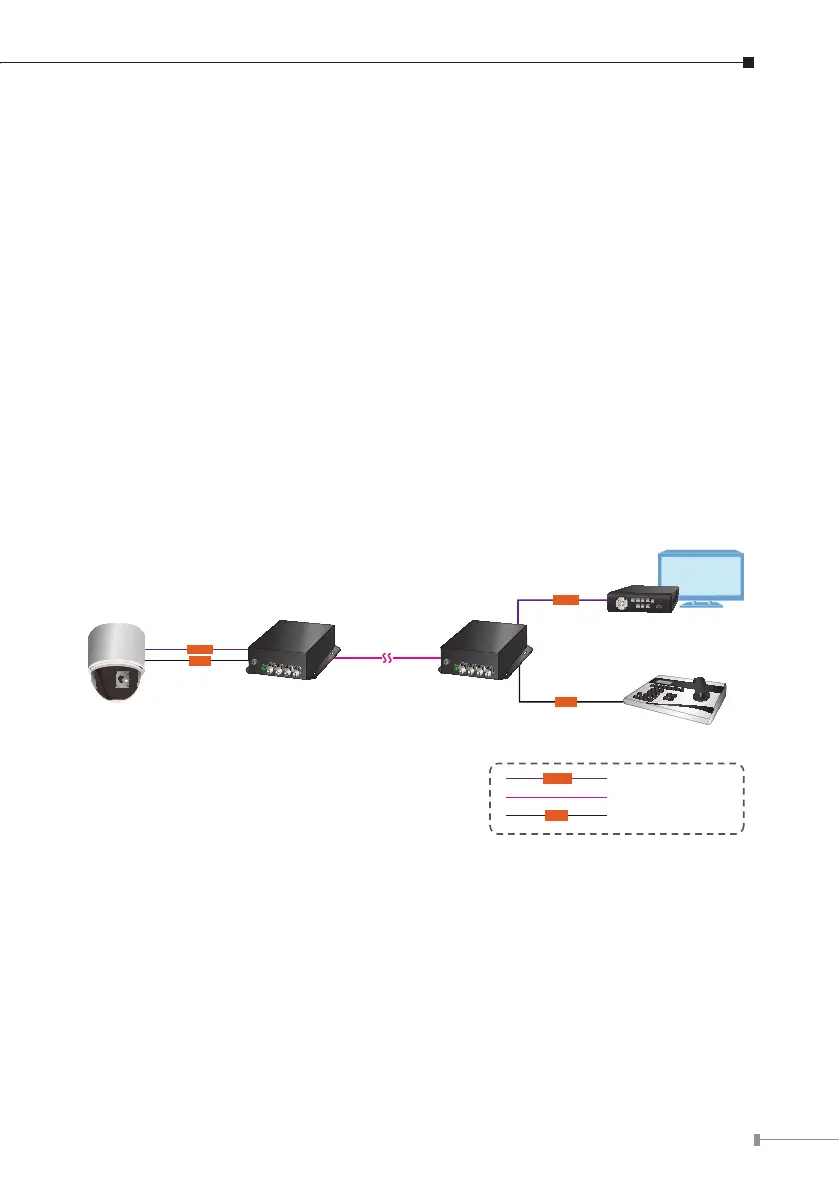
Step 1: Turn off the power of the analog camera / monitor to which the VF-402-T
/ VF-402-R will be attached.
Step 2: VF-402-T (Transmitter): Connect coaxial cable from analog camera to
Video BNC port of the VF-402-T.
Step 3: Attach FC single mode ber cable from the VF-402-T to VF-402-R in the
remote side.
Step 4: VF-402-R (Receiver): Connect coaxial cable from monitor / DVR to Video
BNC port of the VF-402-R.
Step 5: Connect the 5V DC power adapter to the VF-402-T / VF-402-R and verify
that the Power LED lights up.
Step 6: Turn on the power of the analog camera / monitor; the VIDEO LED
(Green) should light when all cables are attached.