7
4. Hardware Installation
4.1 Wall-mount Installation
To install the Industrial Router on the wall, simply follow the following steps:
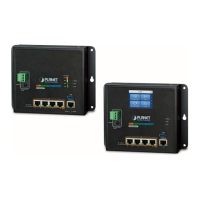
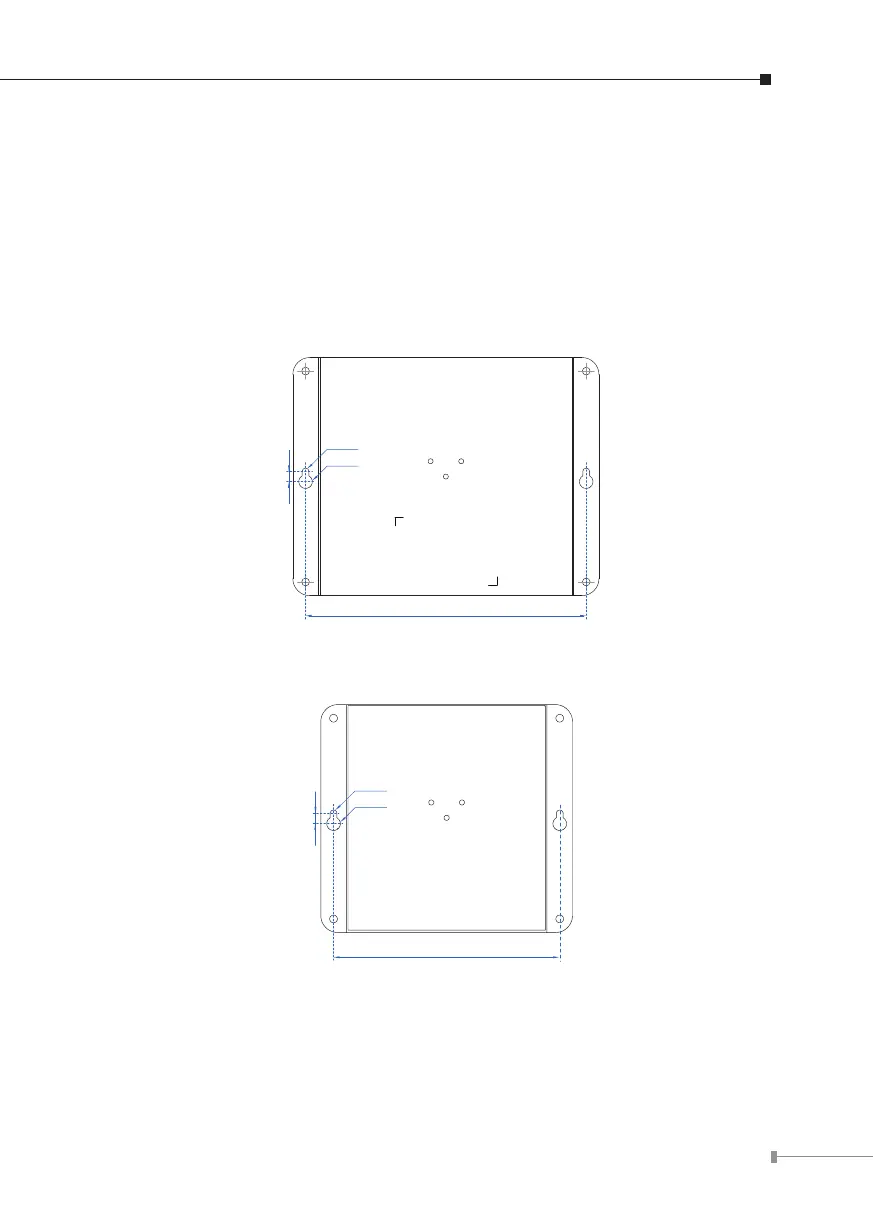
Step 1: There are 4 holes with 8mm diameter on the wall mount bracket of the
Industrial Router; the distance between the 2 holes is 165mm of WGR-
500-4PV and WGR-500-4P, 133mm of WGR-500, and the line through
them must be horizontal.
165mm
Ø4mm
6mm
Ø8mm
Figure 4-1: Getting mounting holes aligned
133mm
Ø4mm
Ø8mm
6mm
Figure 4-2: Getting mounting holes aligned
Step 2: Install a conductor pipe inside the board hole and ush the edge of the
conductor pipe with the wall surface.
 Loading...