11
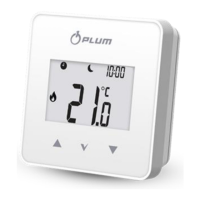
The entry to the main regulator parameters
menu is made by pressing the button for
2 seconds. Individual menu parameters are
visible as consecutive markings displayed on
the screen in no. 3 item, as described in the
table below.
The parameters are selected using the or
buttons and the button confirmes
the selection.
Holding the button for 2 seconds will
exit the menu to the main screen.
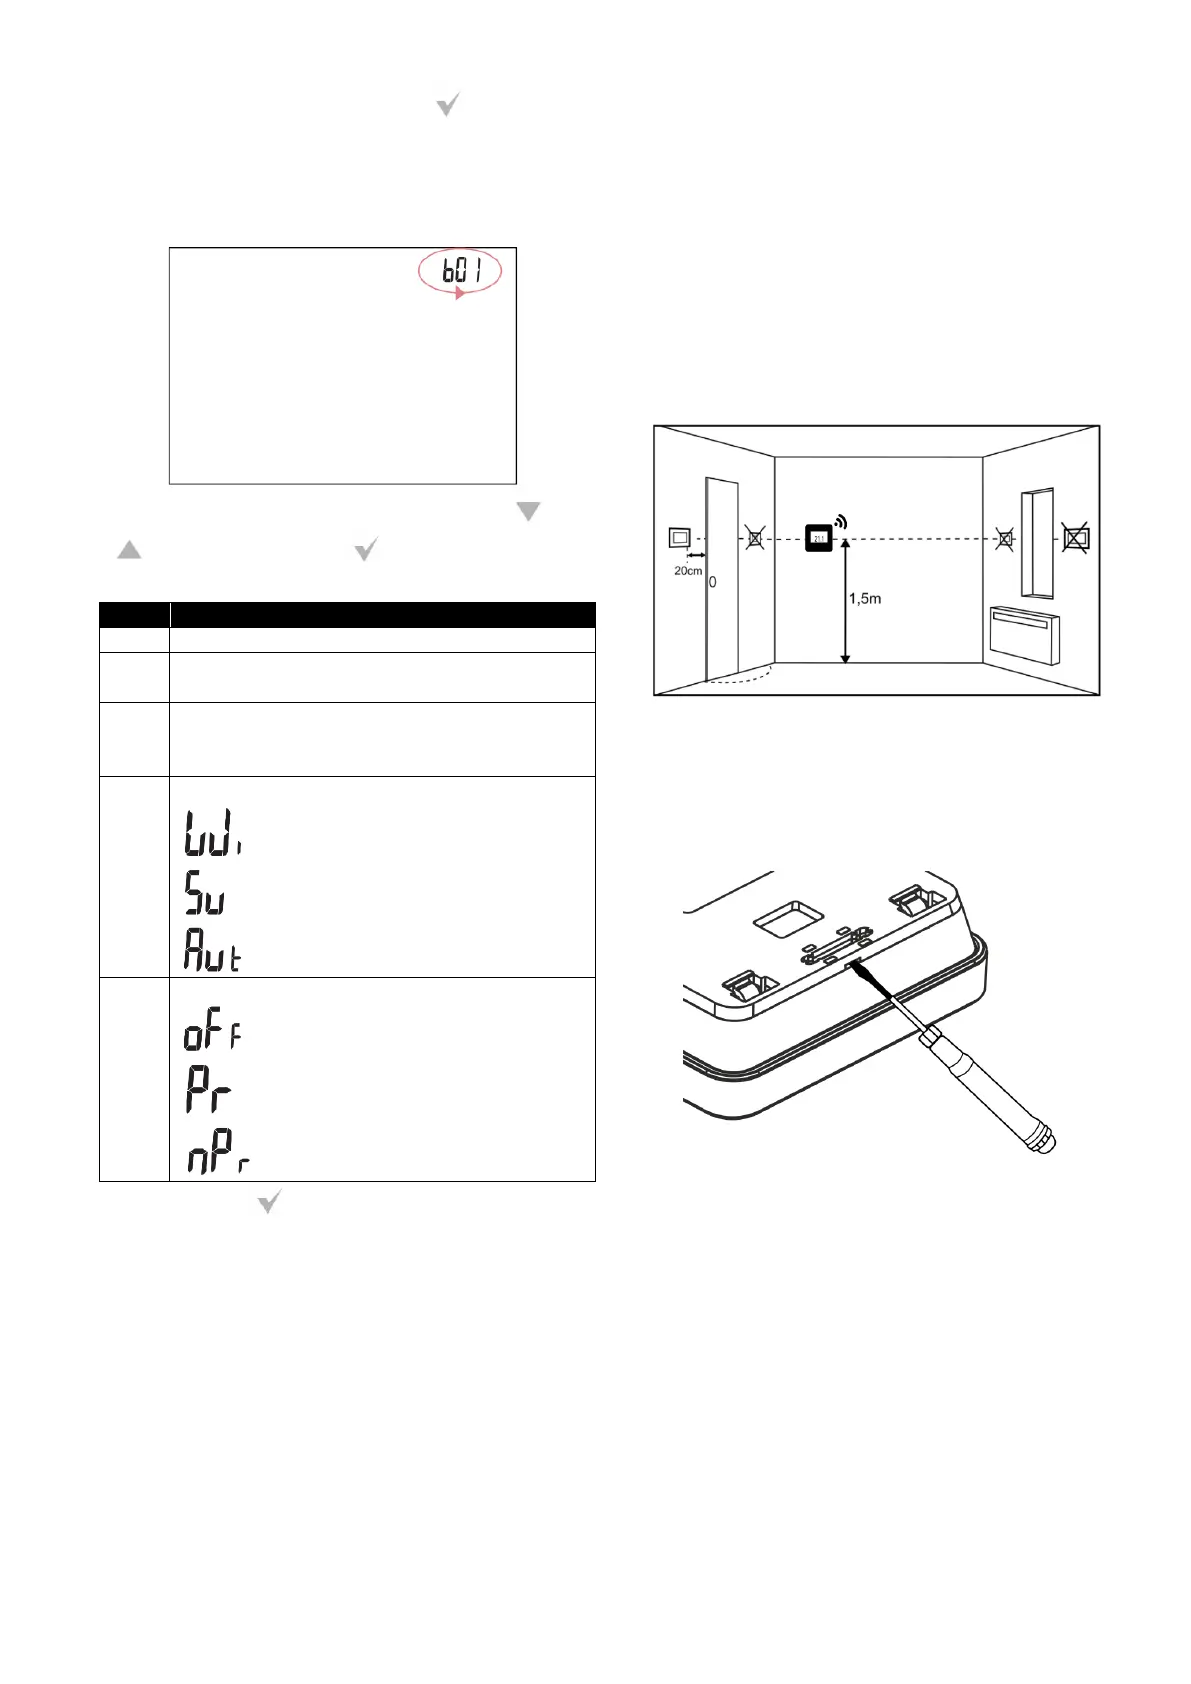
14. Installation of the thermostat
The eSTER_x40 thermostat is intended for
installation only in a dry habitable room and
should be mounted on a wall or placed on a
flat surface (as a free-standing device) in a
room representative for a given heating
circuit. After choosing the place of assembly,
make sure that:
• the selected location is free of excessive
humidity and the ambient temperature of
the thermostat should be within the
range of 5..35C,
• the chosen location should ensure free air
circulation and should be located away
from heat-emitting sources, eg electronic
equipment, fireplace, heater and direct
sunlight,
• the selected place must not cause
interference or a lack of radio signal.
Description in point 15.4.
The thermostat should be mounted at a
height enabling convenient operation,
typically 1.5 m above the floor.
The thermostat should be screwed to the
wall with mounting screws. Access to the
screw holes is obtained by opening and
removing the back cover of the thermostat.
A flat screwdriver can be used to open the
cover.
The cover is screwed to the selected location
of the wall with the appropriate position, as
shown in the figure below. The hole spacing
can be determined by attaching the cover to
the wall.