*Please Note: The illustrations in this section do not necessarily represent the farthest point for every pool.
You must determine where the farthest point is in your pool.
Properly Sized Feed Hose
For proper cleaner performance, the hose must be sized to fit your pool. To size correctly, follow the steps in
Section D. Once sized, the feed hose should look like the one below.
II. Installation Instructions
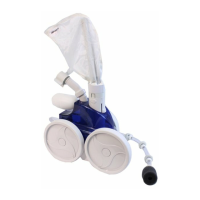
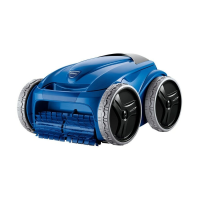
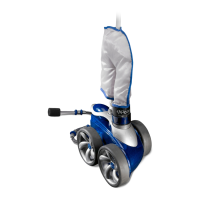
A. Polaris 280 Components
The Polaris 280 box contains (the numbers
below refer to the exploded parts diagram
on pages 14-16):
1. Sand/Silt Bag (#1)
2. Sweep Hose (#7)
3. Head Float (#4)
4. Cleaner Head
5. Complete Feed Hose
6. Back-up Valve (#54)
7. Sweep Hose Scrubber (#5)
8. Quick Disconnect (#47) with Universal
Wall Fitting (#41)
9. Universal Wall Fitting Pressure Restrictors
(one red and one blue) (#40)
B. Possible Pool Connections
1. Dedicated Return Line
A 1-1/2" dedicated return line is recommended.
It should be approximately 6" below the water
level and have 1-1/2" female threads. If it has
3/4" female threads, you will need to purchase
the 3/4" x 1-1/2" coupling (part #G-9).
2. Over-the-deck Installation
If the pool does not have a dedicated return line,
the Polaris can be installed by obtaining an
over-the-deck kit (part #G-12) and running an
aboveground feed line from the booster pump
over the pool deck to the pool wall.
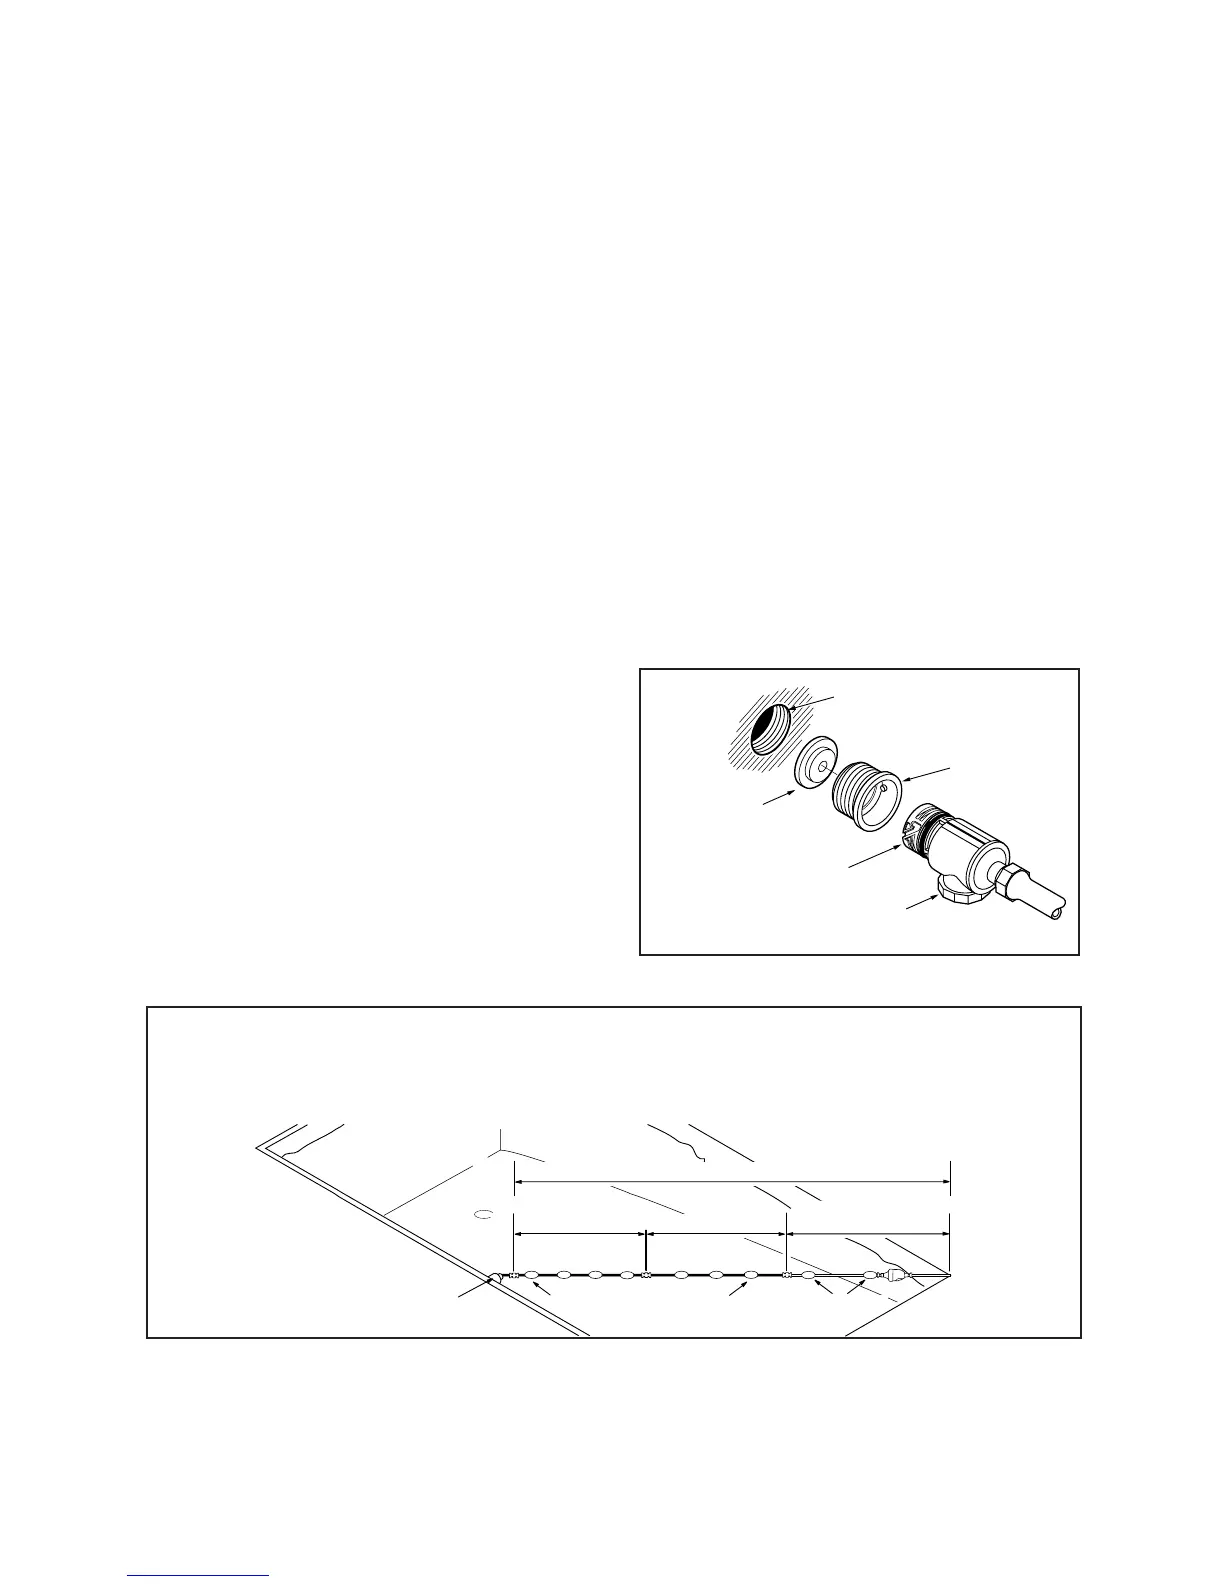
C. Installing the Universal
Wall Fitting
1. Turn on the filtration pump and flush out the
plumbing line.
2.
Remove the universal wall fitting from the
quick disconnect. The universal wall fitting
has a blue pressure restrictor installed to help
the Polaris operate at its optimum level of effi-
ciency. Screw the universal wall fitting and
the blue restrictor into the return line by hand.
3. Turn the quick disconnect into the universal
wall fitting clockwise and pull away to secure.
4. Turn the quick disconnect by hand to tighten
the universal wall fitting; do not over-
tighten. Once the universal wall fitting is
secure, the quick disconnect can be
removed without removing the universal
wall fitting.

 Loading...