7 - 19 BODY
DASH LOWER PANEL
DESCRIPTION
The lower dash panel is constructed of molded
plastic. It is secured in place by tabs fitting into slots
in the floor panel, and 3 Tek screws into the dash
support frame.
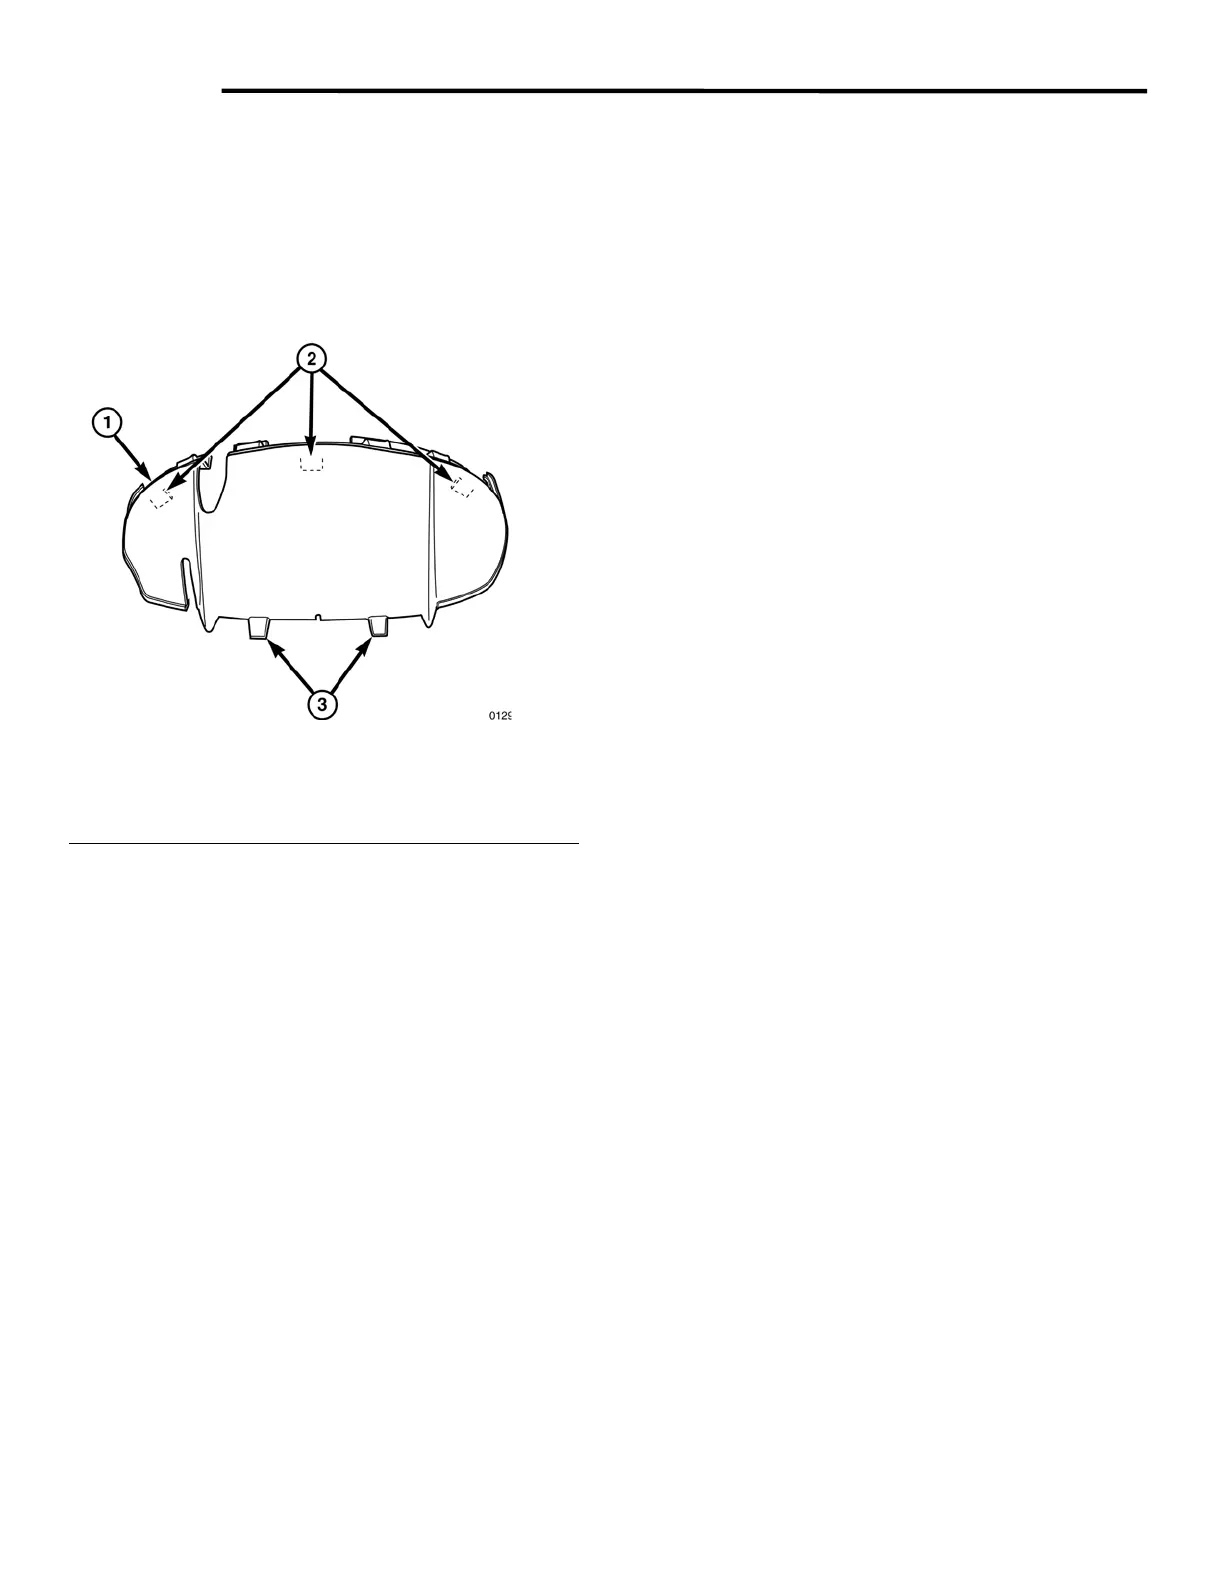
Fig. 15 Lower Dash Panel
1 - Lower dash panel
2 - Upper mounting tabs
3 - Floor tabs
REMOVAL
1. Remove upper dash panel.
2. Locate and remove the three 3/8" Tek screws
on the top surface mounting tabs.
3. Slowly lift lower dash panel out taking care to
disconnect any electrical connections and
heater ducts. Then up, until lower tabs are clear
of the slots in the floor pan.
NOTE: Take care not to scratch steering
column/instrument pod covers.
INSTALLATION
1. Insert panel lower tabs into slots in floor pan.
2. Connect any electrical connections then slowly
lower and rock lower panel forward into place.
NOTE: Take care not to scratch steering
column/instrument pod covers.
3. Install the three 3/8” Tek screws through the
mounting tabs into the upper dash support
frame.
4. Install upper dash panel.
GEM Service Manual November 2007