5.
6.
7.
8.
9.
10
.
11.
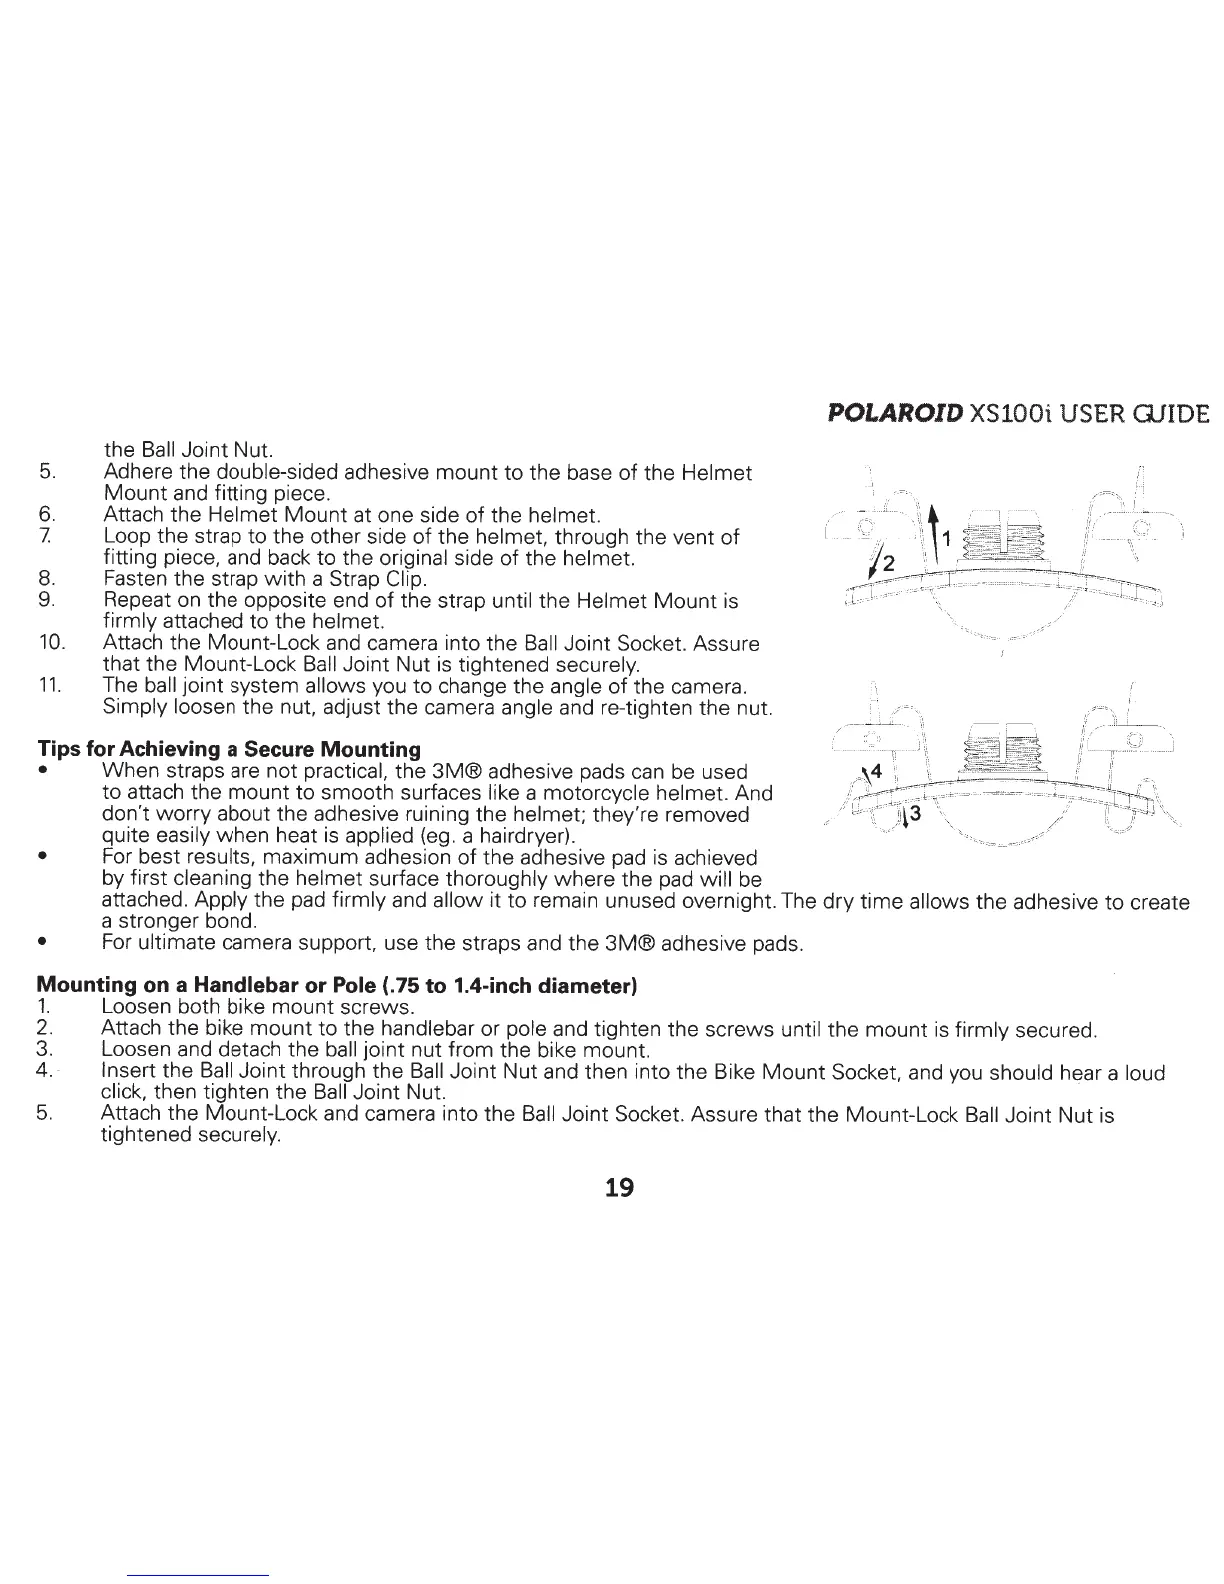
the Ball Joint Nut.
Adhere the double-sided adhesive
mount
to
the
base
of
the
Hel
met
Mount
and fitting piece.
Attach
the
Helmet
Mount
at one side
of
the helmet.
Loop
the
strap to the other side
of
the
helmet,
through
the
vent
of
fitting piece, and back
to
the original side of the
helmet.
Fasten
the
strap
with
a Strap
Clip.
Repeat on the opposite end
of
the
strap
until the
Helmet
Mount
is
firmly
attached to the
helmet.
Attach the Mount-Lock and camera into the
Ball Joint Socket. Assure
that the Mount-Lock
Ball Joint
Nut
is tightened
securely.
The
ball
joint system
allows
you
to
change
the
angle
of
the camera.
Simply loosen
the
nut, adjust the camera
angle and re-tighten
the
nut.
Tips for Achieving a Secure Mounting
•
When
straps are
not
practical,
the
3M®
adhesive pads can be used
•
to
attach the mount
to
smooth surfaces
like
a
motorcycle helmet.
And
don't
worry
about the adhesive ruining
the
helmet; they're removed
quite easily
when
heat is applied (eg. a hairdryer).
For best
results,
maximum adhesion
of
the
adhesive pad is achieved
by first
cleaning
the
helmet surface
thoroughly
where
the
pad
will
be
POLAROID
XSlOOi USER
GliDE
I.
L
•.
i_ •
~,.
!:(
·='_'\
i
.
~
. .
-,
:
J~
~
;
"
~~~
~J~j
"",,
. ;
f
I
~·::.
~
.
::-
:::
-"";";:::::-
-
-
~
attached.
Apply
the pad
firmly
and
allow
it
to
remain unused overnight. The
dry
time
allows
the adhesive
to
create
a stronger bond.
•
For
ultimate
camera support, use the straps and the
3M®
adhesive pads .
Mounting on a Handlebar
or
Pole
(.75
to
1.4-inch diameter)
1.
Loosen both bike
mount
screws.
2.
Attach the bike
mount
to
the
handlebar
or pole and tighten
the
screws
until
the
mount
is
firmly
secured.
3. Loosen and detach
the
ball
joint
nut from
the
bike mount.
4.
- Insert
the
Ball Joint through
the
Ball Joint
Nut
and then into
the
Bike
Mount
Socket, and you
should hear a
loud
click, then tighten the
Ball Joint Nut.
5.
Attach the Mount-Lock and camera into the
Ball
Joint Socket. Assure that
the
Mount-Lock
Ba
ll
Jo
i
nt
Nut
is
tightened
securely.
19

 Loading...