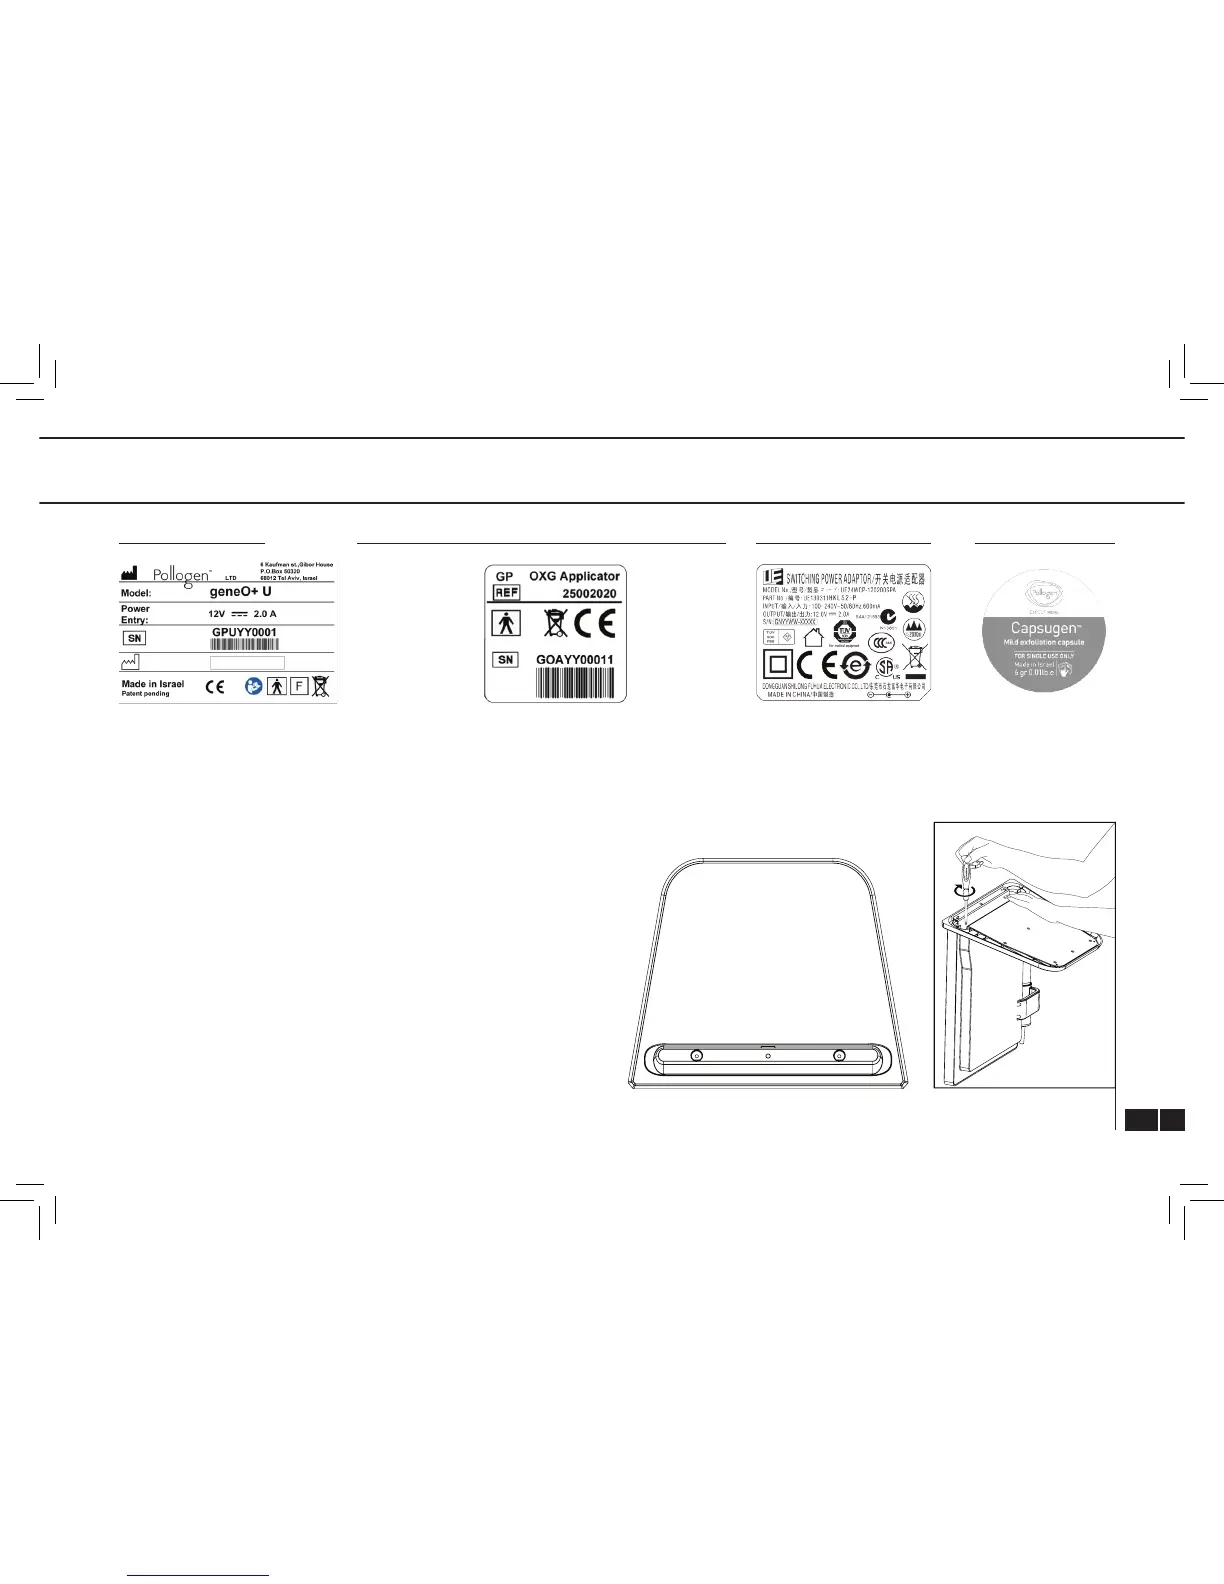
4. TECHNICAL SPECIFICATIONS AND LABELING 4. TECHNICAL SPECIFICATIONS AND LABELING
OXYGENEO APPLICATOR SERIAL NUMBER LABEL POWER SUPPLY LABEL CAPSUGEN LABELDEVICE S/N LABEL
Unpack geneO+ U and verify that the system is intact and that all
components are present. It is recommended to save the packaging
box and materials for future transport.
Assemble the geneO+ U by connecting the Body Unit to the Base Unit
using the provided screws and the screw driver. Plug in the Applicator
cable into the appropriate connector on the back of the geneO+ U
system. Verify that you hear a click. Place the Applicator in the
Applicator cradle
Place the geneO
+
U on a stable rigid surface and connect the supplied
Power Supply into the system. Plug in the Power Supply’s electric
cord into the electrical outlet.
5. GENEO
+
U ASSEMBLY
(Fig. 8)
(Fig. 9)
Base Unit top view
Assembly Illustration
XXX
*
XXX - Will be determined according to wrrent model.