Note: For the wall mount option, refer to step 6 in the
Polycom RealPresence Group Series Wall-Secured
Supplement.
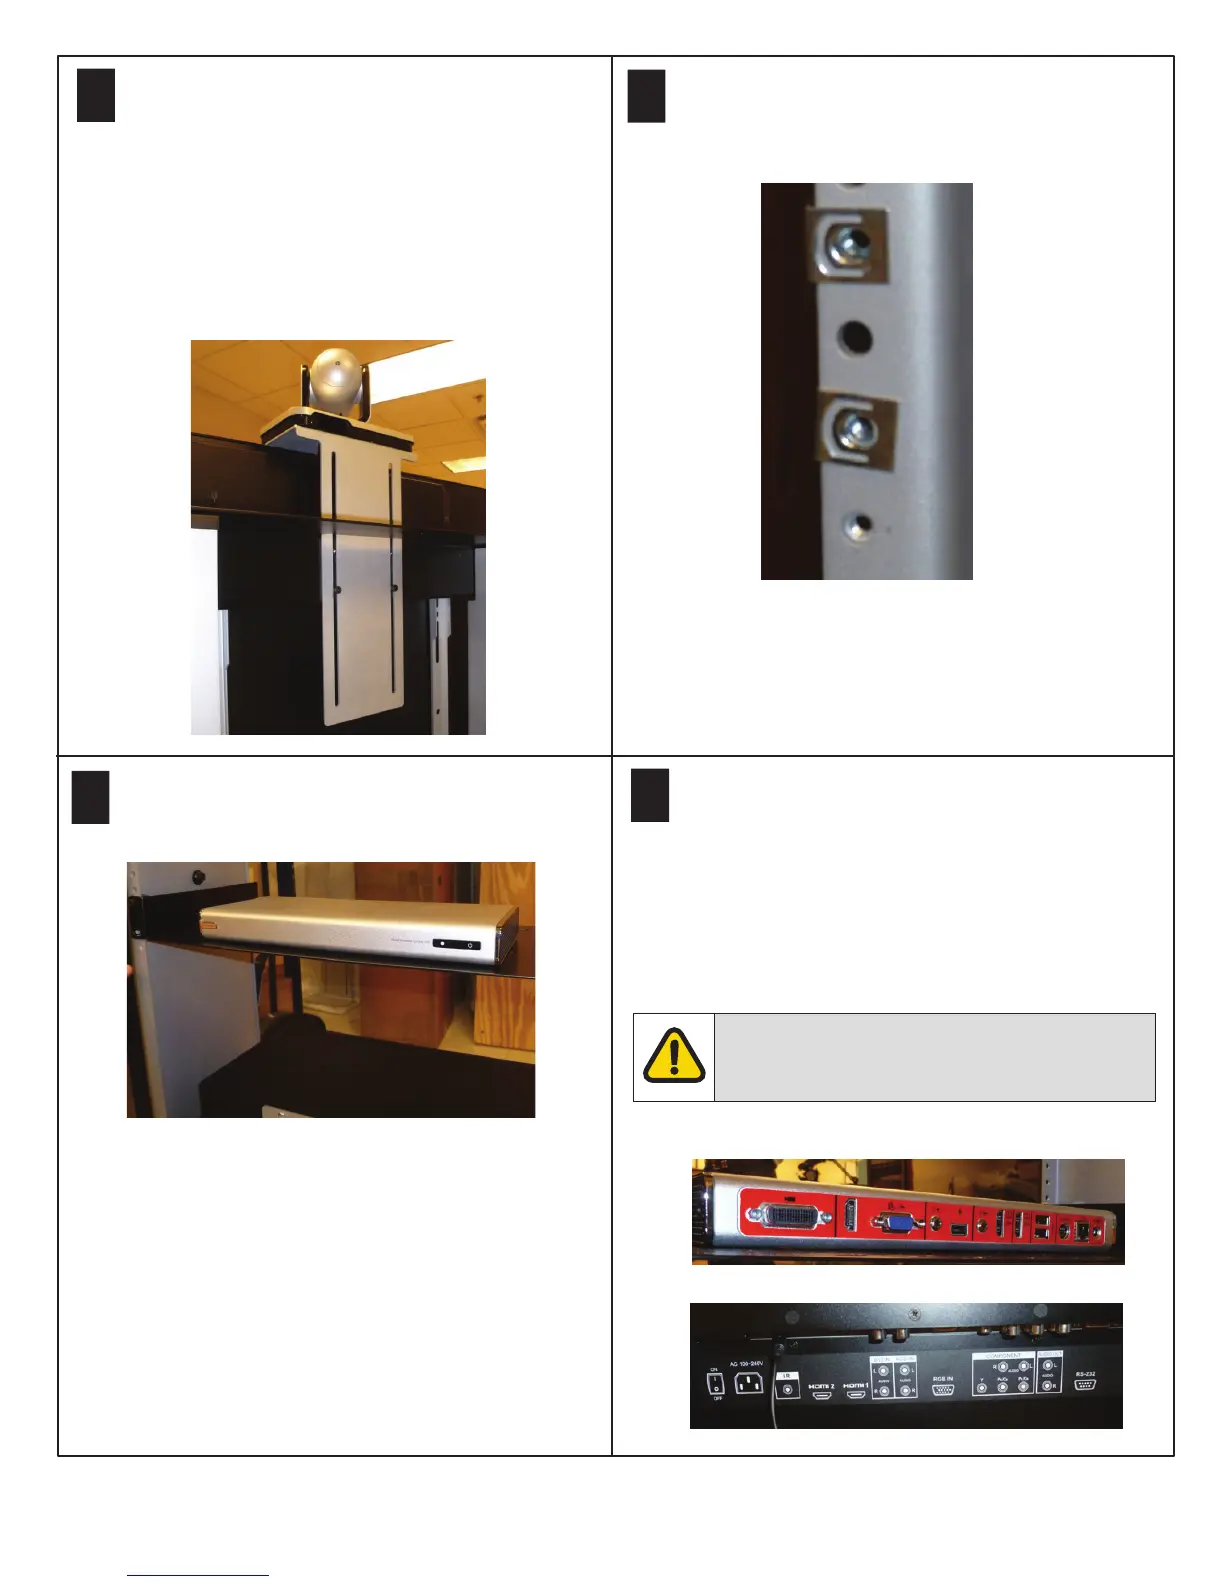
If installing the Lower Camera Mount door, skip this step.
Attach the EagleEye IV camera to the camera mount
bracket using four M3 x 6 Phillips flat head screws.
Attach the camera assembly to the display using four
1/4-20 x 5/8 socket head cap screws, four split lock
washers, and four 5/16 washers.
13
13
Polycom® RealPresence® Group Series Media Center Setup Sheet
16
Attach the cables to the codec and display. Refer to the
diagram on page 15 and to the instructions that came
with the components for cabling details.
Route the cables neatly using the cutout at the bottom
and the hollow interior of the vertical supports. Tie-wrap
the cables as needed.
Plug the cables into the power strip and plug the
power strip into a power outlet.
15
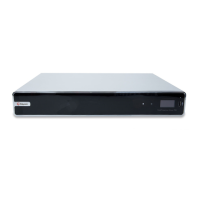
Install the codec to the 1U shelf using two M3 x 10
screws. Install the 1U shelf using four 10-32 x 1/2”
pan head screws.
Install two clip-on rack nut fasteners in the seventh
and ninth holes from the top on the left vertical support.
Repeat with the right vertical support. Adjust the height
as needed.
14
If installing the Lower Camera Mount kit, refer to the
Polycom RealPresence Group Series Media Center
Lower Camera Mount Kit Setup Sheet for instructions
and correct location.
Only plug Polycom Media Center components
into the power outlet block. Do not power any
other electrical equipment from this power outlet.

 Loading...