6b
Install the upper display rail assembly by aligning the holes in the display rail with the holes in the vertical
supports. Attach with two M10 x 25 flanged socket head cap screws per vertical support. Do not fully tighten.
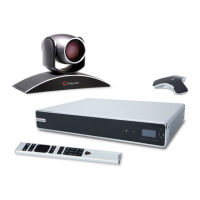
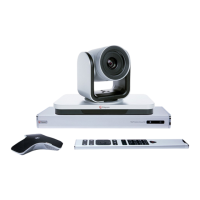
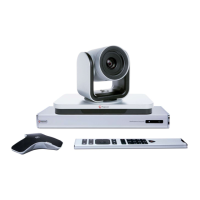
Setting up the Polycom® RealPresence® Group Series Media Center
3
8
Attach the rear panel by inserting the two tabs at the
bottom of the door into the slots in the base. This
serves as an alignment tool to ensure the frame is
properly aligned before tightening all bolts. Using
the L-key, tighten the socket head cap screws at
the bottom of the base, the lower display rail, and
the upper display rail. Remove the rear door.
13
On the back side, install a handle on both ends
of the bottom display rail.
 Loading...


