15
14
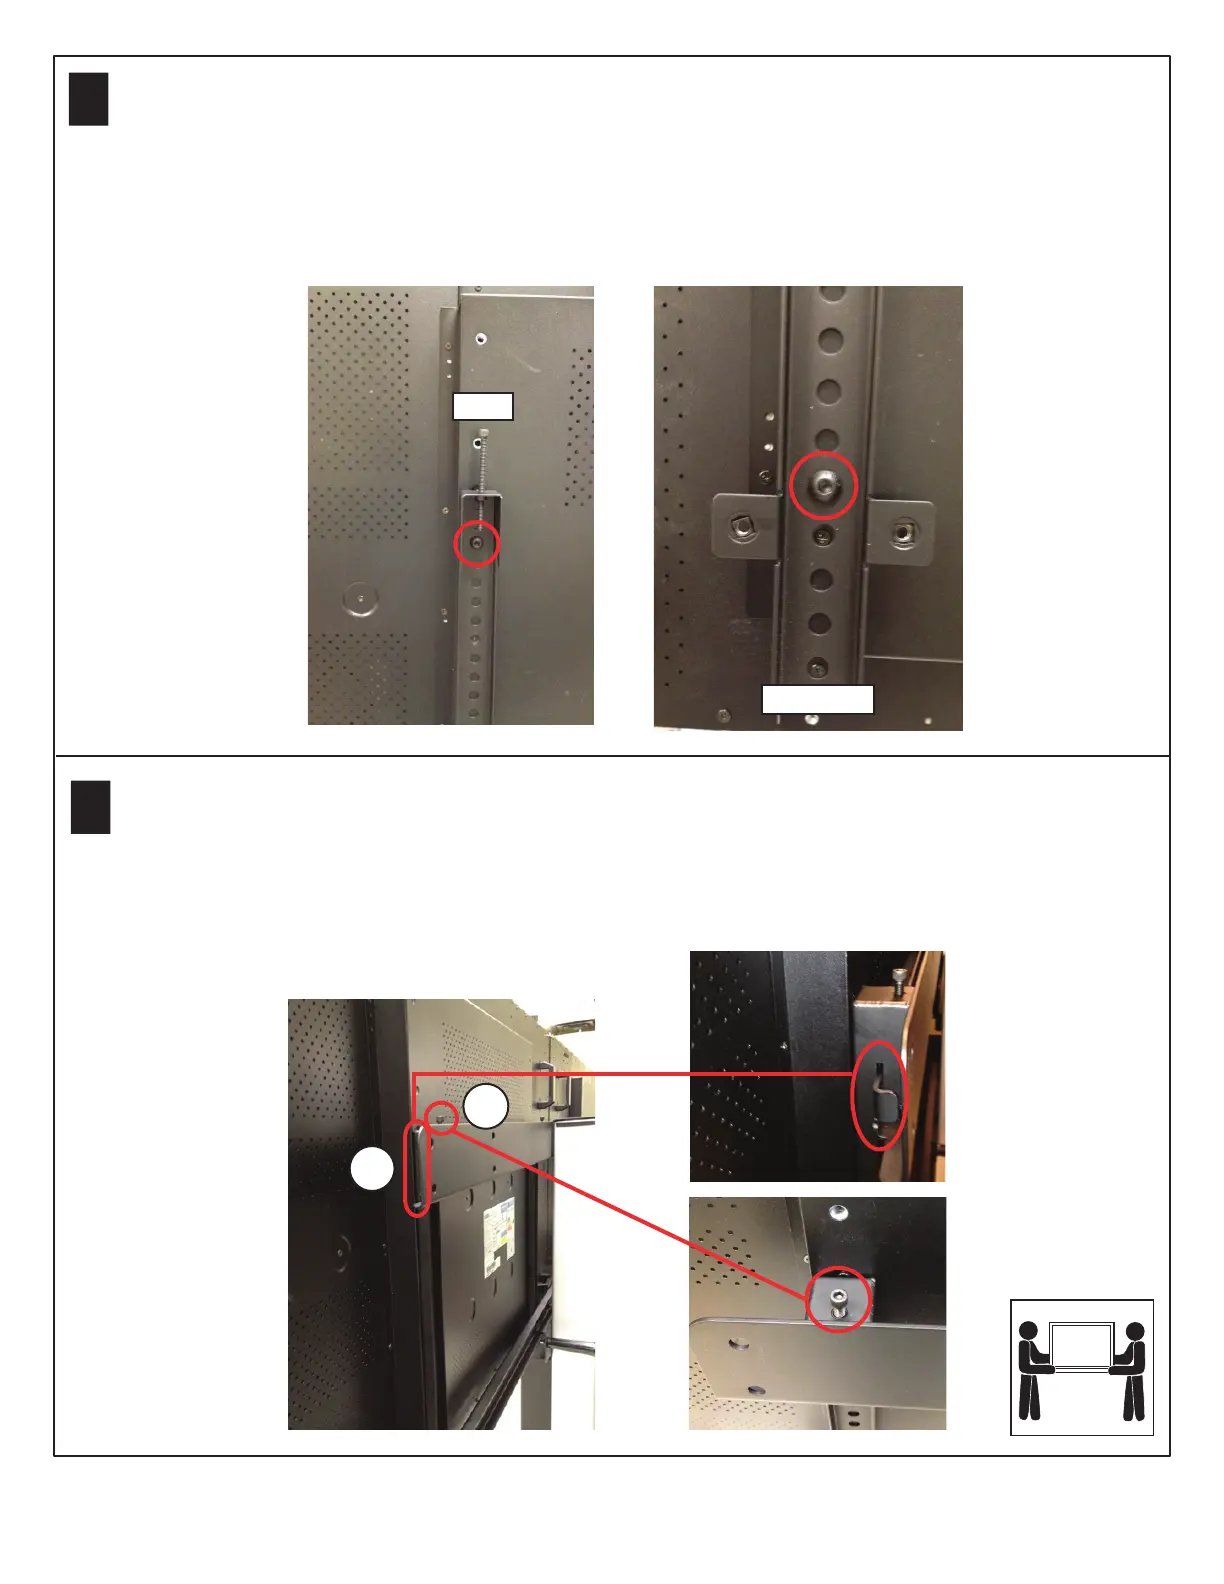
Install the display mount brackets on the display. Position the third hole down from the top of the display
bracket with the third hole down from the top of the display. The bottom hole on the display will line up with the
fifth hole up from the bottom of the display bracket.
Install the supplied 1/4-20 x 3.5” socket head cap screws at the top of each display bracket. Leave the screws
adjusted up before mounting the display to the top rail.
Repeat with the second display.
With the assistance of another person, lift the display and position the display bracket hooks above the edge
of the upper horizontal display rail on the Media Center. Carefully lower the display onto the rail, ensuring the
hooks are fully engaged with the rail and that the outer most bracket is positioned within the safety tab on the
outer rail end (1). Repeat with the second display.
Adjust the leveler screws as needed to help eliminate any gap between the two displays when they are tightly
abutted (2).
TOP
BOTTOM
Setting up the Polycom® RealPresence® Group Series Media Center
4
1
2

 Loading...