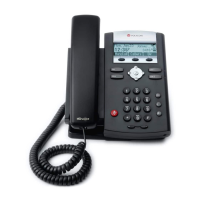
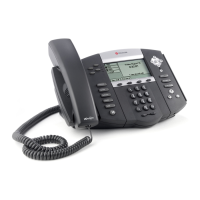
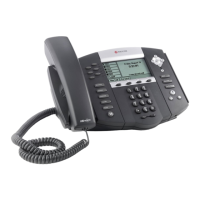
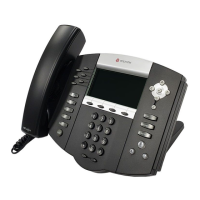
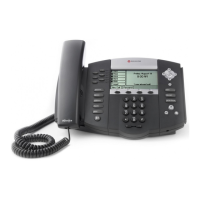
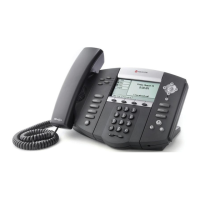
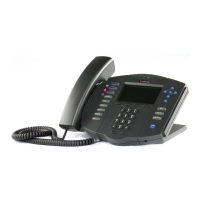
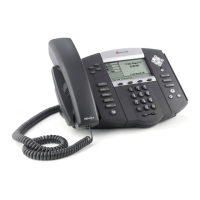
Polycom SoundPoint/SoundStation/VVX IP
Series
Manual Reconfiguration Procedure
BroadSoft BroadCloud PBX 07/19/2017
Once the boot process has completed, the device will be provisioned for use in the BroadSoft BroadCloud PBX network. If the
station assignment process was properly completed prior to the reboot, the device will boot into a station specific
assigned/usable state. If not, the device will boot into a default unassigned/unusable state, and will remain in this state until
the site administrator has completed the station assignment process. If this occurs, contact your site administrator and
request that station assignment be completed for the device in question.
Reset the phone to Factory Defaults before continuing.
For VVX Series Models: 300/301/310/311, 400/401/410/411, 500/501, or 600/601
1. Press the Menu button
2. Select “Settings…”
3. Select “2. Advanced…”
4. At the password prompt, enter key in 456 then press the Enter soft key
Note:
●
If the password is a known value other than 456, then enter that value instead
●
If the password is not 456 and the actual password is not known, then the remainder of this procedure cannot
be performed, and the device cannot be modified for use in the BroadSoft BroadCloud PBX network.
5. Select “1. Admin Settings…”
6. Using the up/down arrows to select TLS Security, then TLS Applications, then Provisioning, then TLS Protocol, and
finally select the check box for SSL v2/v3.
Note, Step 6 is needed only for the phones on Fed systems, this is to enable TLS1.2 on phones. Skip this step for
phones on non-FED systems.
7. Select “1. Network Configuration…”
8. Using the up/down arrows, highlight “Provisioning Server…” then press Select
9. Using the up/down arrows, highlight "DHCP Menu: ..." then press Select
10. Using the up/down arrows, highlight "Boot Server: ..." then press Select
11. Using the up/down arrows, select "Static" then press Select
12. Press Back to exit DHCP menu
13. Using the up/down arrows, highlight “Server Type:…” then press Select
14. Using the right/left arrows, select “HTTPS” then press the Ok soft key
15. Using the up/down arrows, highlight “Server Address:…“ then press Select
16. Using the numeric keypad, enter the following case sensitive URL:

 Loading...


