15
OWNER’S MANUAL
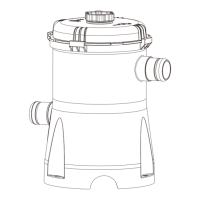
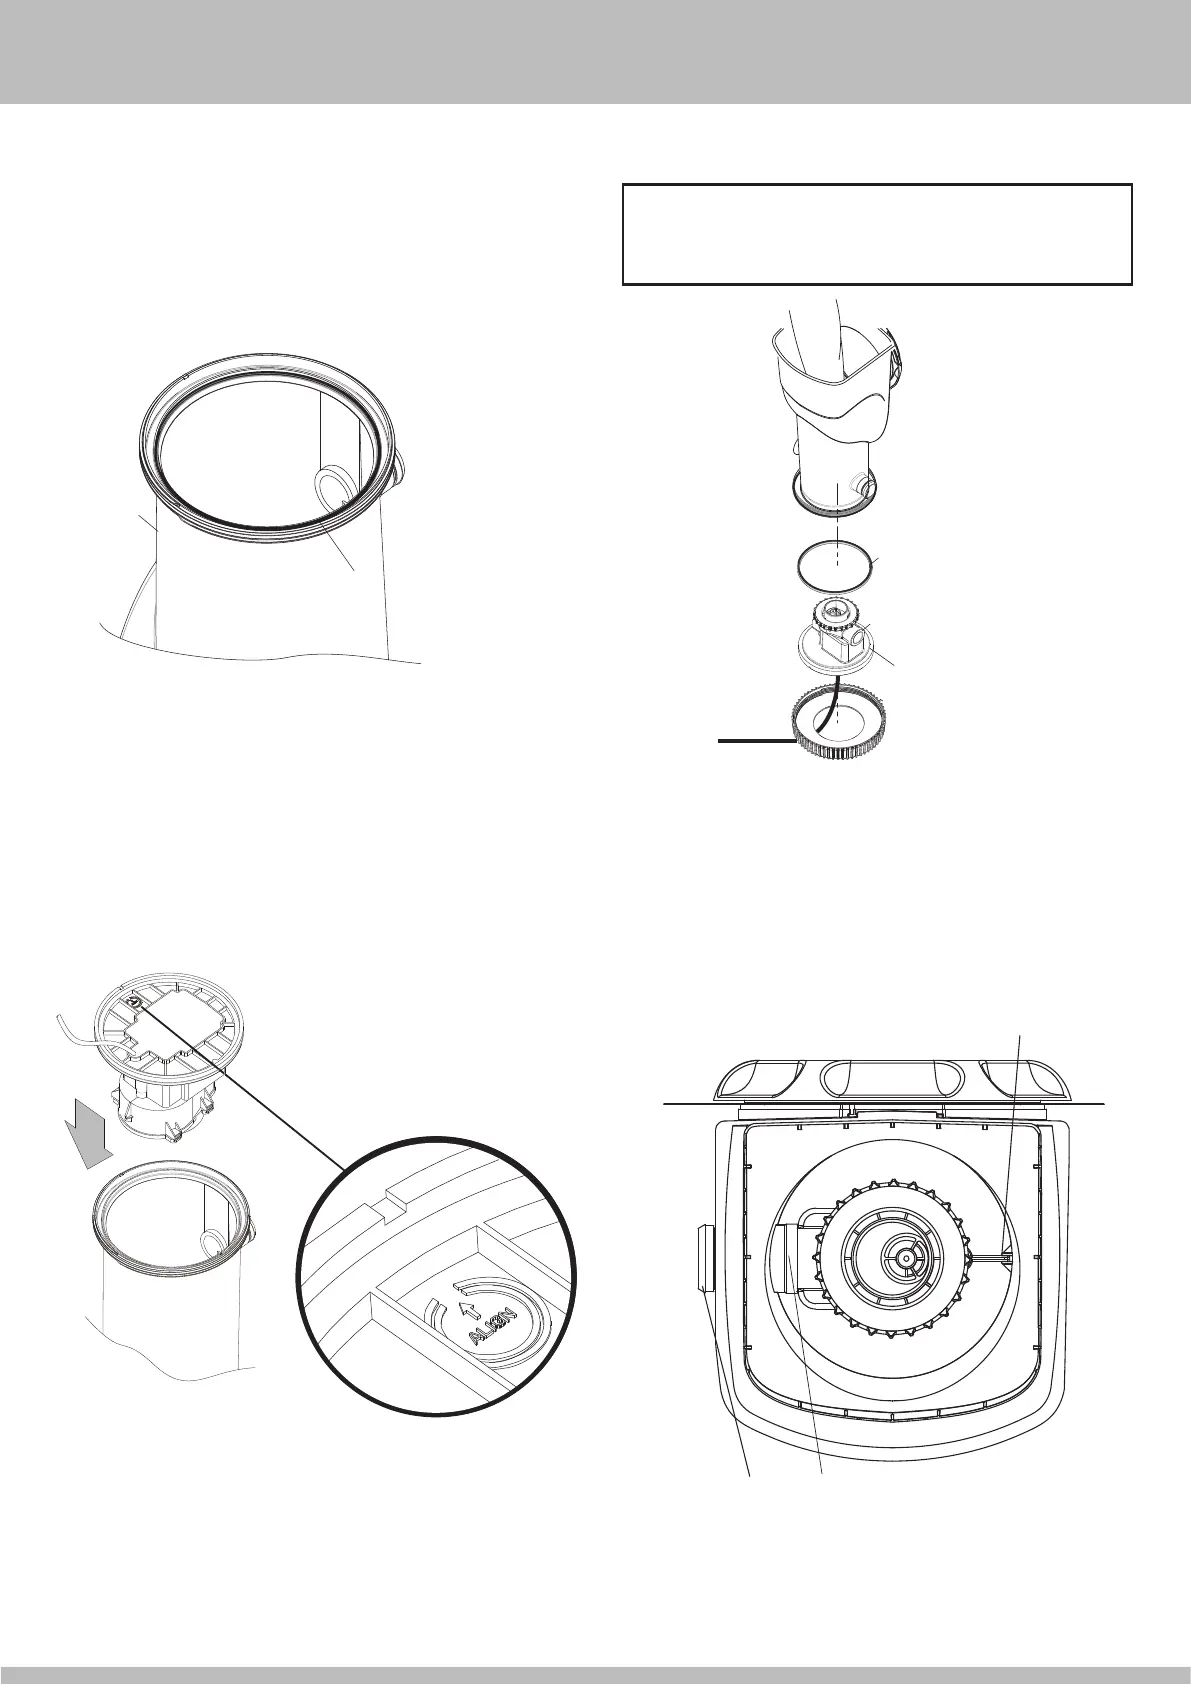
STEP 3: Pump Reassembly/Replacement
1. Lubricate the Canister Gasket
4
, then insert it back into the groove (inner
groove for SFX600/SFX1000) at the bottom of the Skimmer Canister
9
.
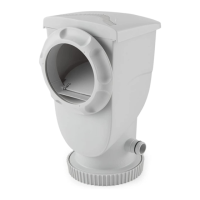
TOP VIEW
Make sure that the key of the Canister
is slotted into the notch on the Pump
1
2
3
4
Outlet of Canister and Rubber Nozzle
2
on the pump should be aligned.
4
9
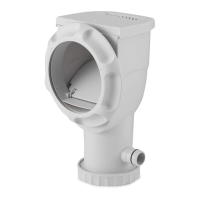
2a. If your Pump is removed from the pool, slowly insert the Motor Assembly
back into the upside-down Canister. There's an indent on the inside of
Canister (only visible from bottom), which needs to be aligned with an
indent at the bottom of the Motor (marked "ALIGN"); to this end, make
sure that the arrow of the "ALIGN" mark is pointing to the Canister indent.
BOTTOM VIEW OF PUMP & CANISTER
Close Up
IMPORTANT: make sure that the cord of the
Motor Assembly
3
is placed through the Motor
Seal Nut
1
BEFORE replacing the Pump.
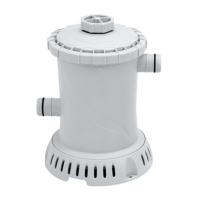
2b. If your Pump is left attached to the pool, reach in through the Canister to
pull the Motor Assembly up and insert it back into the Canister. Make sure
that the key of the Canister is slotted into the notch on the Pump to align
the Rubber Nozzle
2
with the hose opening of the Canister, otherwise
the Pump may leak even already locked in place.