•Secureandmaintainworkarea,as
instructed in the Safety Instructions.
•Runthedrillveryslowly,usinglight
pressure, until the hole is started enough
to keep the drill bit from slipping out of it.
•Applypressureinastraightlinewiththe
bit. Use enough pressure to keep the
bit biting but not so much as to stall the
motor or deflect the bit.
•Holdthedrillfirmlywithtwohands,
one hand on the handle, and the other
gripping the bottom around the battery
areaortheauxillaryhandleifprovided.
•DONOTCLICKTHETRIGGEROFA
STALLED DRILL OFF AND ON IN AN
ATTEMPT TO START IT. DAMAGE TO
THEDRILLCANRESULT.
•Minimizestallingonbreakthroughby
reducing pressure and slowly drilling
through the last part of the hole.
•Keepthemotorrunningwhilepulling
the bit out of a drilled hole. This will help
reduce jamming.
•Make sure switch turns drill on and off.
Drilling in Wood
Holesinwoodcanbemadewiththe
same twist drill bits used for metal or with
spade bits. These bits should be sharp
andshouldbepulledoutfrequentlywhen
drilling to clear chips from the flutes.
Drilling in Metal
Use a cutting lubricant when drilling
metals.Theexceptionsarecastiron
and brass which should be drilled dry.
The cutting lubricants that work best are
sulfurized cutting oil or lard oil.
Drilling in Masonry
Use carbide tipped masonry bits. Refer to
Drillingsection.Keepevenforceonthe
drill but not so much that you crack the
brittle material. A smooth, even flow of dust
indicates the proper drilling rate.
LED Work Light
When drill is activated by pulling the trigger
switch(1),theintegratedLEDworklight
(10)willautomaticallyilluminatethework
area. NOTE: The work light is for lighting
the immediate work surface and is not
intended to be used as a flashlight.
Bit Tip Storage
Twomagneticbitstorageslots(6)arebuilt
into the area on the top of the tool.
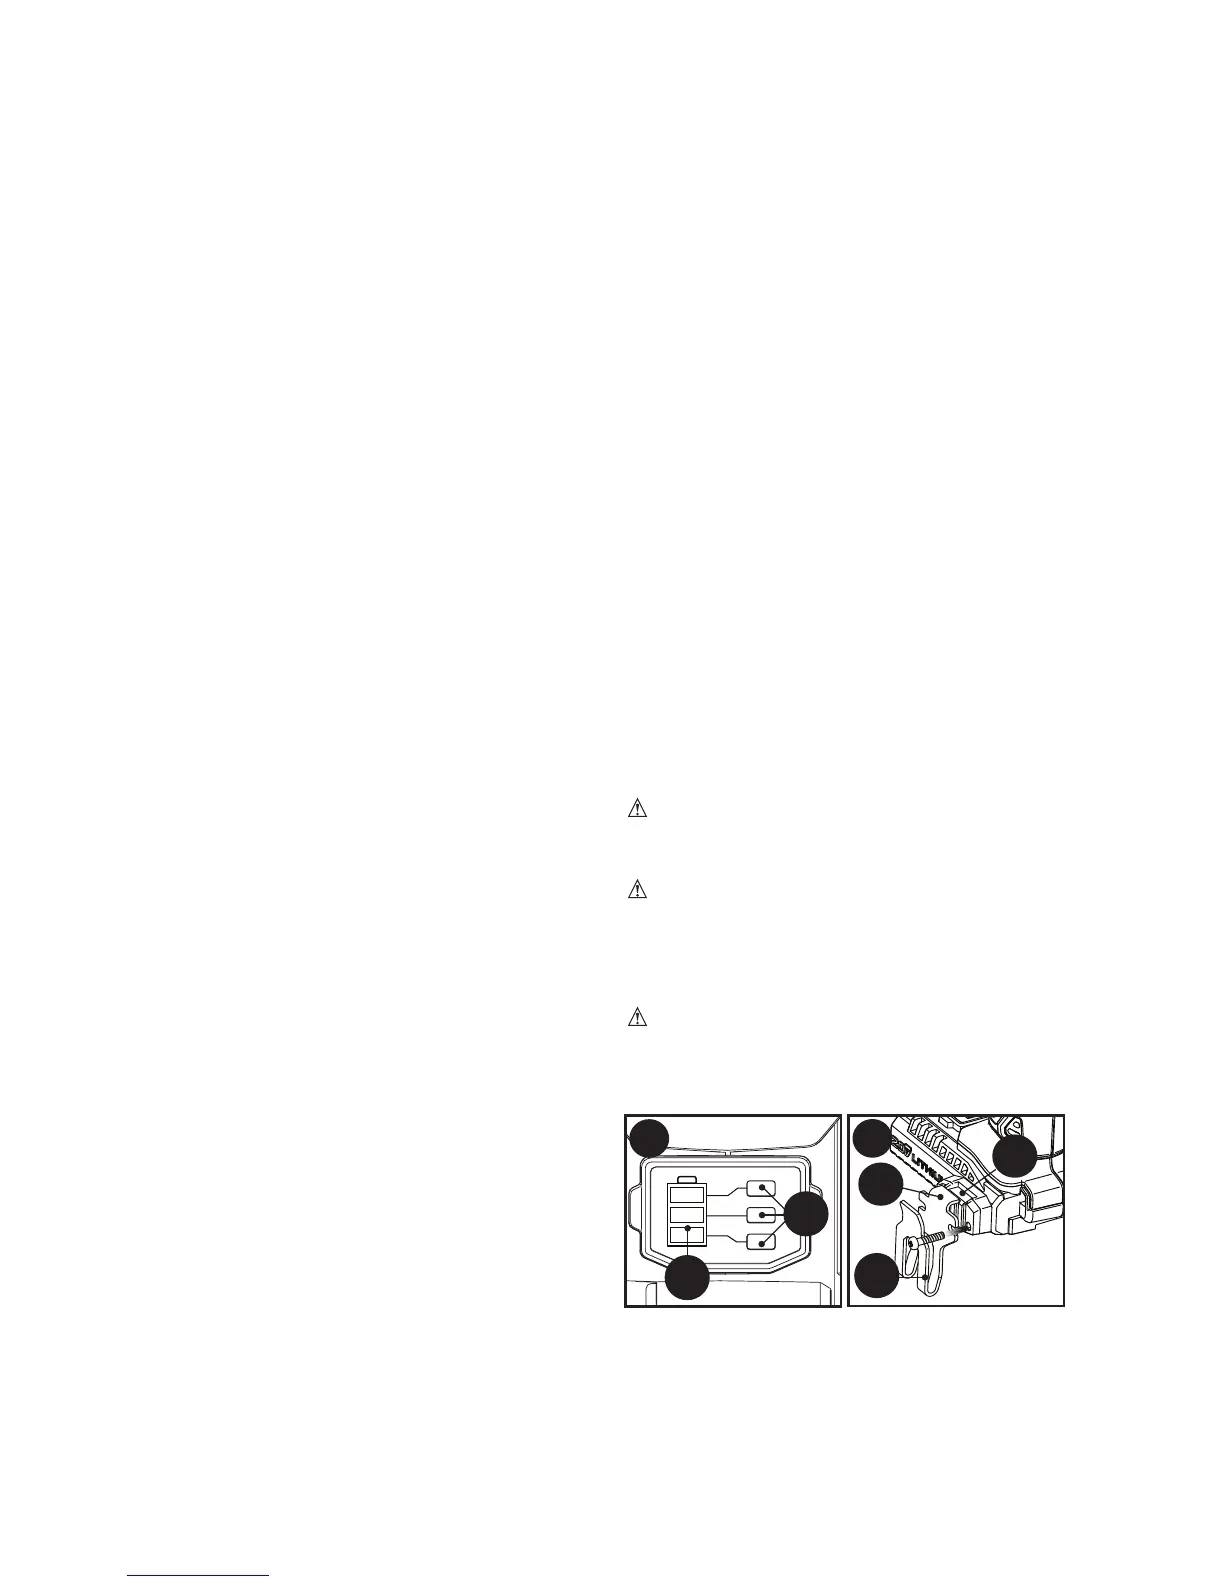
Battery Fuel Gauge - Figure D
Thetoolisequippedwithabatteryfuel
gauge(9).
This can be used to display the current
level of charge in the battery during
use and during charging. It does not
indicate tool functionality and is subject to
variation based on product components,
temperatureandend-userapplication.
Checking battery charge during use:
•Pressthebatteryfuelgaugebutton(D1).
•ThethreeLEDs(D2)willilluminate
indicating the percent of charge in the
battery(Figure D).
•IfLEDlightdoesnotlluminate,charge
battery.
NOTE: This battery is designed to not
operatewhenachargebelow20%of
its capacity is reached. After the battery
charge is depleted, the tool will not operate
until after the battery has been recharged.
Belt Clip - Figure E
Abeltclip(11)isprovidedwhichcanbe
switched to either side of the tool based
on user preference for convenient access
and storage during use.
•Placethefrontlipofthebeltclip(E1)
intotheindentationofthebase(E2).
•Securethebeltclipwiththesuppliedscrew
and firmly tighten with a phillips screwdriver.
CAUTION: Ensure the forward/
reversecontrolbutton(2)isinthecenter
lock position before attaching tool to belt.
WARNING: To reduce the risk of
serious personal injury, DO NOT
suspend tool overhead or suspend objects
from the belt hook. ONLY hang tool’s belt
hook from a work belt.
WARNING: To reduce the risk of
serious personal injury, ensure the
screw holding the belt hook is secure.
9
E
11
E1
E2
D
D1
D2