17
a
b
ASSEMBLY (CONTINUED)
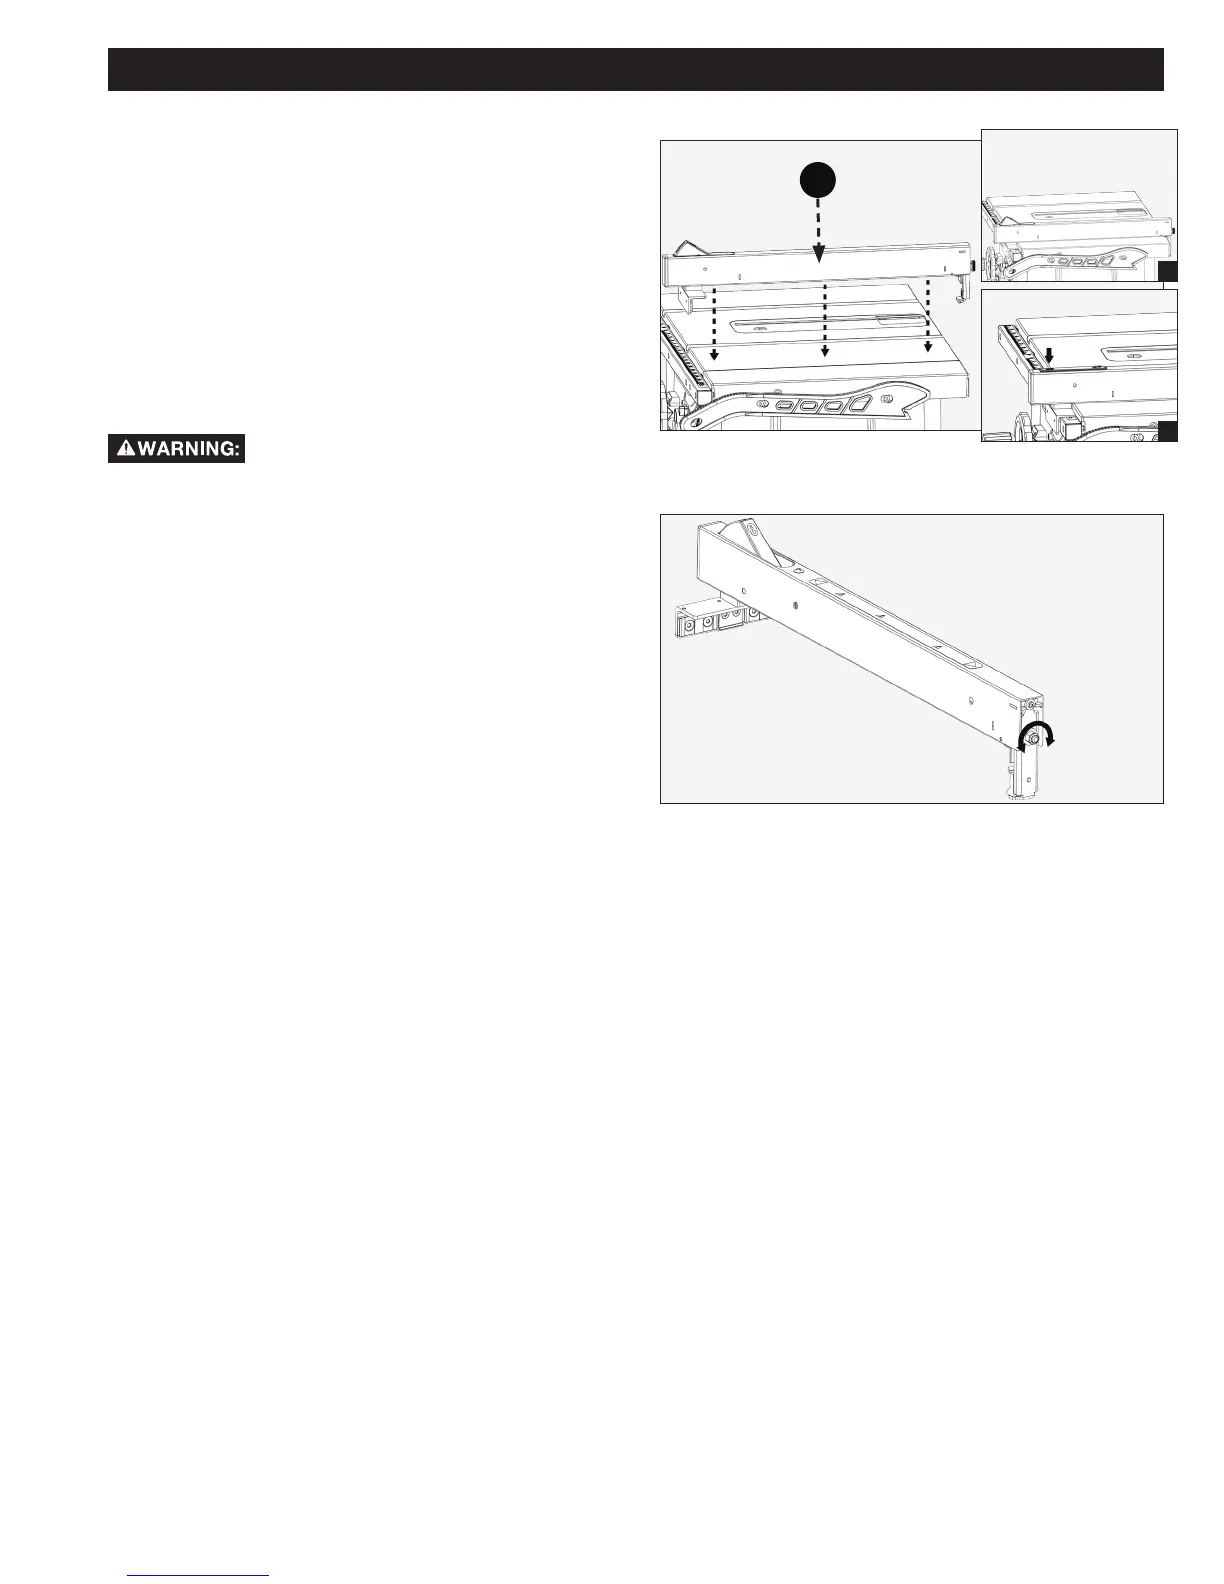
RIP FENCE
Position rip fence (B) over the table as shown in Fig. 19.
Lower rip fence (B) over front of rail on the front of the
saw and back of the table as shown in Fig. 19a. Engage
lock on the rip fence after placing fence in desired
location on the table. See Fig. 19b.
Check to ensure that the rip fence is secured to
the table prior to use when making a cut. If needed
adjustments to tighten or loosen rip fence can be made
by adjusting the lock nut on the rear side of the fence
(Fig. 20).
• Do not use rip fence and miter gauge at the same
time.
FIG. 19
FIG. 20
TIGHTEN
LOOSEN
B