INDEX
11
M SERIES | SERVICE MANUAL
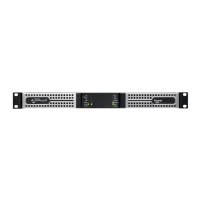
7. Removing the front panel:
Now remove the front panel left and right ears by
unscrewing the highlighted screws (Fig. 20)
Now remove the left and right protection plates that will
free the front panel from the amplier chassis. (Fig. 21)
Unplug the at cables as portrayed in (Fig. 22)
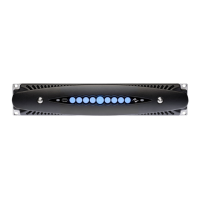
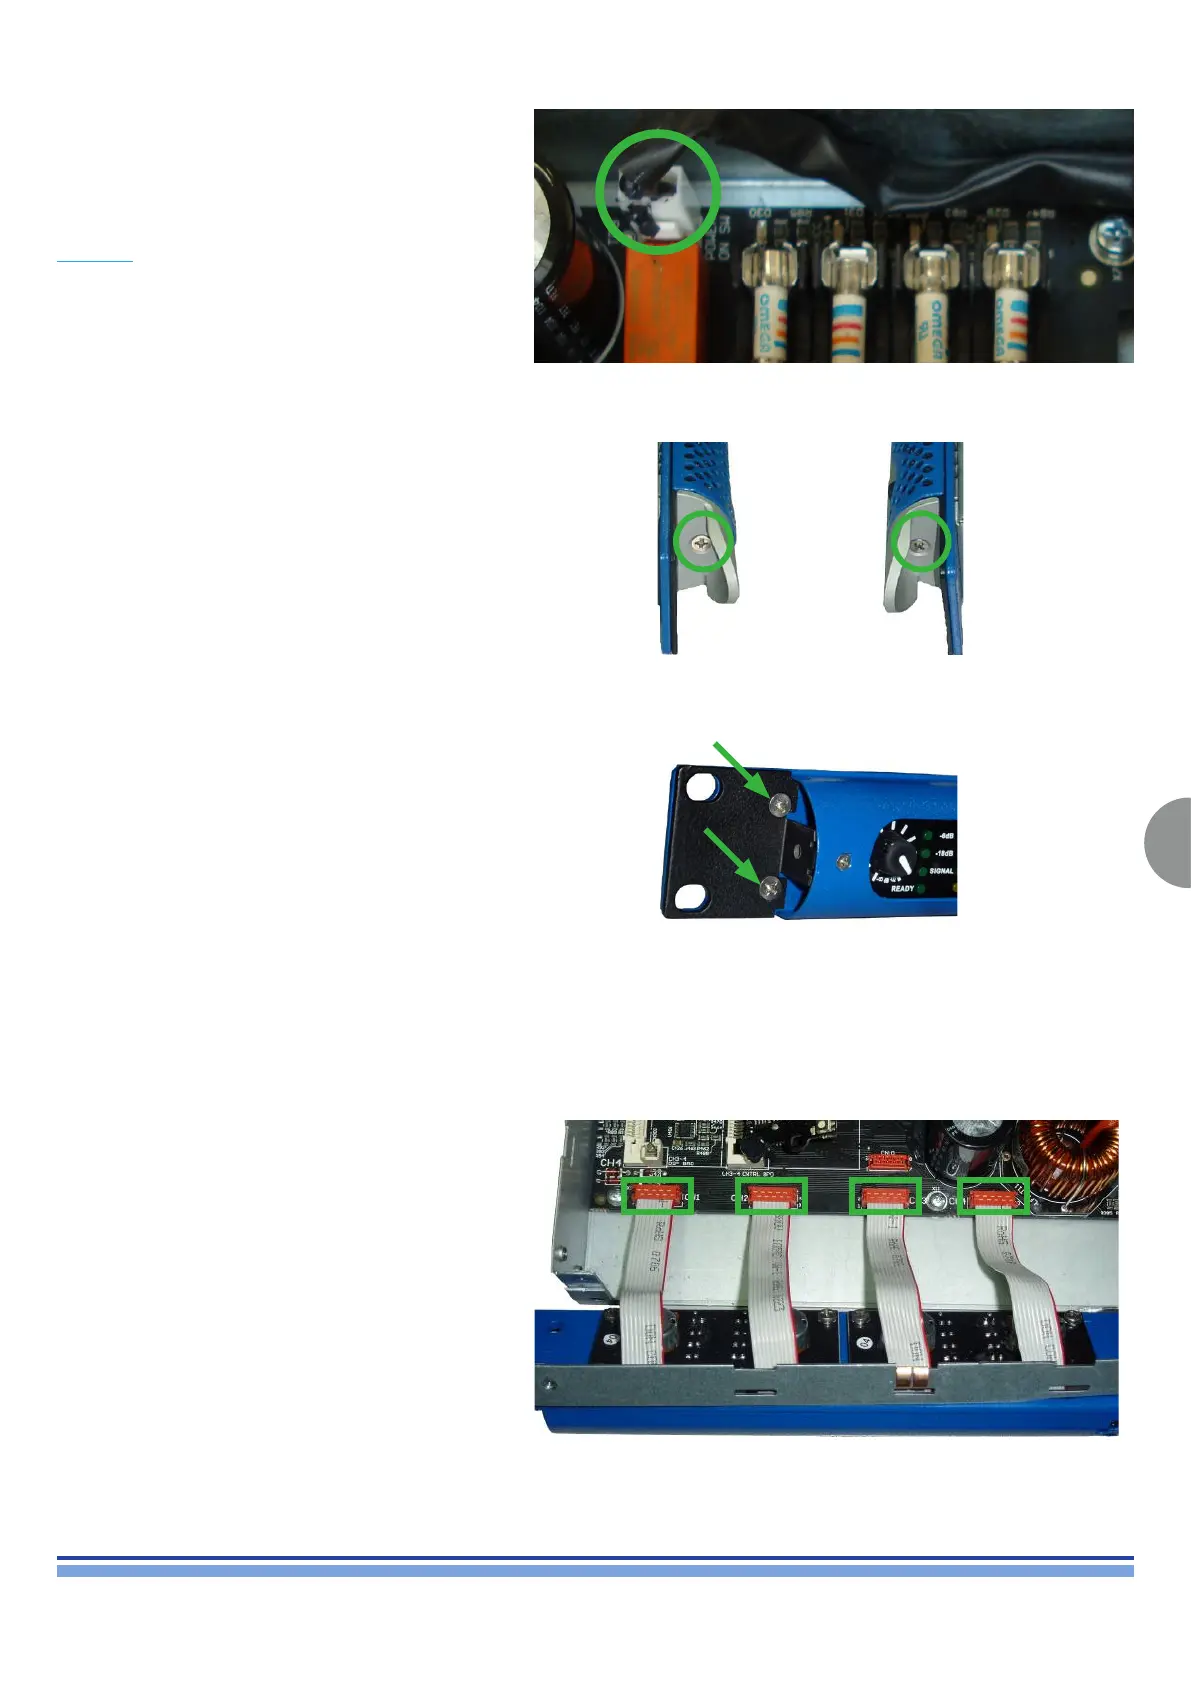
(Fig. 19)
(Fig. 20)
(Fig. 21)
(Fig. 22)
Before removing the front panel, make sure the power
supply capacitors have been discharged as explained in
chapter 3.
Begin by removing the connector that connects the
amplier power switch highlighted in (Fig. 19)

 Loading...