series, the controller will multiply them in proportion automatically and the LCD
only displays the voltage of one battery.
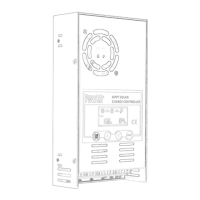
Step 4: D03
Continue to press the button UP, LCD shows 10.0. This is protection value of battery
discharge. Press ENT until numbers flash, then press UP/DOWN to set up voltage that
you want, long-press ENT to confirm it.
It means it’s protected when 12V battery is less 10. 0V and there is no output power from
OU+ and OU-.
Step 5: D04
Continue to press the button UP, LCD shows 00.00 is default for acid batteries.
If it’s for lithium battery, please press ENT until numbers flash, then press UP/DOWN
to choose 01, long-press ENT to confirm it. Step 2 (D01) is no useful when you choose 01
for lithium battery. And the voltage set in step 3 (D02) will be highest charging voltage for
lithium battery.
Press ESC to exit the setting menu.
Reminder: When you set up all steps, please disconnect battery. And reconnect
controller to see if all setting is successful. When all setting is ok, then connect PV
modules to controller.
Troubleshooting
Protections
①
PV Over Current
The controller will limit charging power in rated charge power. An over-sized PV array will
not operate at maximum power point.