Notes:
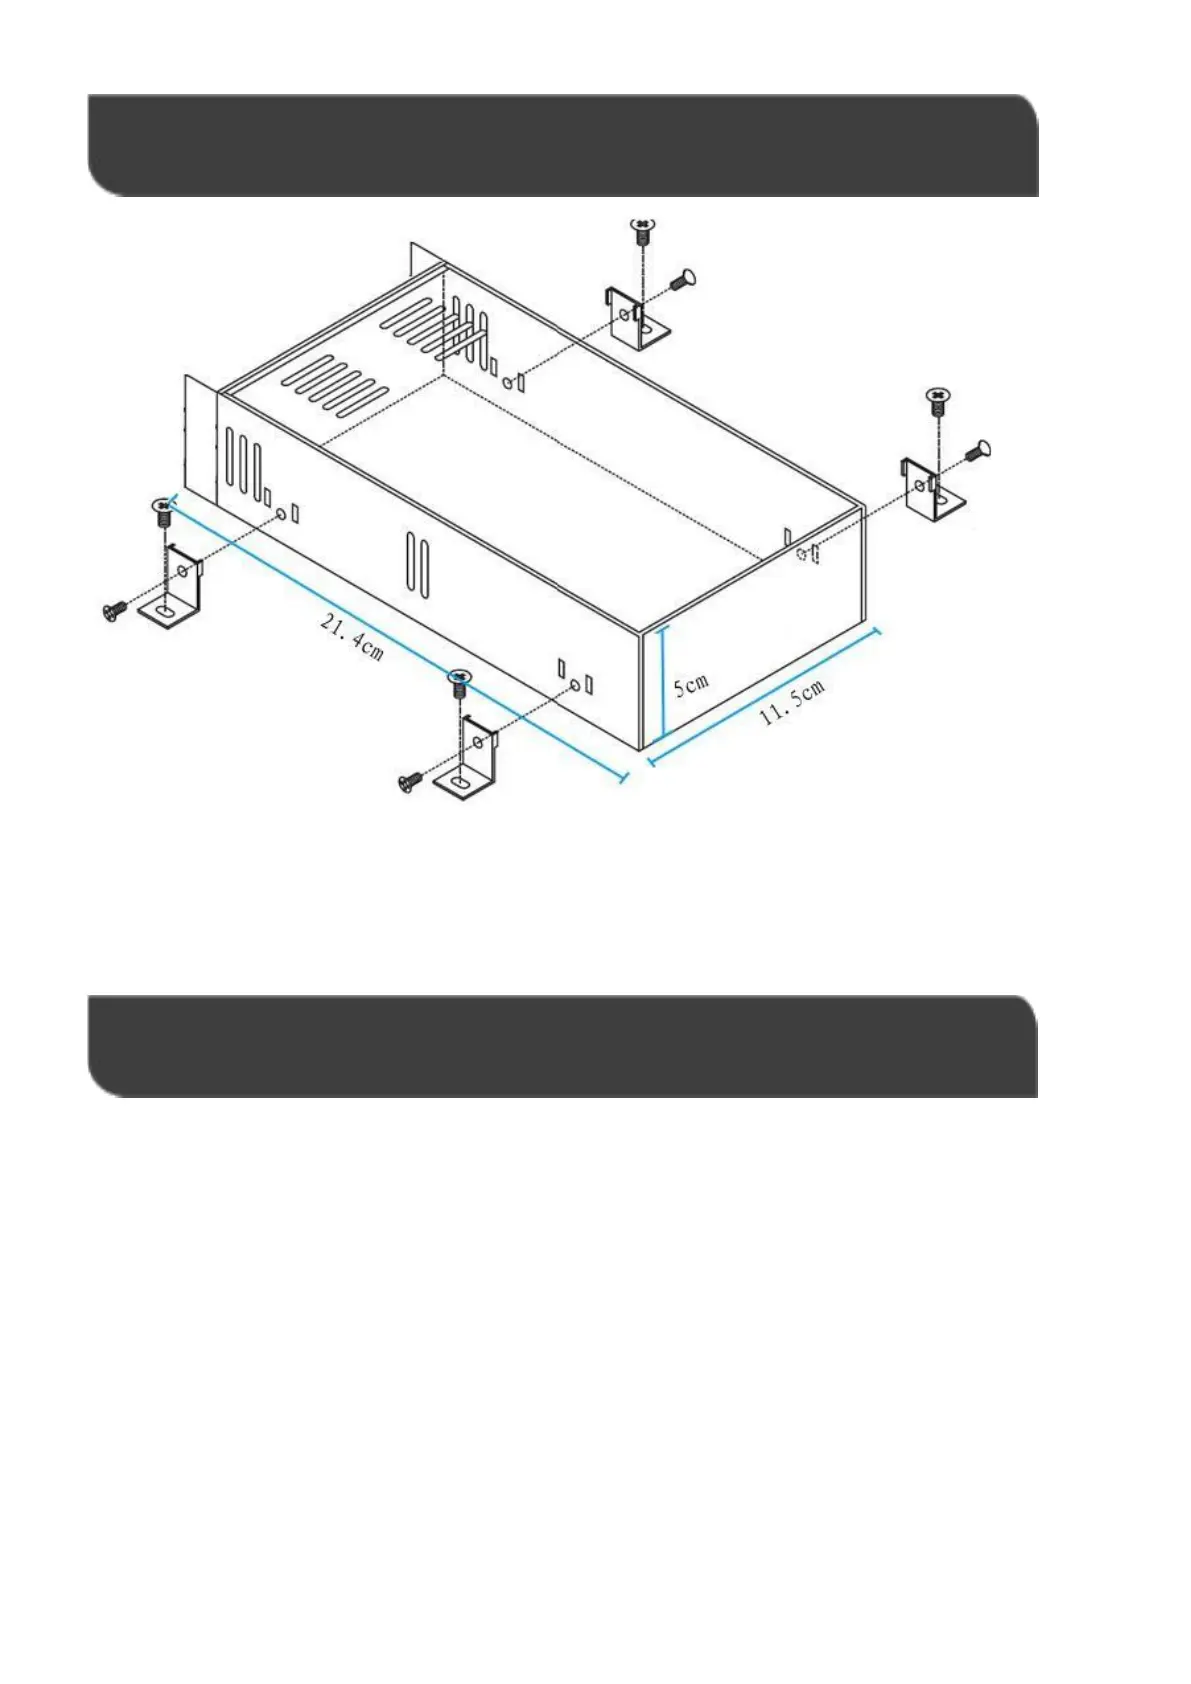
Please use our screws only since it damaged the internal PCB if using other screws.
Please yes proper torque to push the screws into casing since it may damaged the
internal PCB by strong torque
◼ Instruction Notes
1
st
step: Connect the batteries
Connect the battery connection cable with the correct polarity to the middle pair of
terminals on the solar charge controller(with the battery symbol).if the system is
12V,please make sure your battery voltage more than 12V, then the controller can boot
up.
2
nd
step: Connect the solar panel
Ensure that the pv modules is protected from incident light.ensure that the solar panel
doesn’t exceed the maximum permissible input current. Connect the pv modules
connection cable to the correct polarity of the left pair of terminals on the solar charge
controller(with the pv modules symbol).