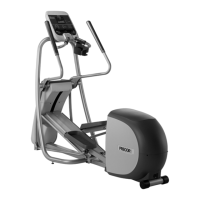
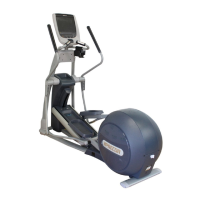
5.33 Elliptical Fitness Crosstrainer
Page 67
9. Remove the screw and star washer that fastens the lockout pin to the bottom of the ramp.
10. Mount the lockout pin on the bottom of the replacement ramp with the screw and star
washer removed in step 8.
11. Set the replacement ramp in it’s mounting position, replace the bolts washers and nuts
removed in step 6. Do tighten the bolts at this time.
12. Replace the four bolts and washers removed in step 5 that fasten the ramp to the rear ramp
bracket.
13. Torque the four bolts between the ramp and rear ramp bracket to 12 ft./lbs. Torque the two
bolts between the ramp and the front ramp support to 20 ft./lbs.
14. Replace the ramp end cap with the screw removed in step 4.
15. Rotate both stairarms forward so that they are resting on the ramp.
16. Set the replacement stairarm connector at it’s mounting position and slide the secondary
link onto the stairarm connector. Replace, but do not tighten the hardware removed in step
3. Torque the two bottom bolts to 50 in./lbs. Torque the horizontal bolt to 11 ft.lbs.
17. Replace the front, top, left and right cover sections per Procedure 7.1.
18. Thoroughly, test the EFX per Section Four.
 Loading...
