Surface-Mount Installation
A Smart-Sync Bridge can be mounted to the outside surface of a wall or other type of unit using the supplied 3M™ Dual Lock™ Tape
strips.
How to surface-mount a Smart-Sync Bridge
1.
Verify the location meets the Installation Location Guidelines.
2.
Prepare the mounting area to ensure maximize adhesion. If there is moisture, dry
the area first.
3.
Press a black fastener strip and a clear adhesive strip together.
4.
Remove the backing off of the clear adhesive strip(s) and affix to the back of the
device. It's recommended to place the strip(s) horizontally.
5.
Remove the backing off of the black fastener strip and affix to mounting surface;
creating a secure mount between the device and the mounting surface.
6.
Verify the strips are securely fastened together and the device mount is secure.
7.
Remove the device cover; simultaneously press the two tabs located on the top
side of the device.
8.
Insert the 3.0v Primex Lithium/Iron Disulfide Battery Pack or two 1.5v Lithium AA
batteries. Follow the symbols showing the correct way to position the positive (+)
and negative (-) ends of the battery pack.
9.
Located to the lower-right of the battery compartment, set the battery on/off switch to the Up (On) position.
10.
Replace the device cover.
11.
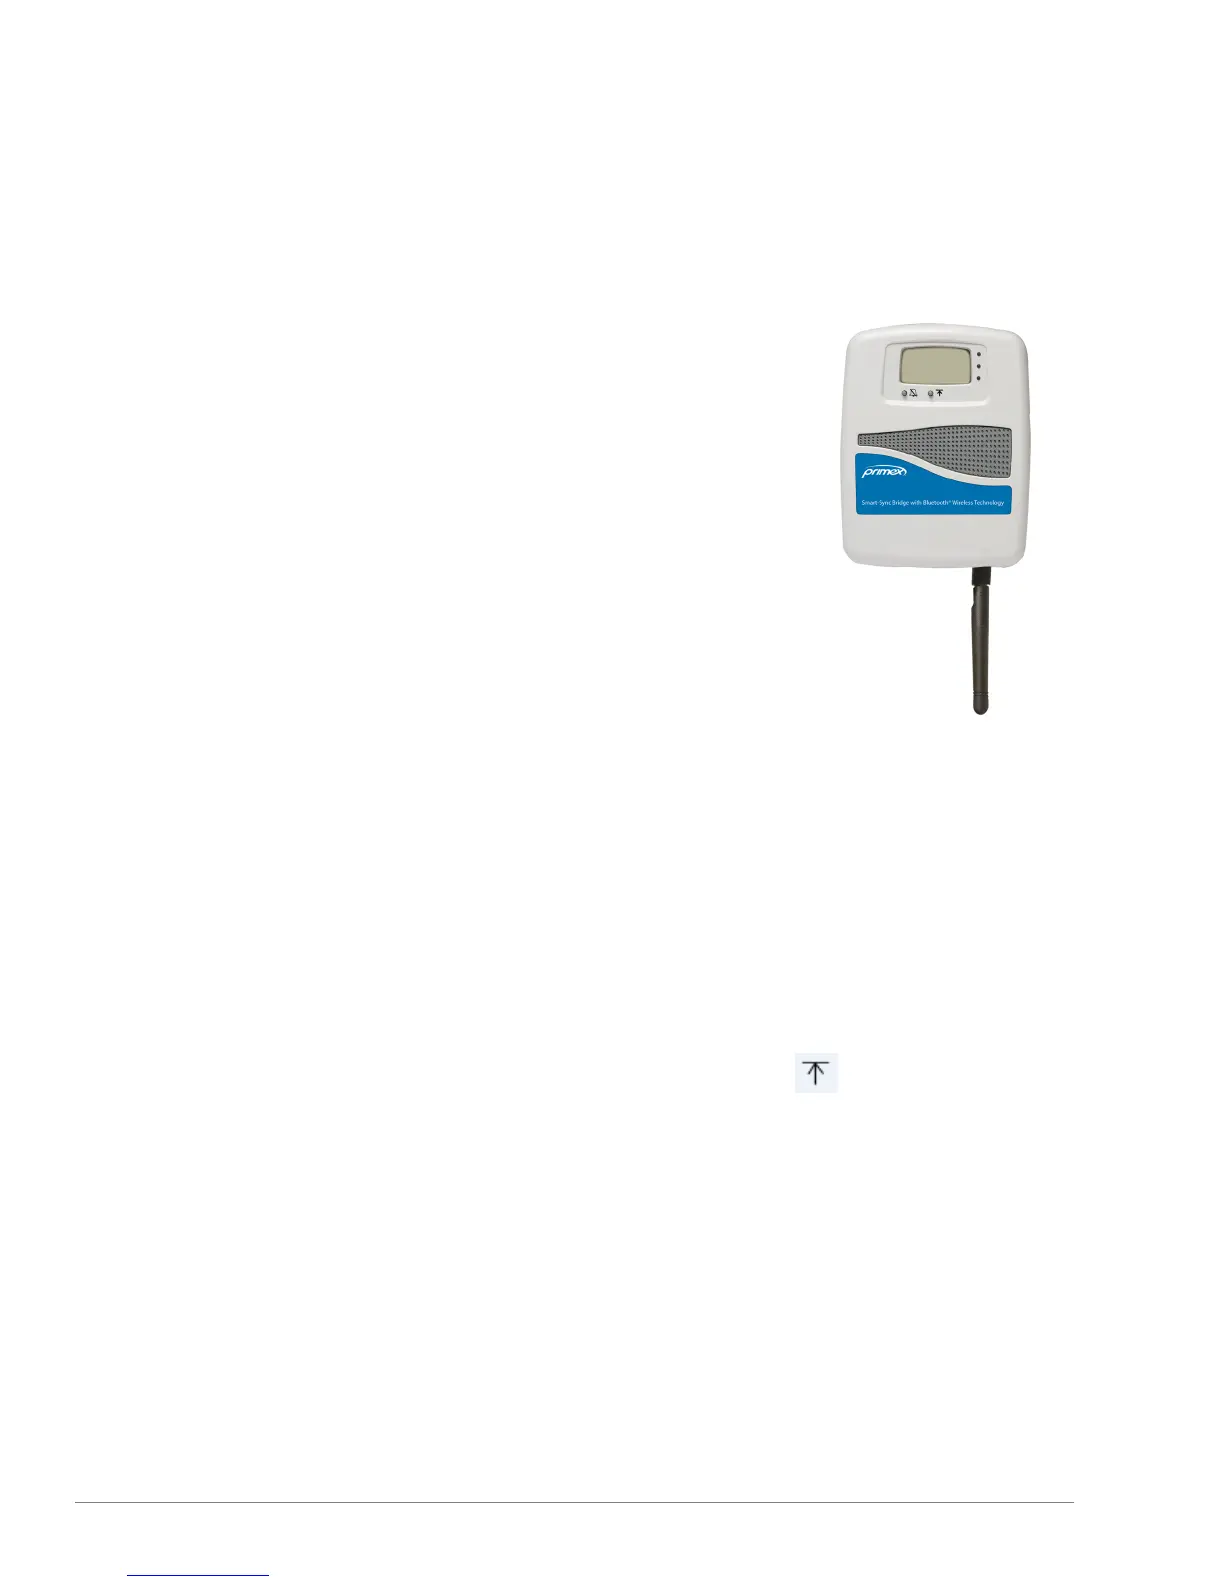
Orient the Smart-Sync Bluetooth Antenna to point straight down (vertically) from the device to maximize its signal reception, and
verify it's securely attached to device.
12.
Apply power to the device; AC or PoE. It's recommended to dress the cables with self-adhesive hook-and-loop mounting tape.
13.
When power was applied, the device automatically initiated a check-in to your OneVue account. Verify the device LCD displays
Signal OK, which indicates the device has successfully checked-in to your OneVue account.
14.
If the LCD screen does not display Signal OK, it's recommended to initiate a manual check-in to validate the device can connect
to your facility’s network at the installation location. Press and release check-in button .
The device's LCD displays its check-in connection sequence.
Number 1 displayed - radio powered on
Numbers 12 displayed - connected to facility's Ethernet or Wi-Fi network
Numbers 123 displayed - connected to NTP Server and obtained UTC Time
Numbers 1234 displayed - connected to OneVue; sends Smart-Sync Clock statuses to OneVue and downloads update pending
settings
During an active check-in connection, additional pressing of the check-in button is ignored.
During Deployment mode, the first 8 hours after a Smart-Sync Bridge is powered on, its operation is unique during this time period.
23
Smart-Sync™ Bridge Install Guide