©2022 Pro-Vision Solutions, LLC. Page 47 of 56
Viewing Cameras on a Smart Device
The DVR can be accessed using an Ethernet cable
to a laptop or desktop PC, or it can be accessed
wirelessly using a laptop, tablet, or smartphone
device (with Wi-Fi AP Mode enabled).
1. Follow connection steps in the Connecting
to the DVR section in this guide.
2. The “Home” page will open, then choose
“Live View” from the top of the page.
“REC” will display in red next to the camera
number for cameras that are currently recording.
“ALM REC” will display in yellow next to the
camera number for cameras that are currently
alarm recording.
Select the camera you wish to view by clicking the red camera box; to select multiple cameras click the checkbox(s) next
to the red camera box.
Viewing Cameras on a Display
Cameras can be viewed live on a monitor display. There are two video outputs
on the rear of the DVR:
1. SD A/V Output:
Using the included A/V Output cable, connect the yellow RCA composite
video output to a video input on your display.
2. HD A/V Output:
Using a standard HDMI cable (purchased separately), connect to a
HDMI port on your display.
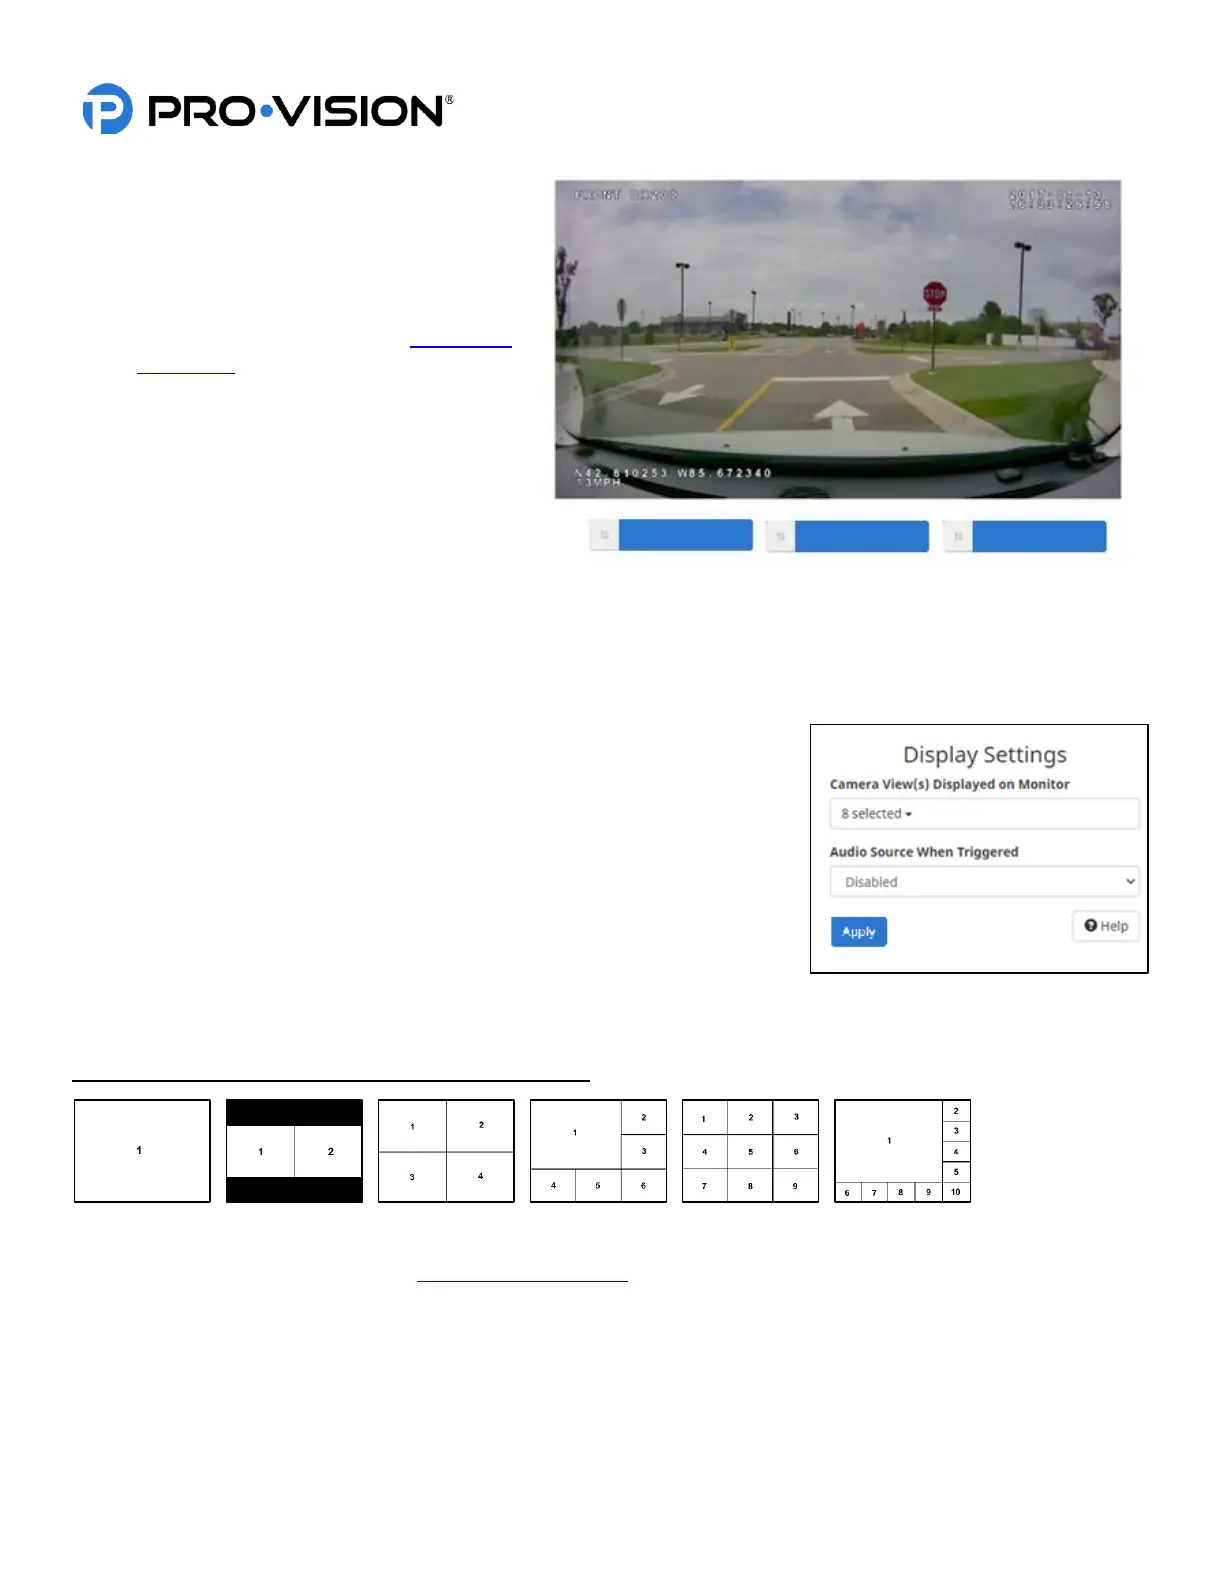
The output settings can be configured on the “Display” setting page. Choose the
camera views that you wish to display on the monitor. Each of the cameras will display in a split screen configuration
based on the selected cameras.
Single and Multiple Camera Displays (1, 2, 4, 6, 9, and 10)
You can also configure which camera audio is live when the DVR is triggered.
Refer to the connection diagram in the Installation Quick Guide at the beginning of this document for connection details.