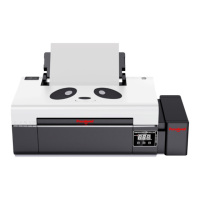
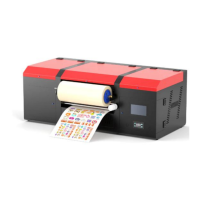
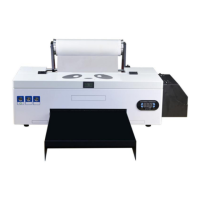
This document describes the Procolored DTF-A3-PRO XP600*2 Printer, a Direct-to-Film (DTF) printer designed for various printing applications.
Function Description
The Procolored DTF-A3-PRO XP600*2 Printer is a specialized printer used for DTF printing, which involves printing designs onto a special film that can then be transferred to various textiles. The printer is equipped with two XP600 print heads, enabling efficient and high-quality output. It supports continuous ink supply and features white ink circulation for optimal white ink performance, which is crucial in DTF printing for vibrant colors on dark garments. The device also includes a heating function to assist in the drying and curing process of the ink on the film.
Important Technical Specifications
- Model: DTF PRO
- Print Head: XP600*2
- Print Size: A3 (300*420mm)
- Platform Size: A3 (350*200mm)
- Print Speed: 8PASS; 2 m²/H
- Print Width: 300mm
- Ink Supply Mode: Continuous Ink Supply
- Ink Consumption: 1m²/20ml
- Voltage / Plug: AC100~230V (Optional according to the country)
- Connection Method: Cable
- Software: RIPrint
- System: Window XP, 7, 10
- Color Configuration: CMYKW+WWWWWW (Cyan, Magenta, Yellow, Black, White + additional White channels)
- Heating Function: Support
- Nozzle Protection: White ink circulation
- Adsorption Function: Support (for keeping the film flat during printing)
- Machine Size: L1000W550H480mm
- Package Size: L1080W610H590mm
- Net Weight / Gross Weight: 50KG/80KG
- Outer Package: Export wooden case + Foam
Usage Features
The printer is designed for ease of installation and operation, with instructional videos provided for key steps.
Installation:
- Ink Bottle Holder and Roll Film Installation: The process begins with securing the ink bottle holder by aligning screw holes and fastening them. The reel stand is then assembled, and the PET film is carefully threaded through the printer, ensuring the correct print side is facing up and the film is pulled to the correct position.
- Software Installation: The RIPrint software is installed by inserting a white dongle, creating a dedicated folder on the C drive, copying data from the dongle to this folder, and adding the software installation folder to the firewall trust list. A desktop shortcut is created, and the printer's IP address is set. The X-axis print position is set to 50, and a test print is performed to confirm functionality.
- Ink Installation: Cable ties are removed from the waste ink tube, and an empty bottle is placed to collect waste ink. Ink is added to the corresponding color reservoirs in the order indicated. A syringe is used to draw 5ml of ink from each ink sac, and then ink is pumped using the software for 15 seconds. A test strip is printed to verify complete ink installation and nozzle functionality.
- RintRIP Installation: The RintRIP software is installed, and the installation curve is configured. Spot colors are set within the software and in Photoshop. Pictures are imported into RintRIP, and the image format is converted for printing.
Printing Process:
- Preparation: All accessories are removed from the oven (if purchased separately). The receiving module is installed, ensuring the bracket with the power cord is on the right side. The PET film is fixed to the receiving module using tape.
- Printing: RIPRint software is used to send pictures to print. During printing, it is crucial to ensure the PET film remains flat for optimal results.
- Post-Printing: After printing, the print head automatically returns to its home position.
Maintenance Features
Regular maintenance is essential for the longevity and performance of the DTF-A3-PRO printer.
- Print Head Cleaning: The print head should be automatically cleaned once daily by pressing the "CLEANING" button.
- Printhead Status Diagram: A nozzle status diagram should be printed daily using the "TEST" button to monitor print head health.
- Grating Strips Cleaning: The grating strip should be cleaned with a lint-free cloth moistened with alcohol every seven days.
- Ink Station Cleaning: The ink station, including the squeegee, should be cleaned with a lint-free cloth or cotton swab dampened with alcohol every three days.
- Rails Lubrication: The moving rails should be lubricated with new grease every 30 days.
- Printhead Bottom and Trolley Cleaning: The side panel should be opened every three days to clean the bottom of the print head and the trolley, especially if film scraping occurs.
- Print Head and Ink Pad Sealing: During standby, the print head and ink pad must be sealed to prevent the print head from being exposed to air for extended periods.
- Print Platform Cleaning: The printing platform should be cleaned with a lint-free cloth moistened with alcohol to remove toner and toner residues.
These features ensure the printer operates efficiently, produces high-quality prints, and has a prolonged lifespan with proper care.